1. Purpose
The manager can add items to the program in case of importing new models.
2. Instruction steps
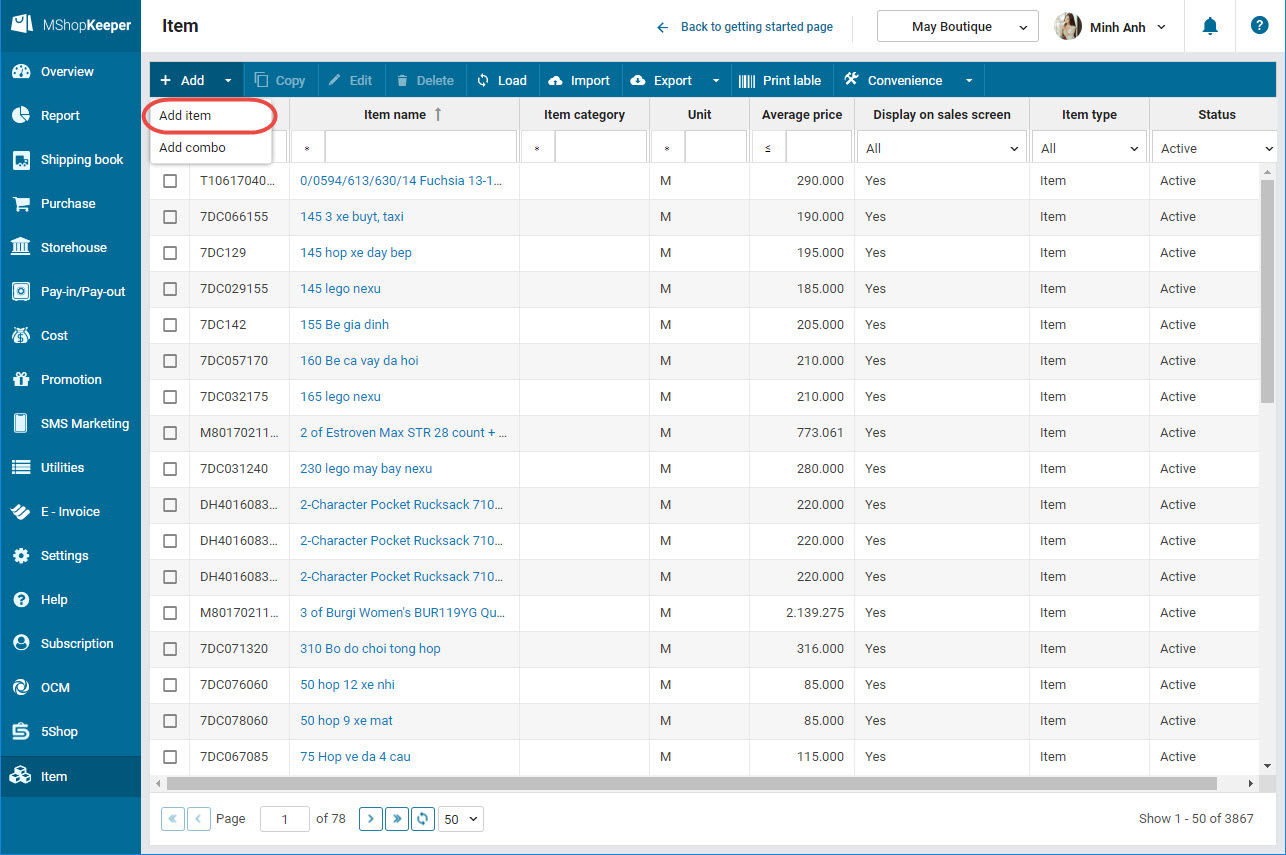
1. Click Item.
2. Click Add/Add item.
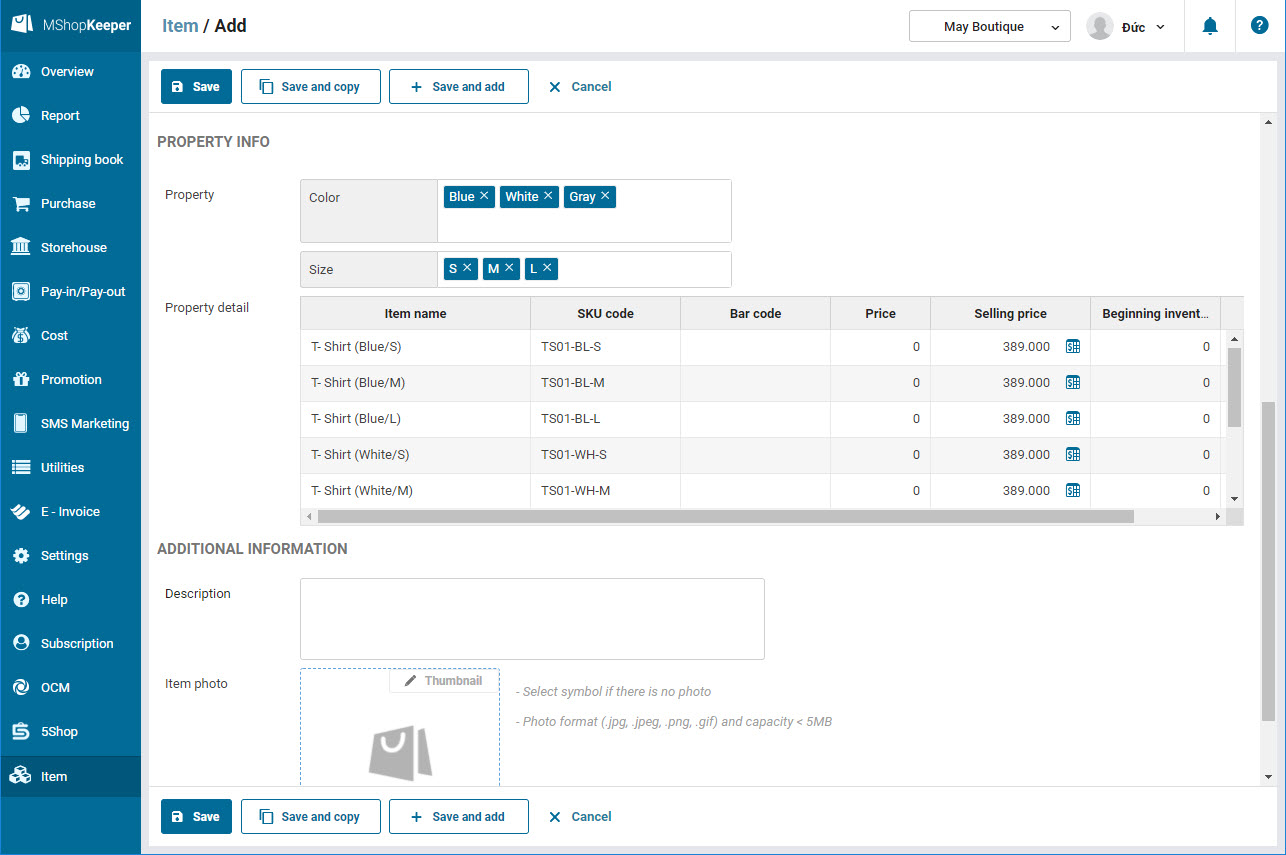
3. Enter item information.
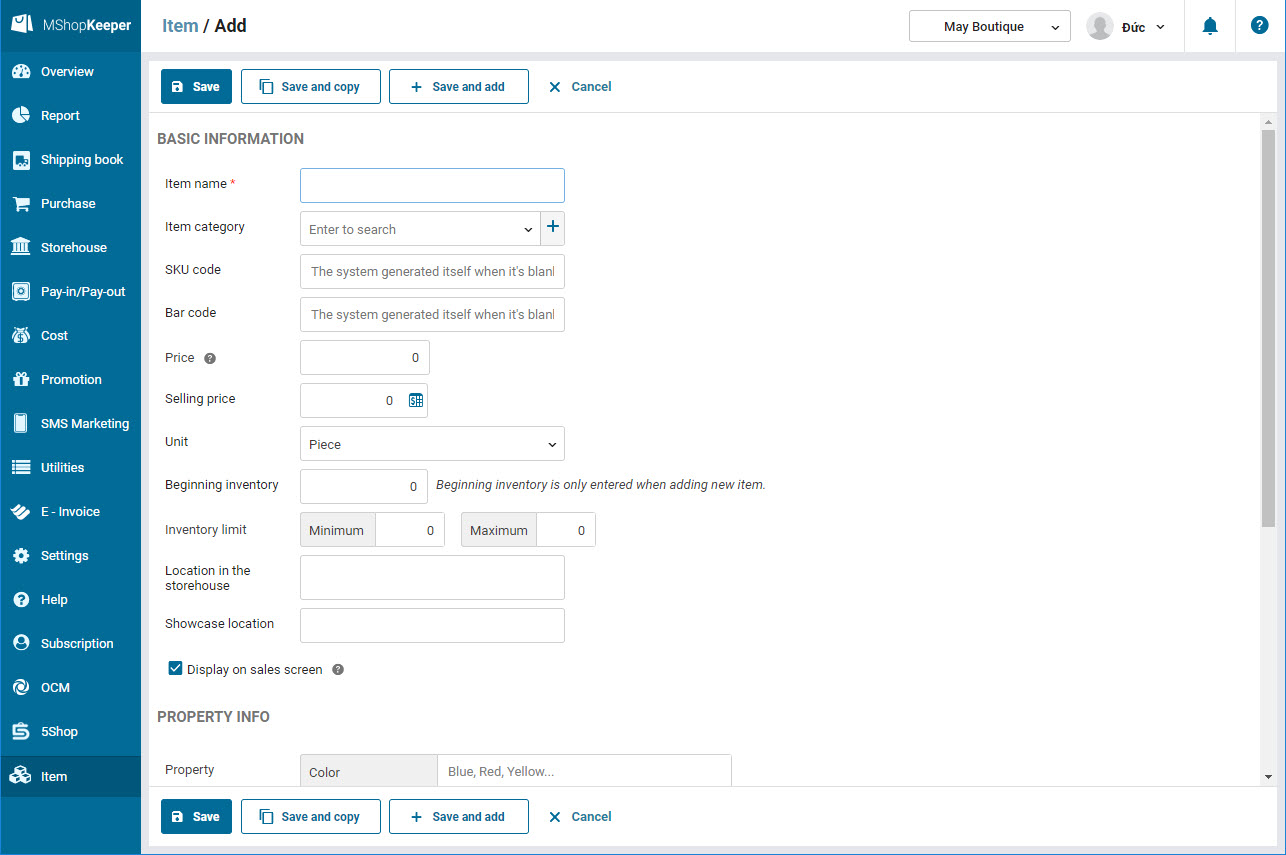
Note:
- Uncheck Display on sales screen if the item is only sold in a combo or for promotion.
- If the shop uses the bar codes on the items as provided by the supplier to manage and scan codes upon sale (E.g.: Items like Eyewear, Jewelry, Watches), the shop can add this information in Bar code part.
- Purchase price of the item is updated according to the price in the last stock import.
- If the shop offers wholesale, in Selling price click the icon
 to set selling price.
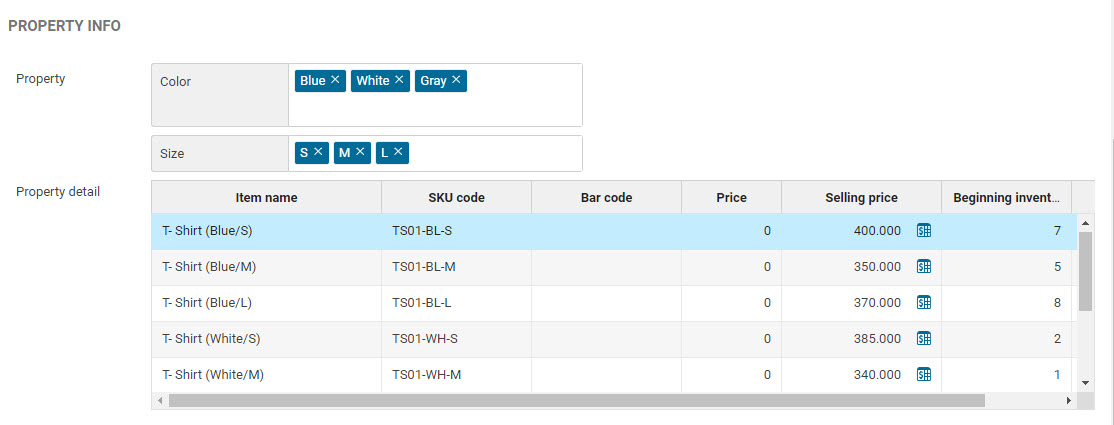
4. Enter properties of the item: Selling price and Size. Note: separate properties with “,”.
5. On Property detail:
- Enter opening inventory for each item.
- Enter selling price again if the shop customizes prices according to properties.
- If the shop offers wholesale, click the icon to set selling price.
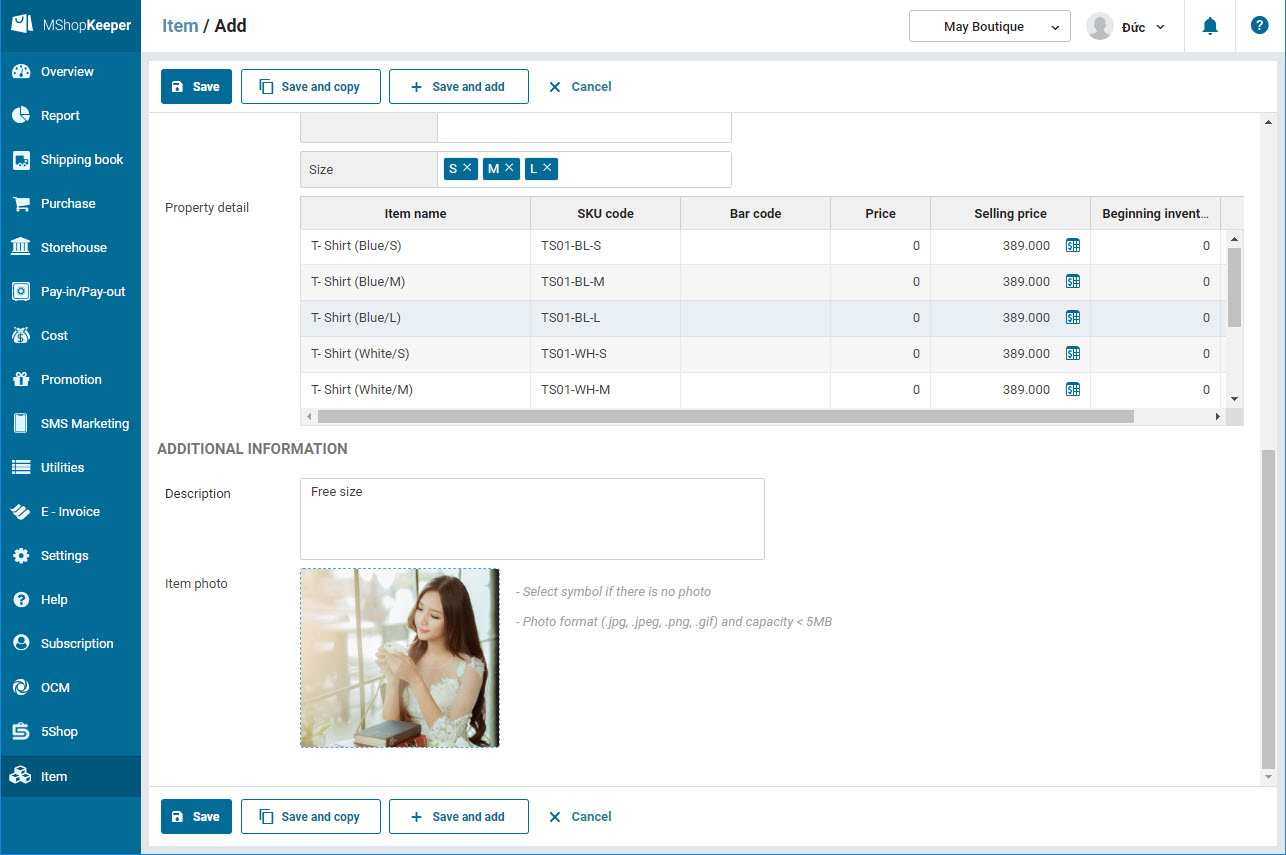
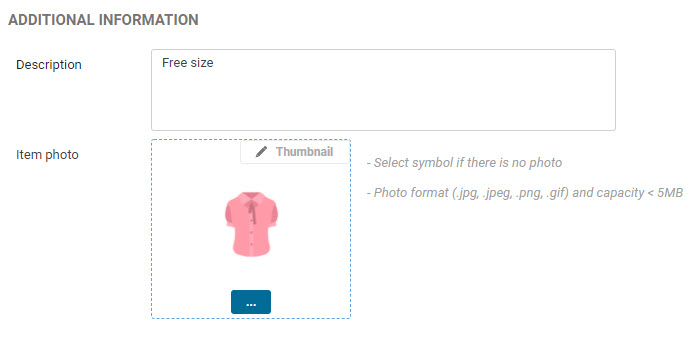
6. Enter description of the item. You can update photo for the item.
If the item does not have photo, the program will automatically recognize it and select a symbol to show it on Sale screen.
E.g.: If the item is Dress, the program will automatically select dress symbol.
7. Click Save to add more item.
8. After entering the item, print label for it. View instruction here.
4. Note
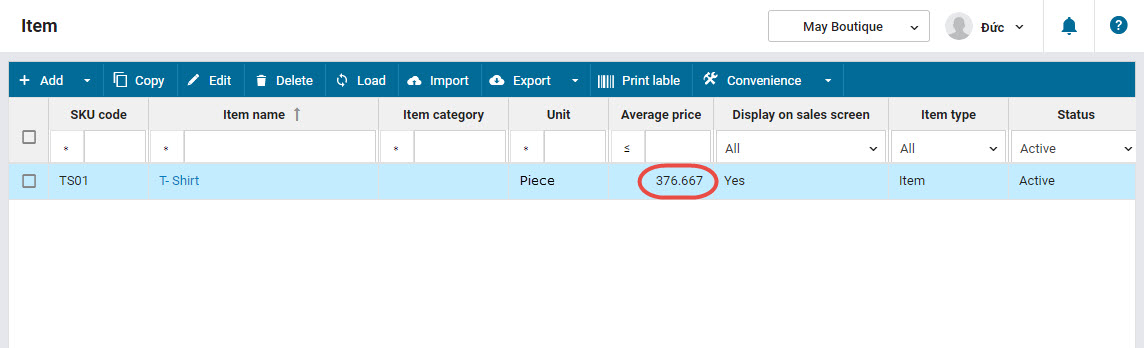
For the items with multiple properties (multiple selling prices and sizes), the price will vary. For example, the blue dress is more expensive than the black dress. After the shop enters price for each property and Save, the program will automatically calculate Average price of the item.