BarTender is a popular free barcode creating and printing software. This article will show you how to install and use this software to print T-labels (small labels for items that are accessories such as eyeglasses, watches, jewelry, etc.)
Details:
1. Install software
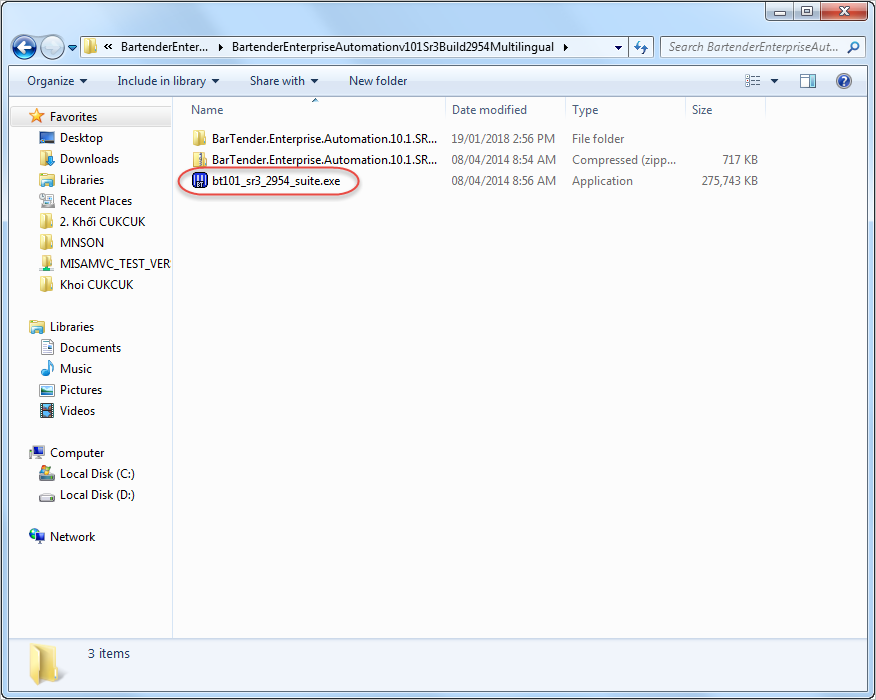
1. Download BarTender v10.1 here.
2. Double click on the installer and install it.
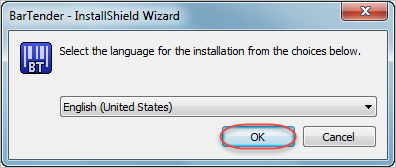
3. Select language, click OK.
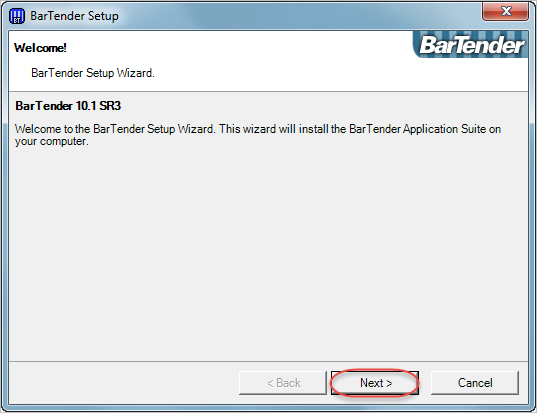
4. Click Next.
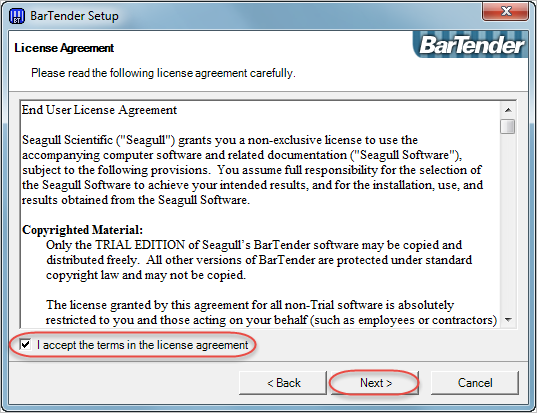
5. Check Accept the terms in the lincense agreement, click Next.
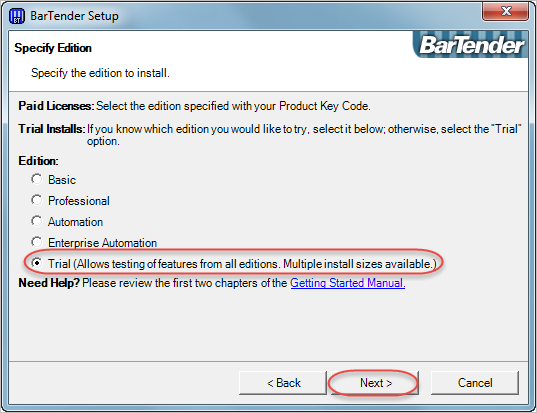
6. Check Trial (Allows testing of features from all editions. Multiple install sizes available), click Next.
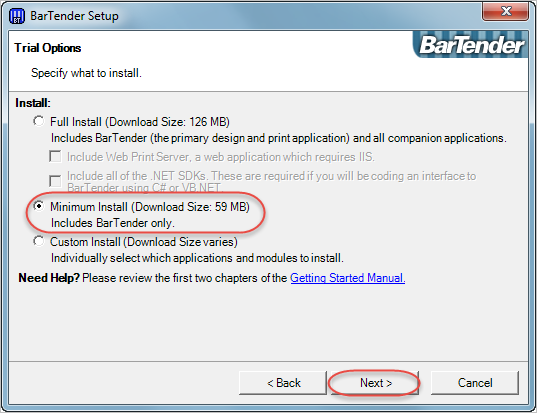
7. Check Minimum Install, click Next.
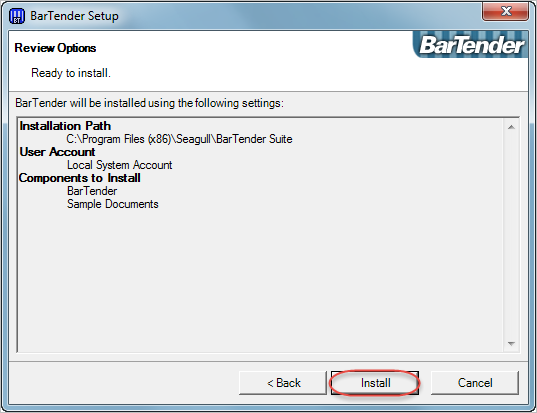
8. Click Install.
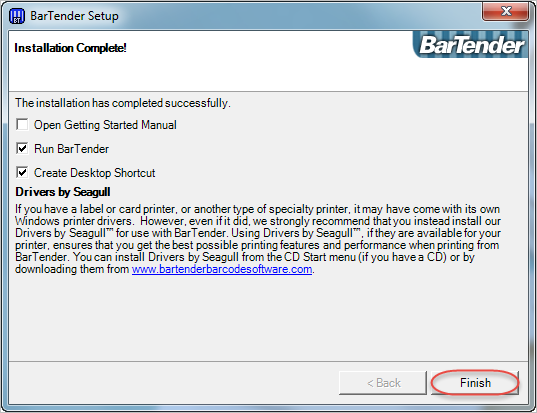
9. After installing successfully, check: Open Getting Started Manua, Run BarTender, Create Desktop Shortcut. Click Finish.
2. Instruction on how to use, create and print T-labels
(Here is instruction for T-label 40 x 10 mm on the printer BIXOLON SLP-T403)
2.1. Initial settings
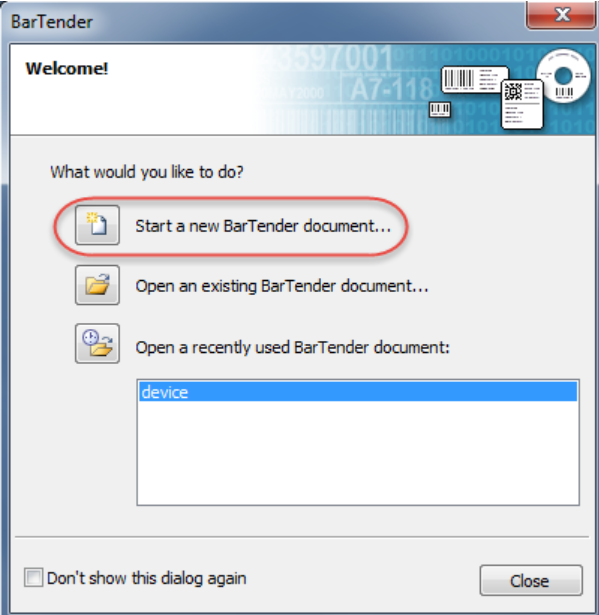
1. Open the software, click![]() Start new BarTender document.
Start new BarTender document.

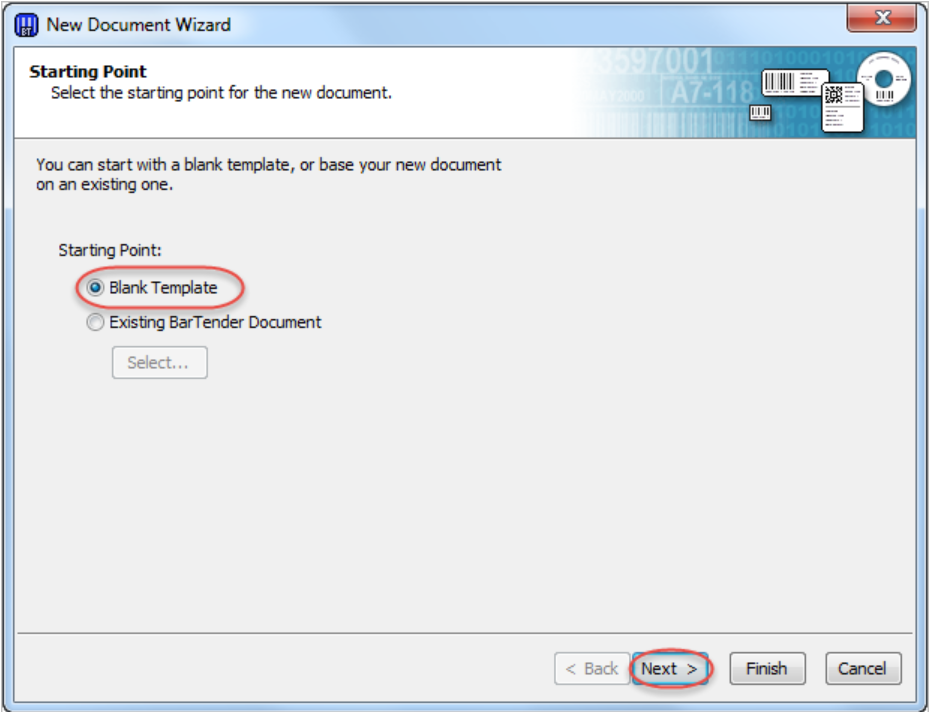
2. Check Blank Template, click Next.

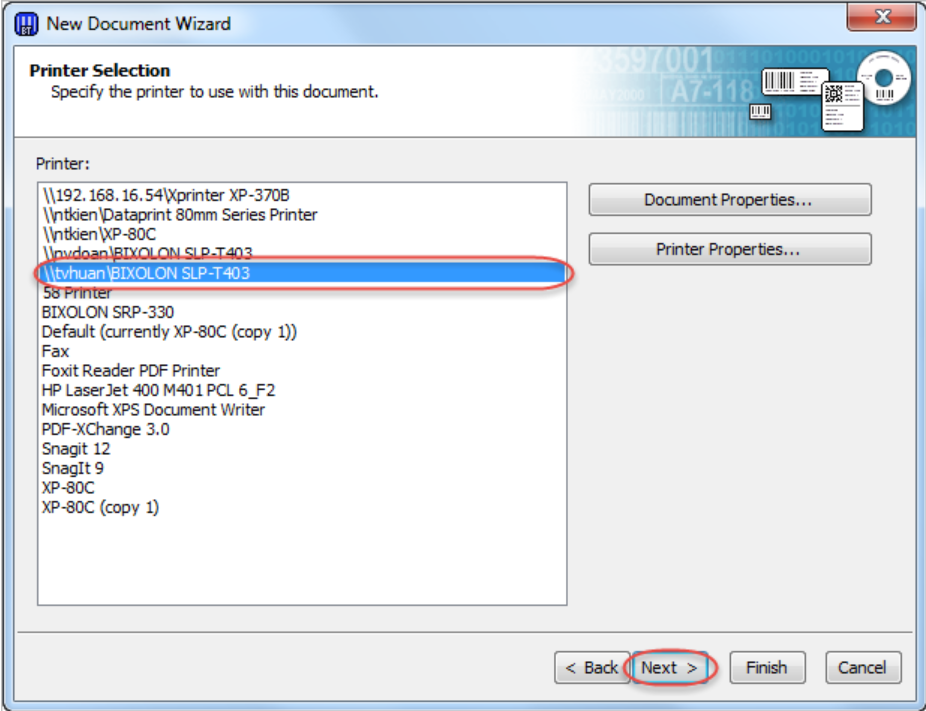
3. Select a printer and click Next.

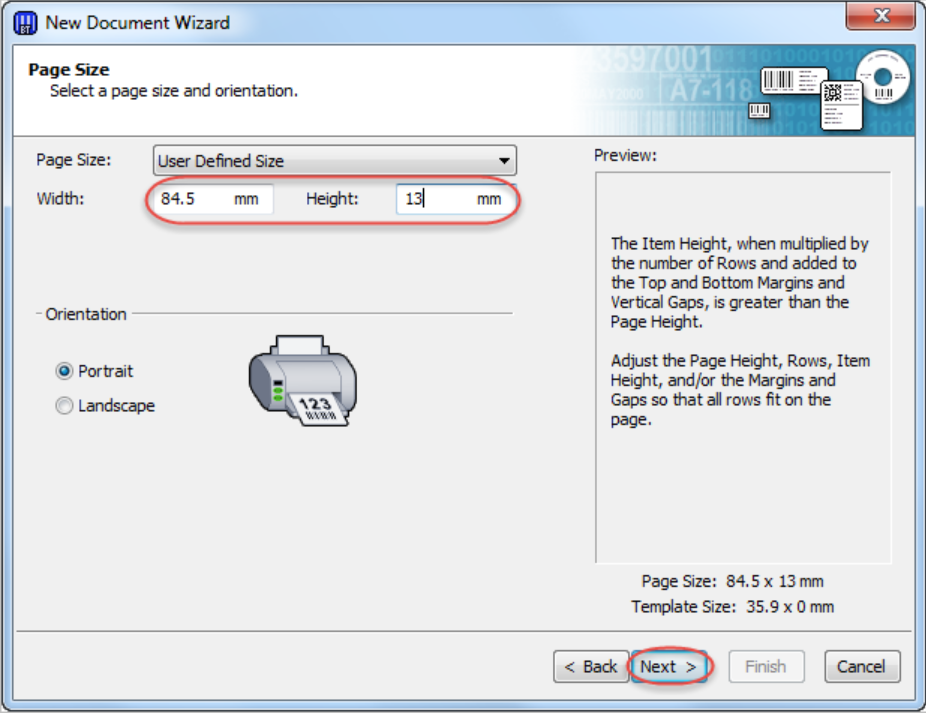
4. Select Specify Custom Settings, click Next.


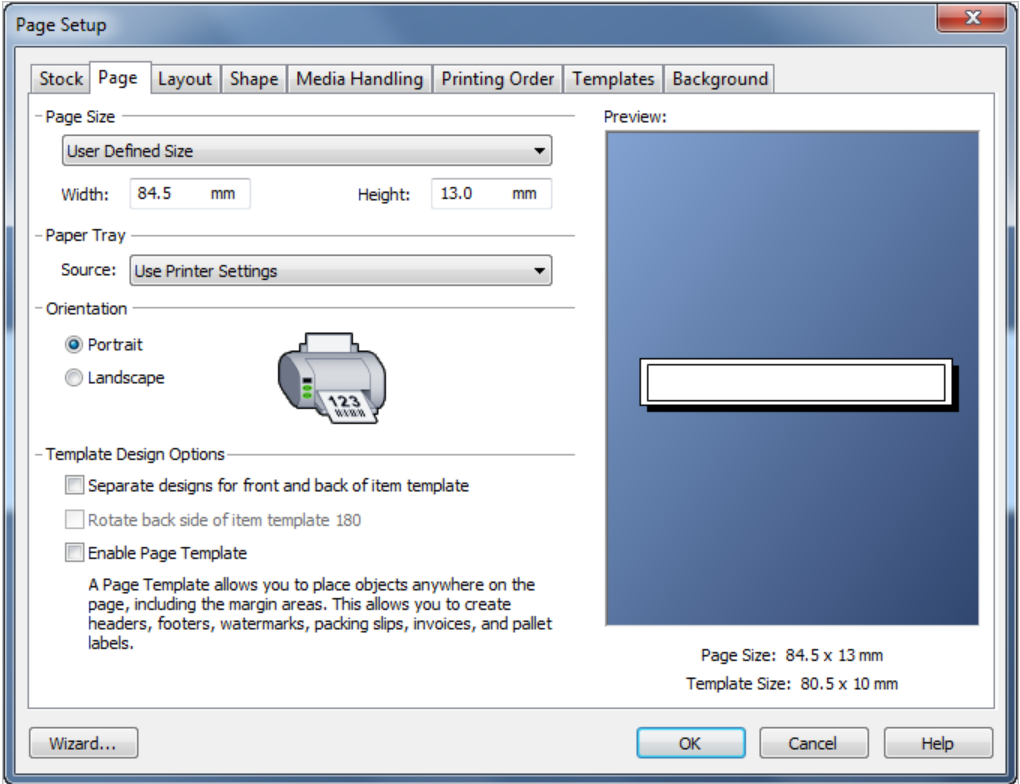
5. Enter paper size (84,5 x 13 mm), select Orientation: Potrait or Landscape, click Next.
For label printer using paper rolls, paper size = a label row.

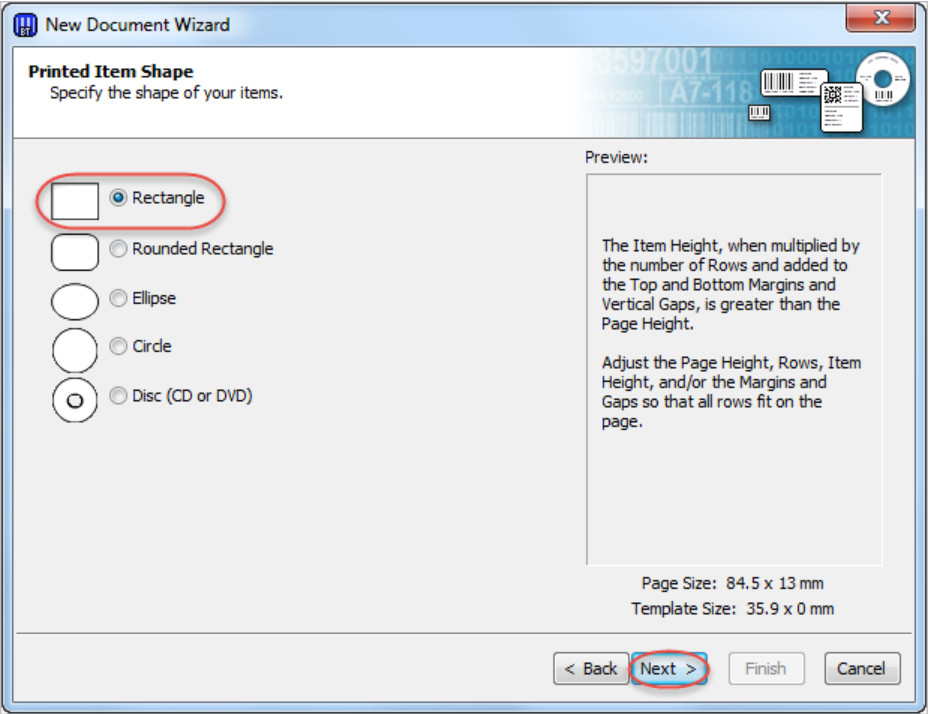
6. Select printed item shape Rectangle, click Next.

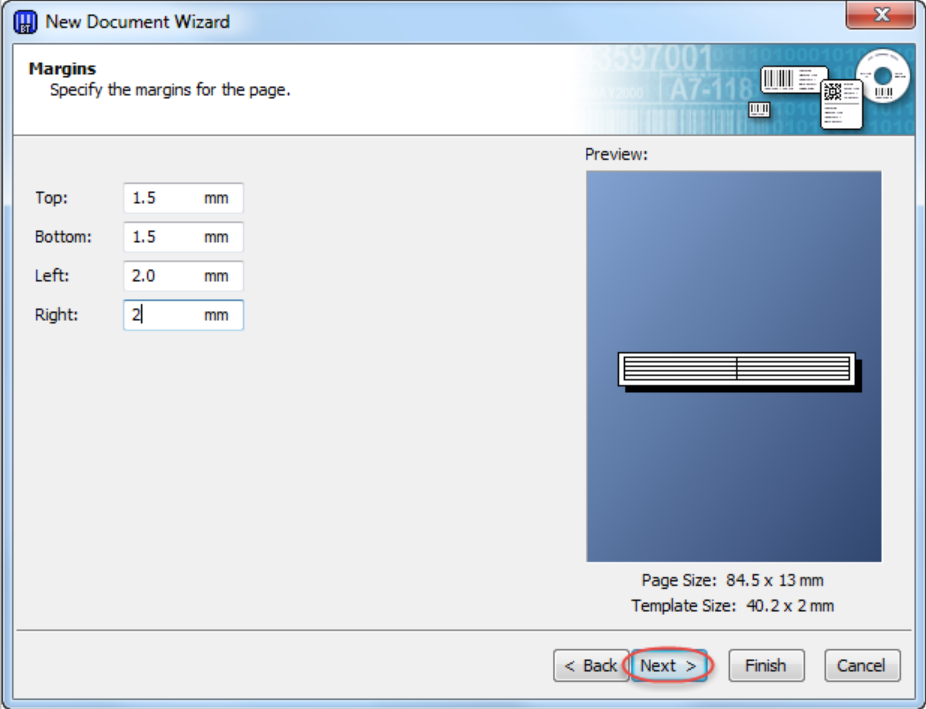
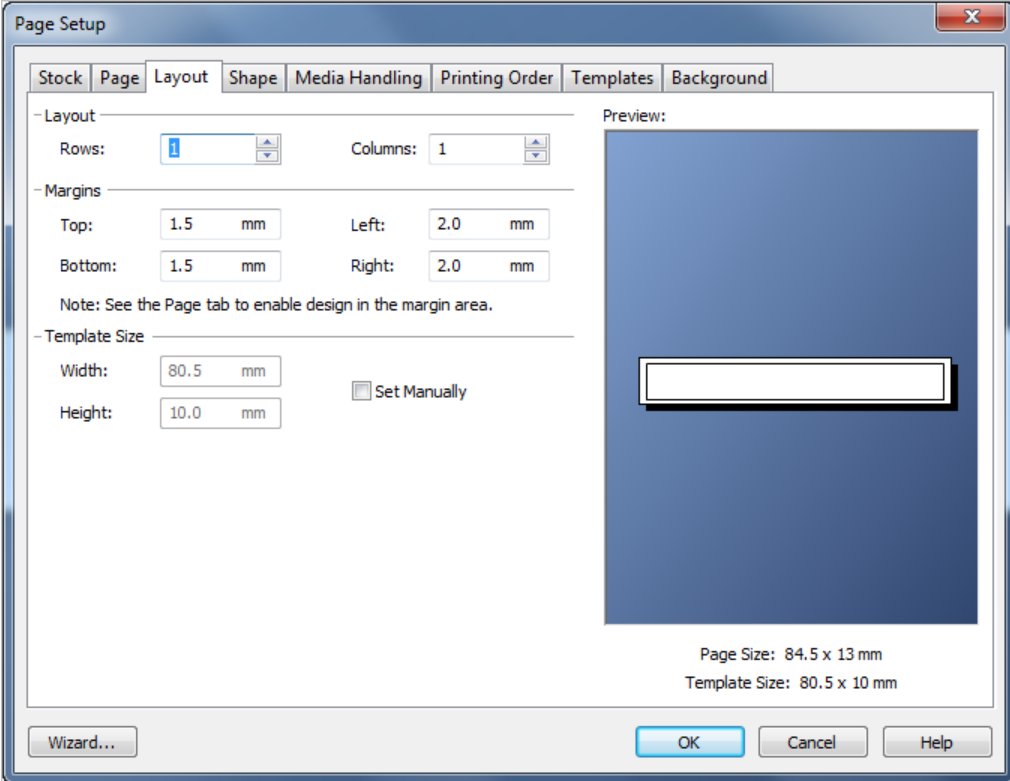
7. Enter margins.

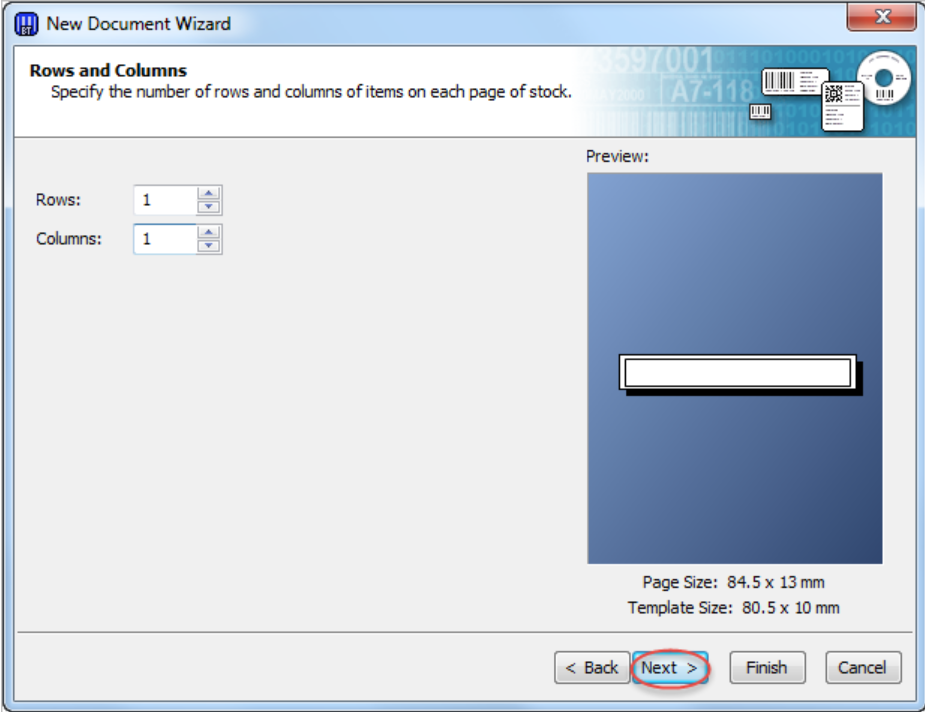
8. Enter number of labels on each row and number of rows on each paper size, click Next.

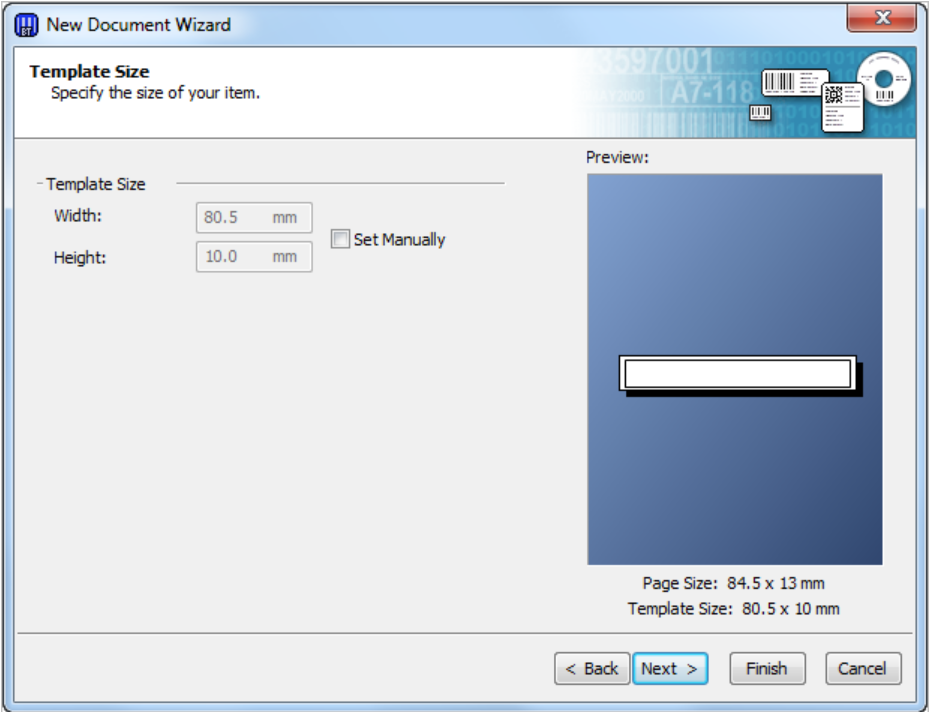
9. Click Next until Finish.


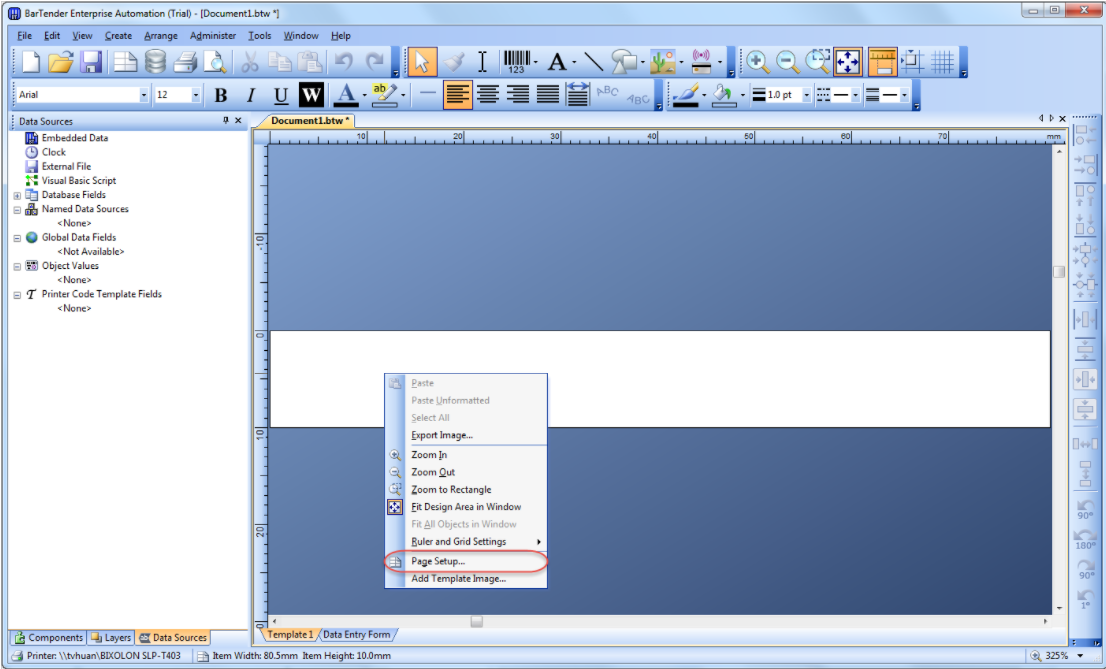
10. You can customize paper size by right-clicking on the screen and select Page Setup…


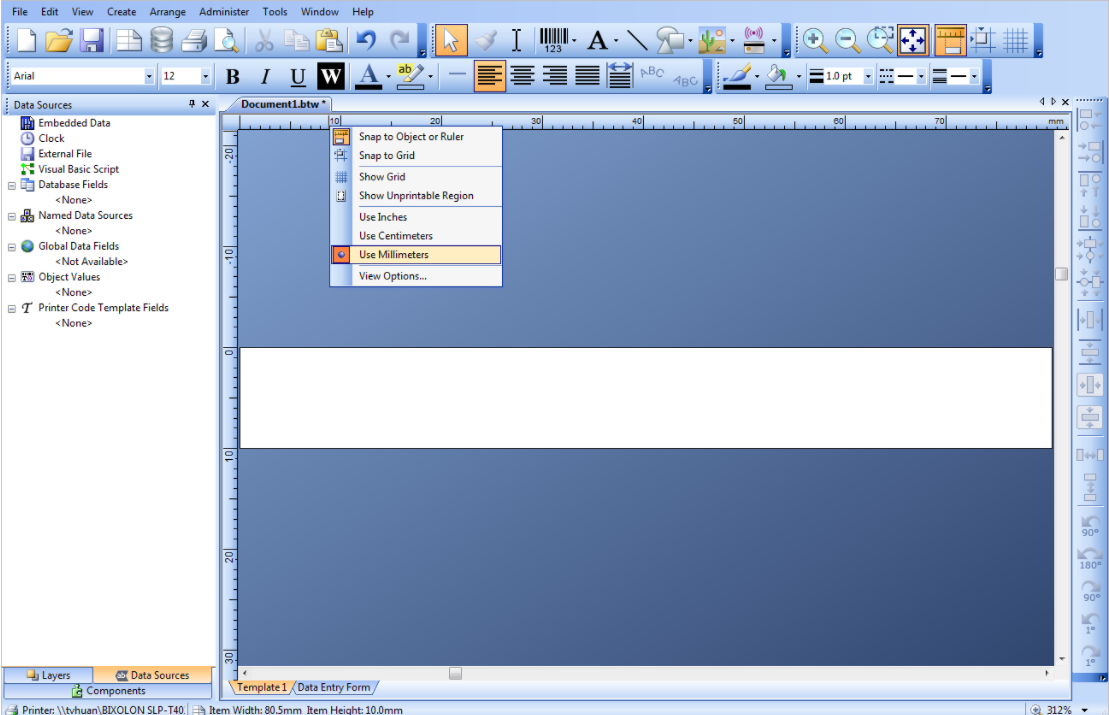
Default unit is inch, you can change it to Milimeters by right-clicking on Ruler, select Use Milimeters.

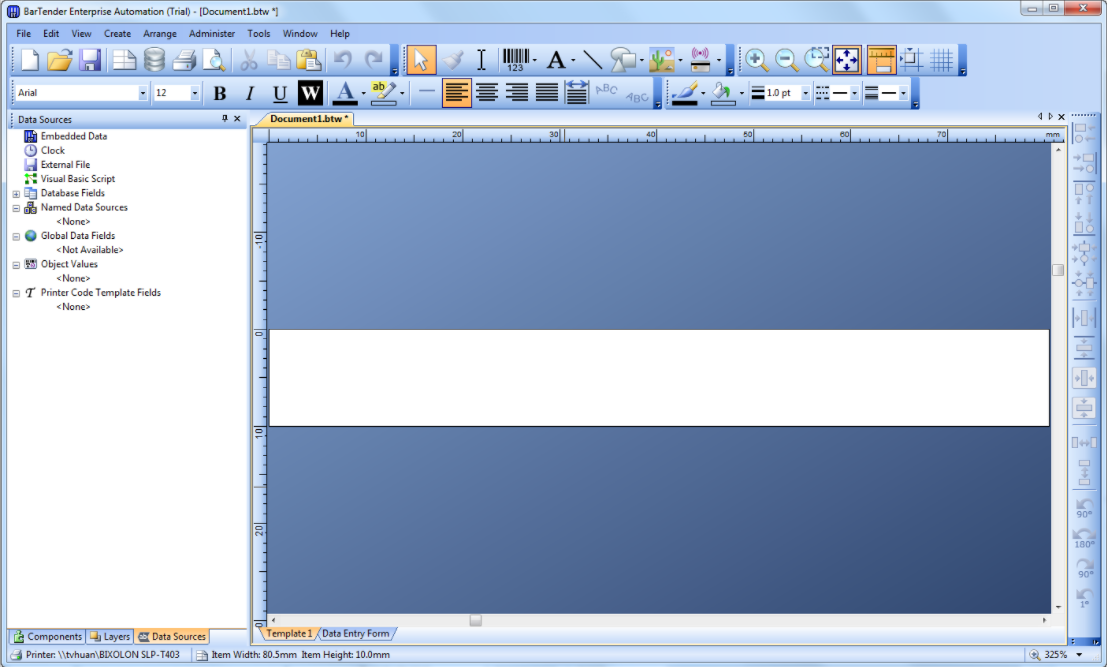
2.2. Set up label template
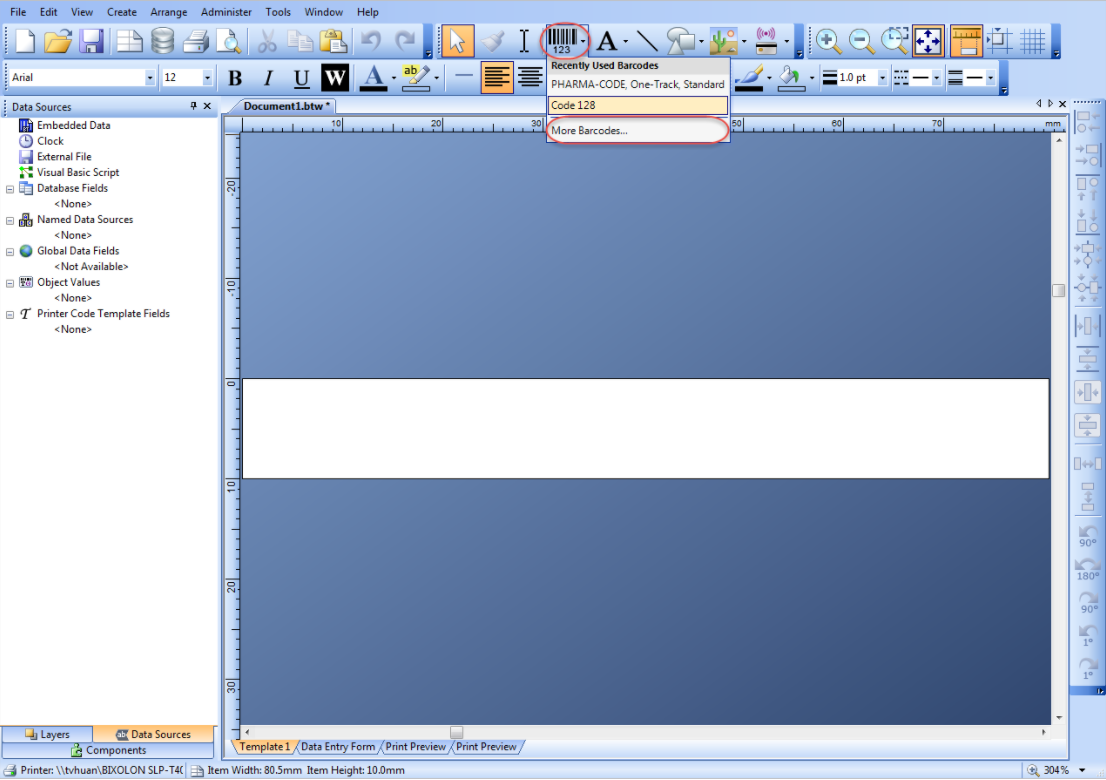
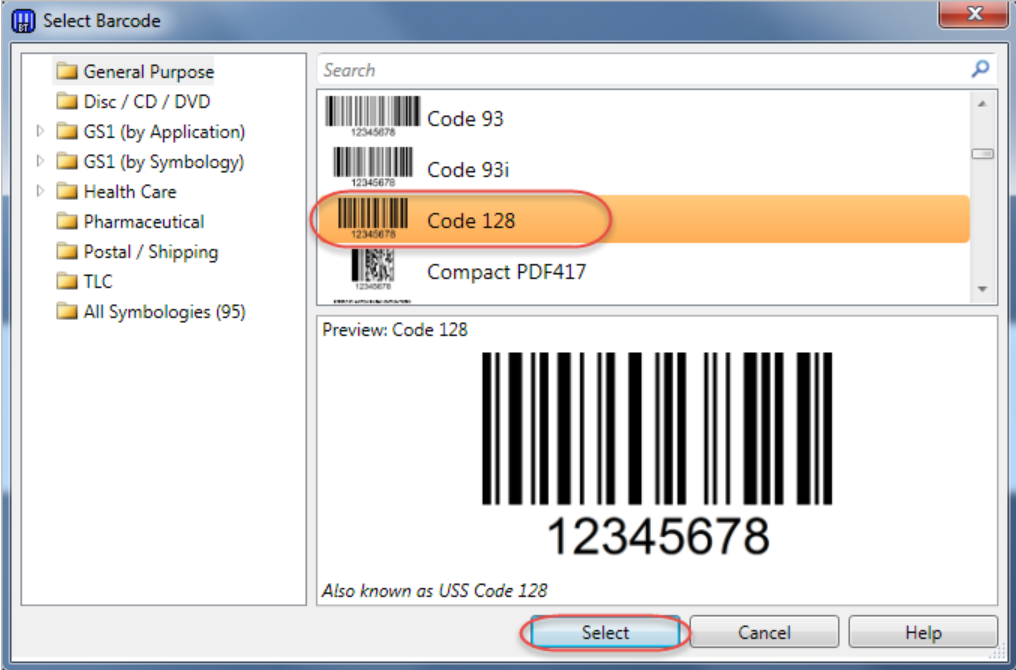
1. Select Barcode. For labels printed from MShopKeeper, select Code 128.


2. Click the icon![]() , select Single line to insert text to the label. You can set up font, size.
, select Single line to insert text to the label. You can set up font, size.
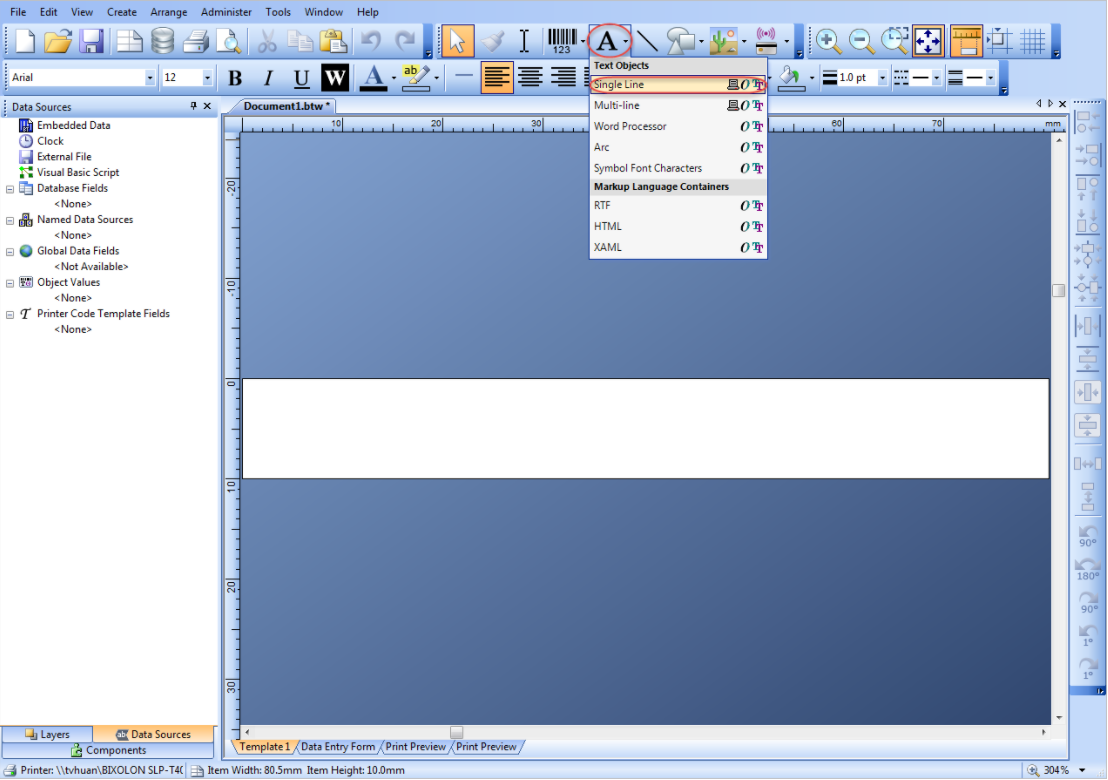

Note: Change text to easily customize and distinguish when synchronizing data with Excel file.
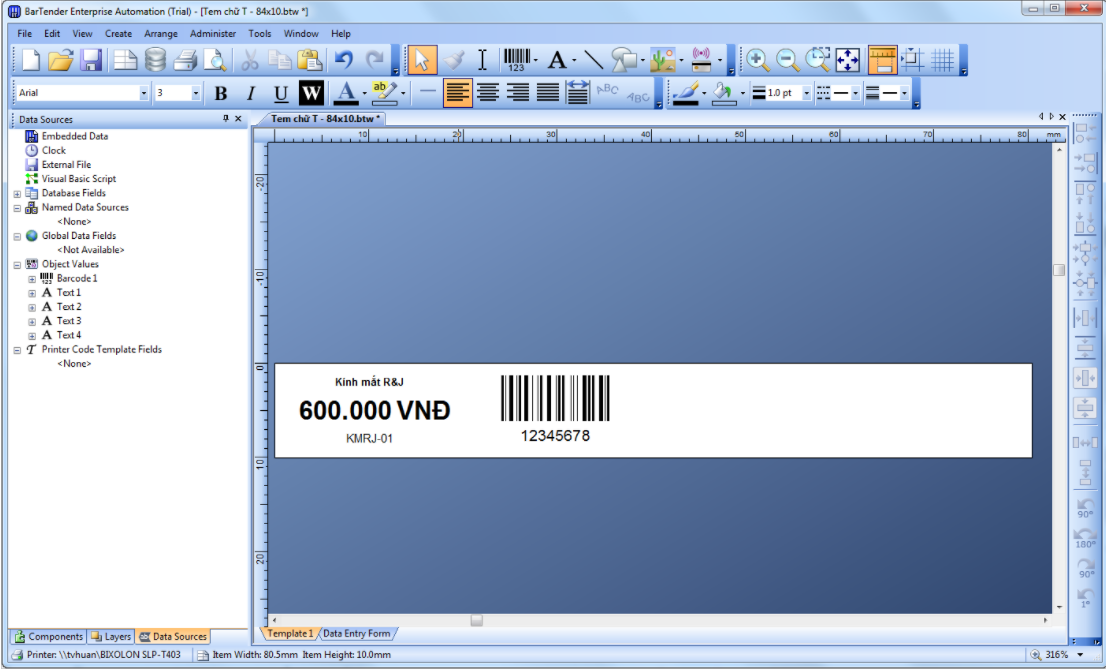
3. After that, we have a label template as below.

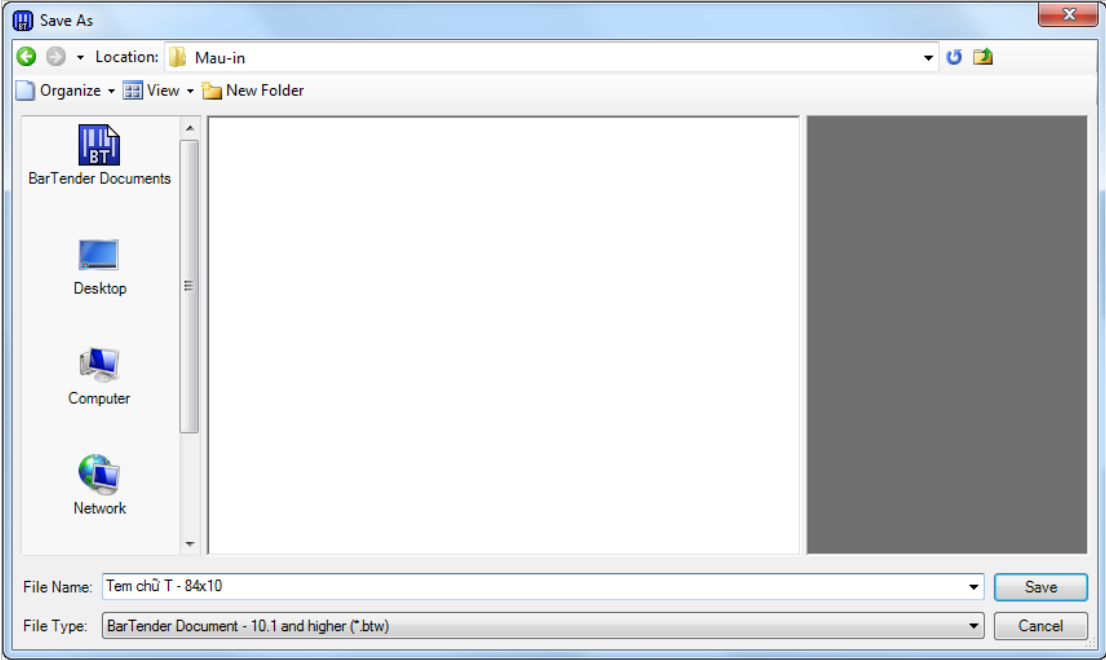
4. After customizing, click File/Save as to save the label.

2.3. Synchronize data between Excel file and label template
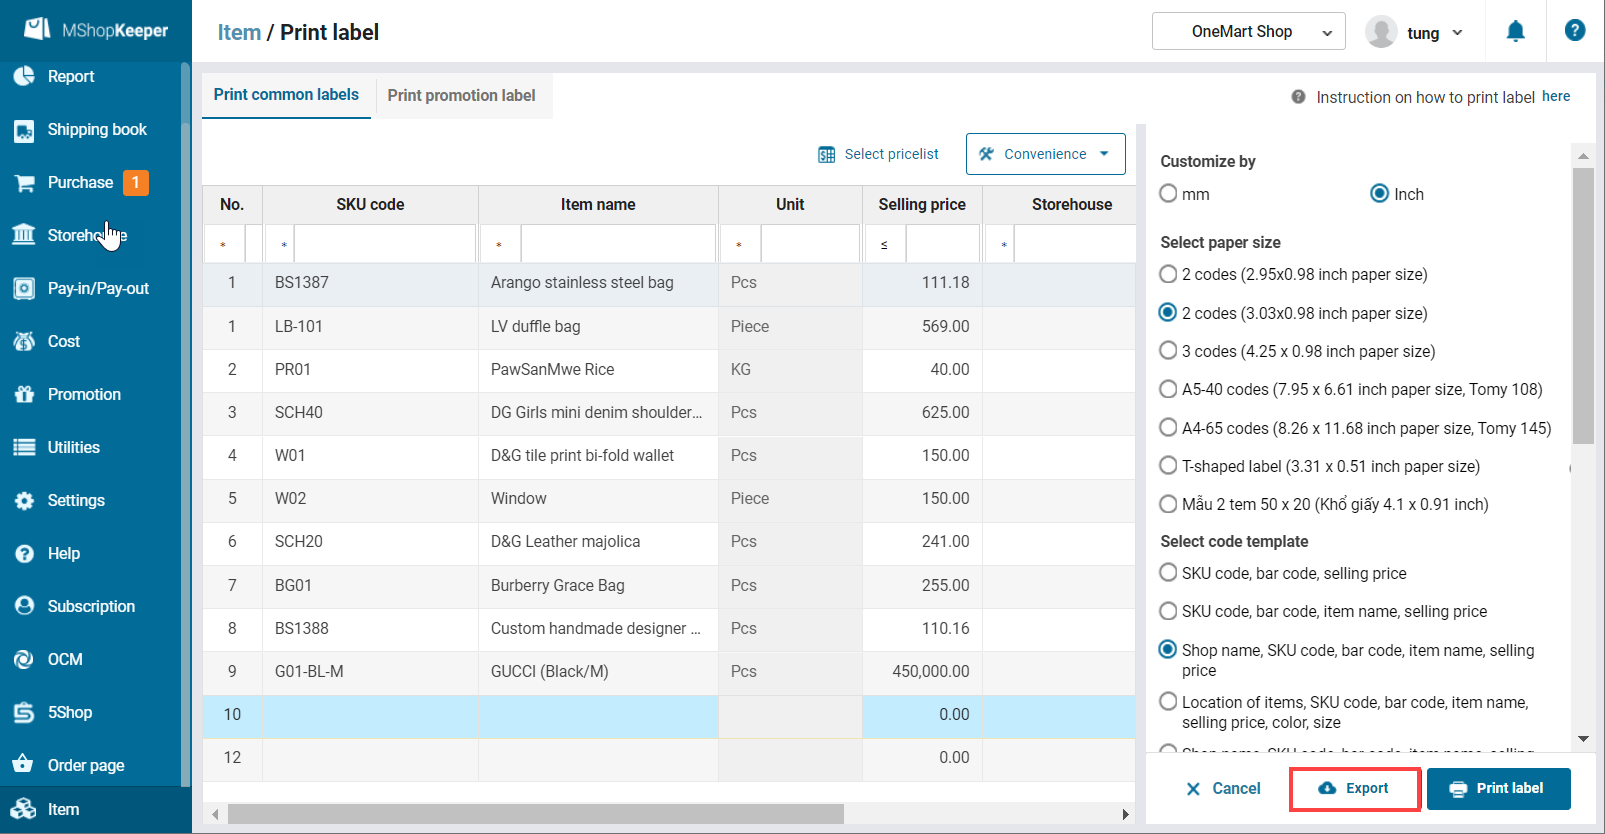
1. Export items you want to print on MShopKeeper.
- Click Utilities/Print label.
- Select items to print.
- Check T-label.
- Click Export.
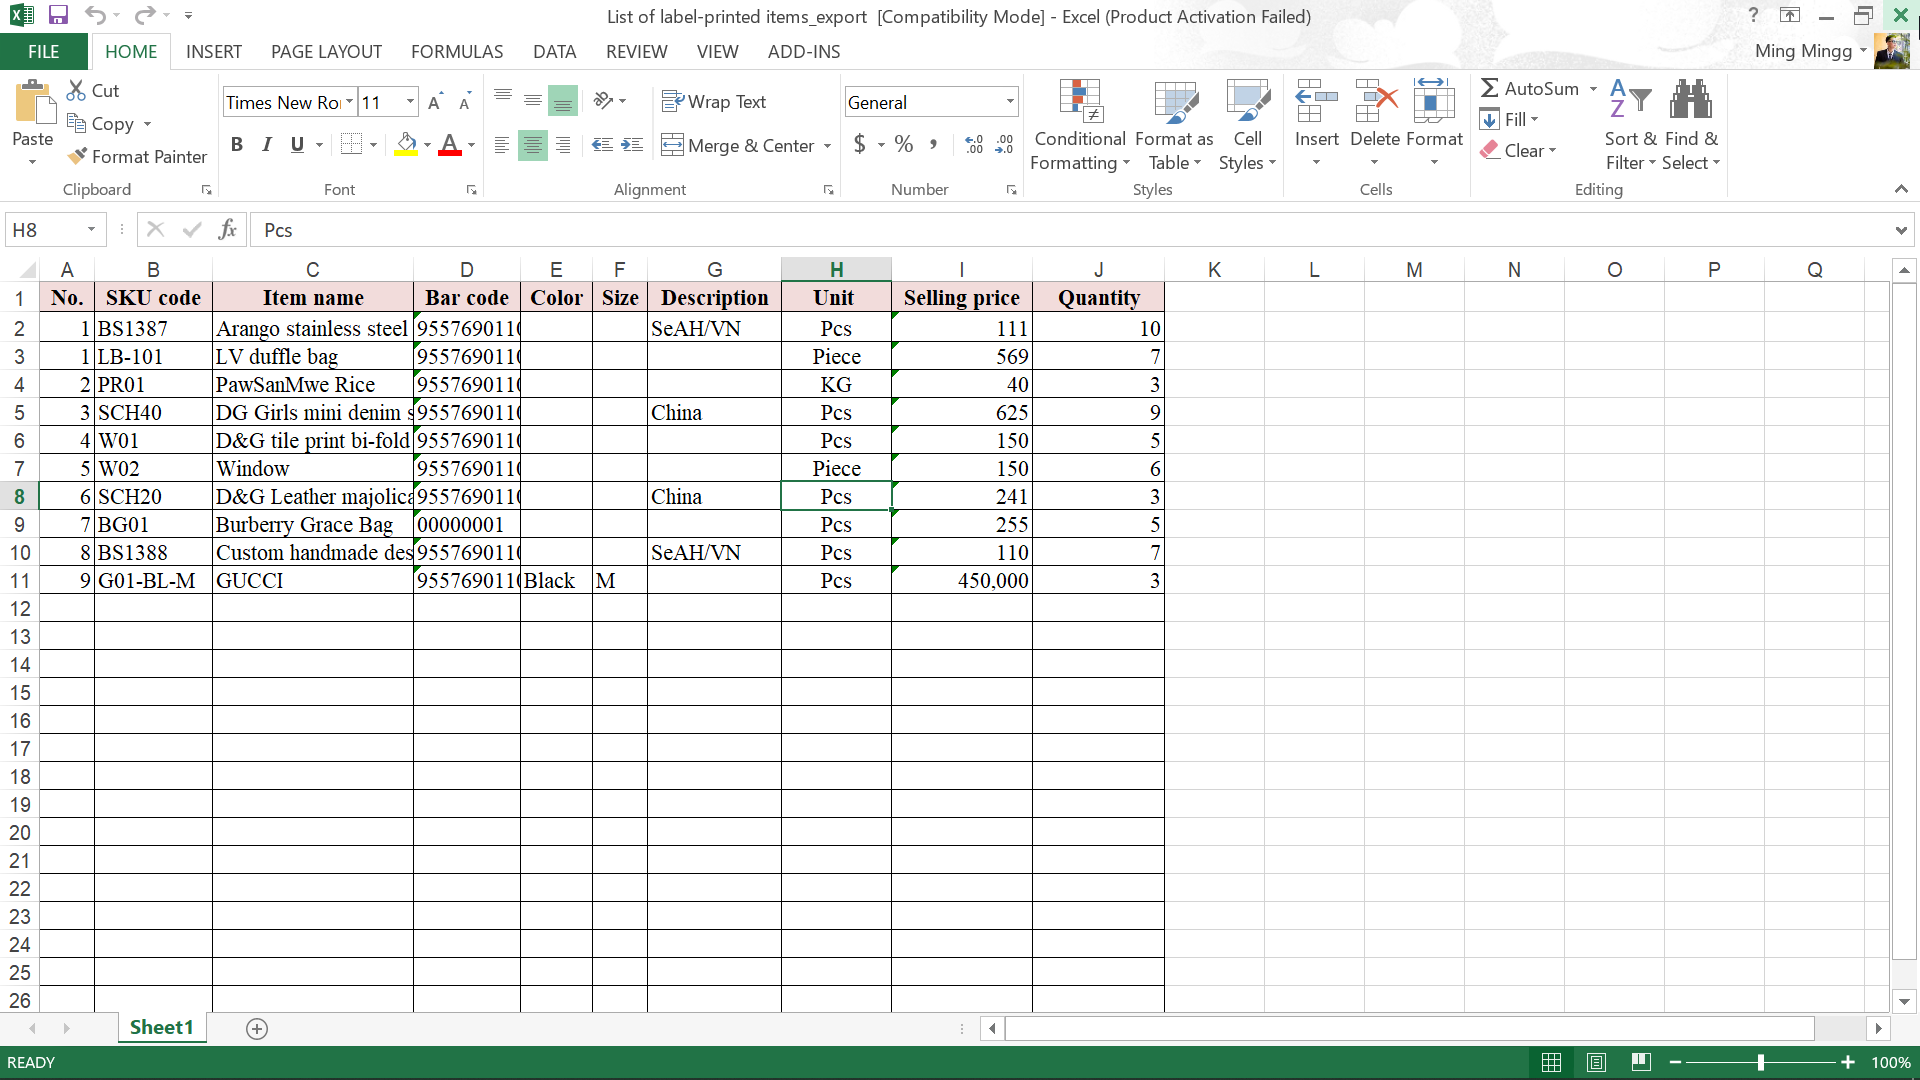
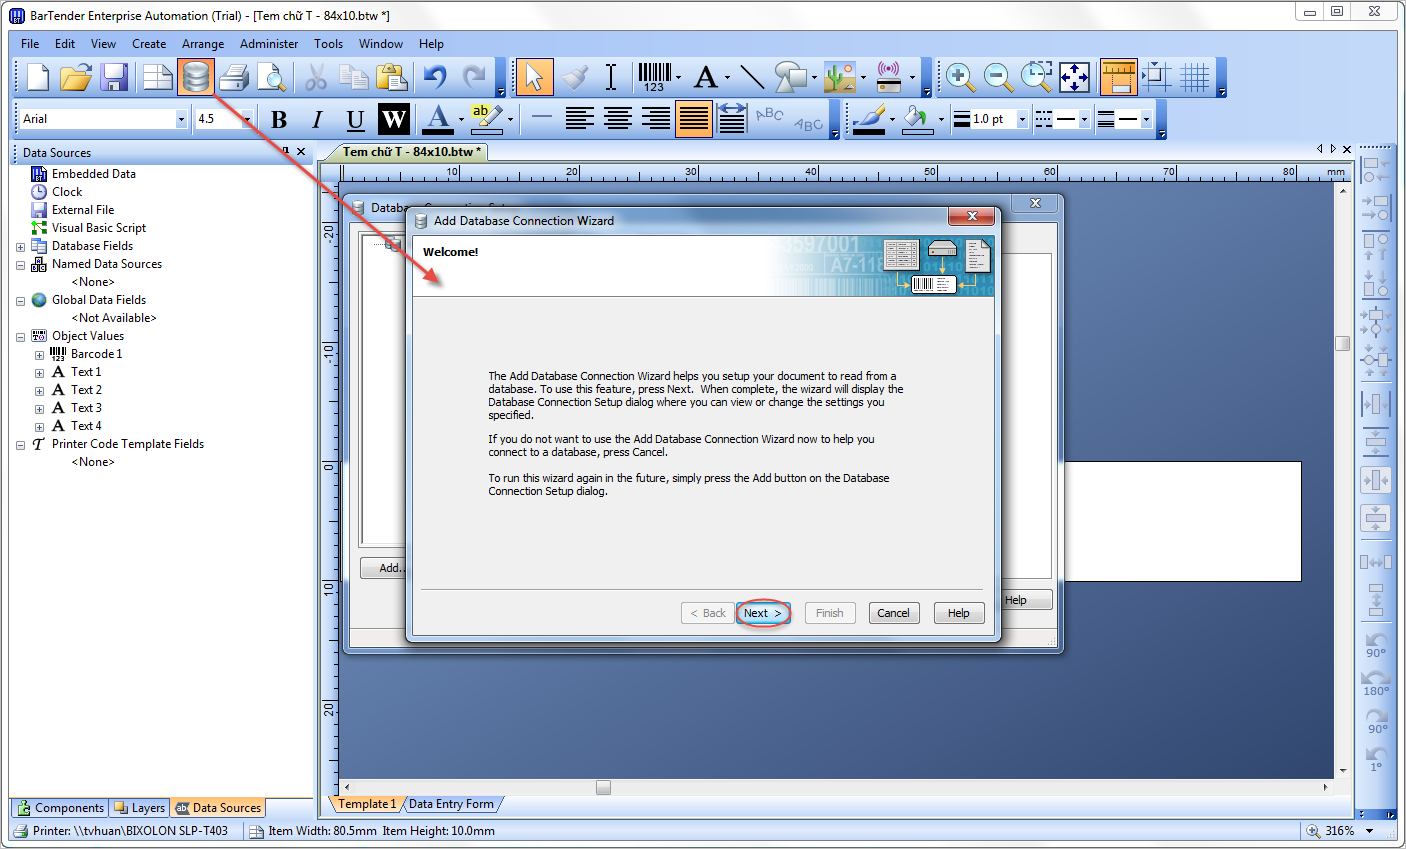
2. Synchronize data. Click the icon![]() on BarTender.
on BarTender.
3. Click Next.
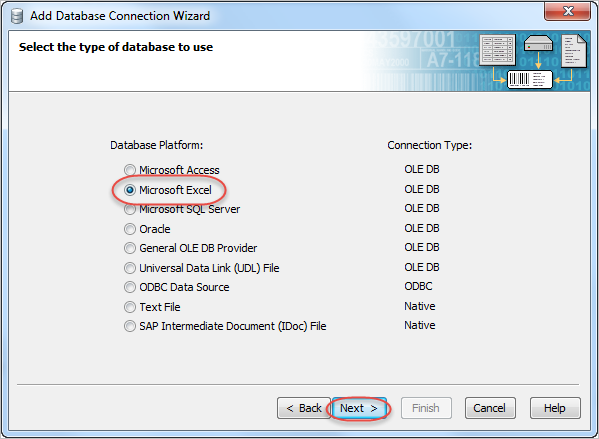
4. Select Microsoft Excel, click Next.
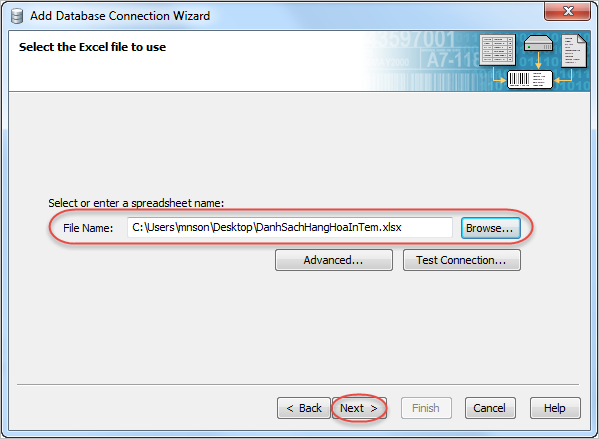
5. Select Excel file and click Next.
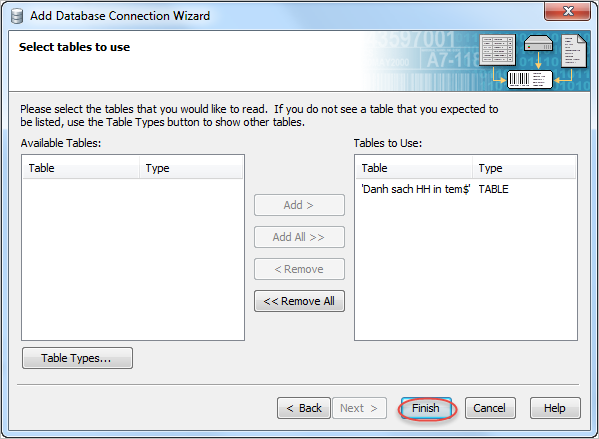
6. Add Sheet and click Finish.
7. Click OK.

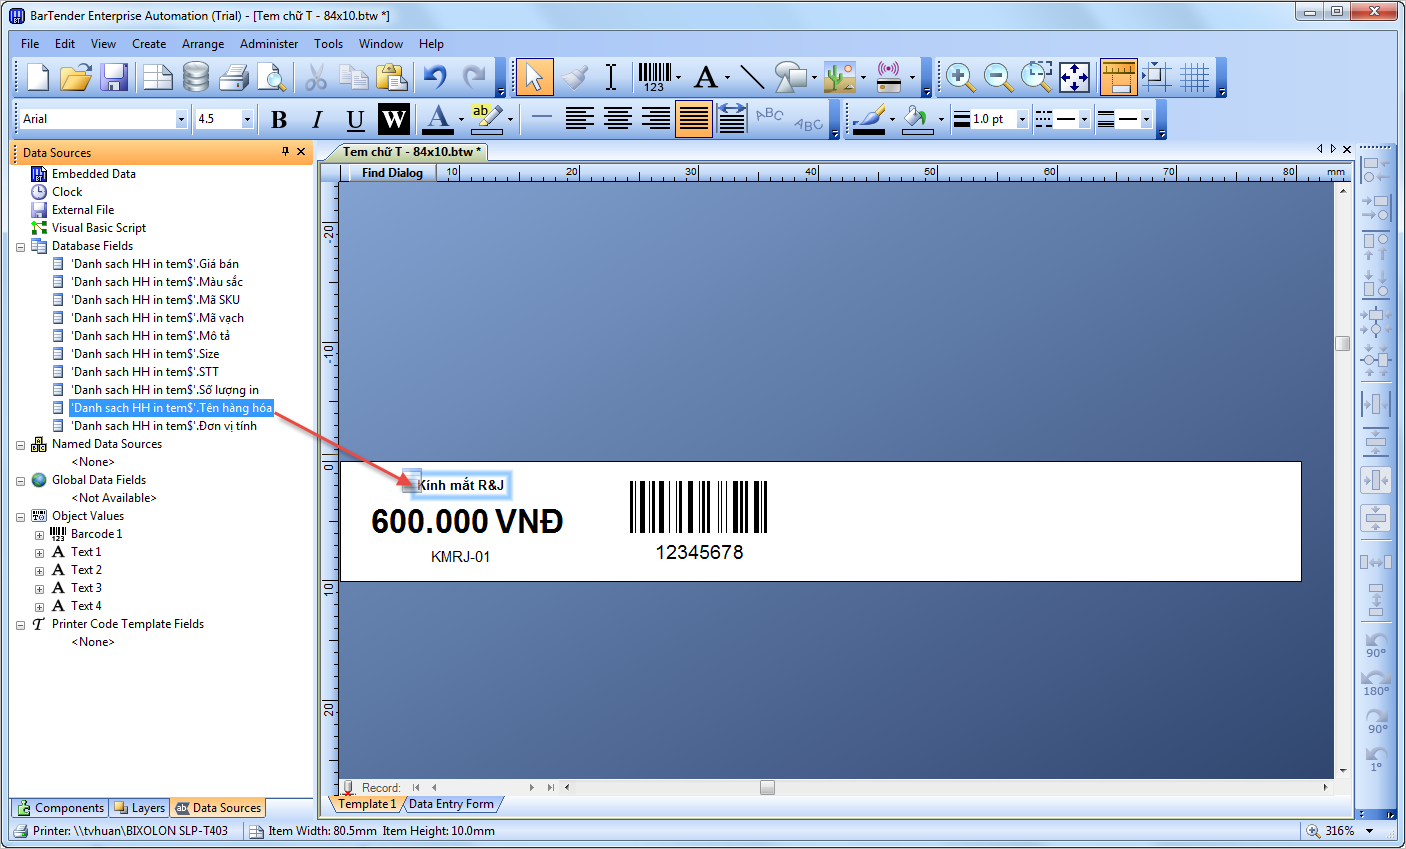
8. In Database Fields, drag information to the label.

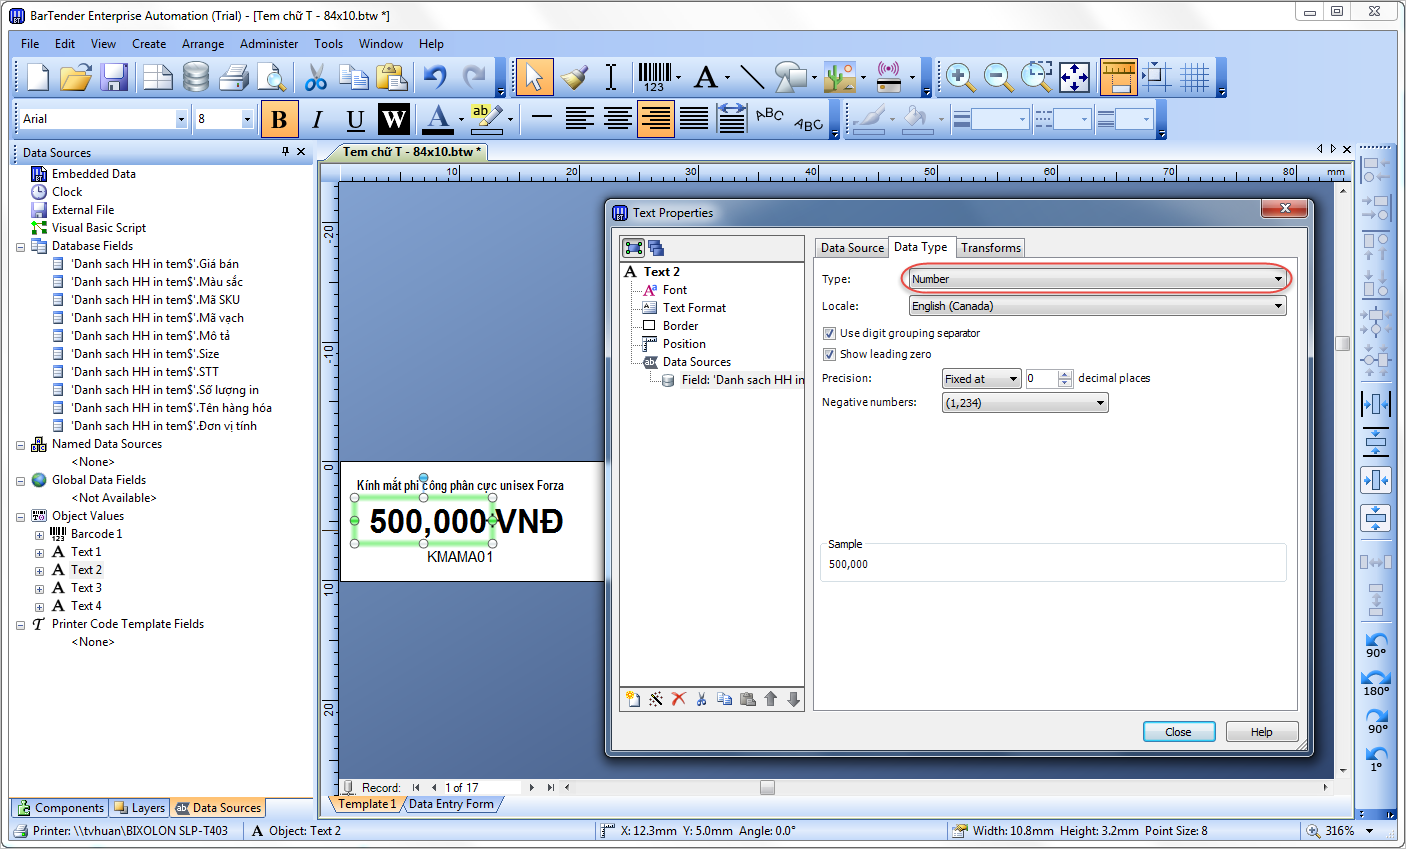
9. Regarding to prices, you can set it to digits:
- At Object Values, double click on the selling price.
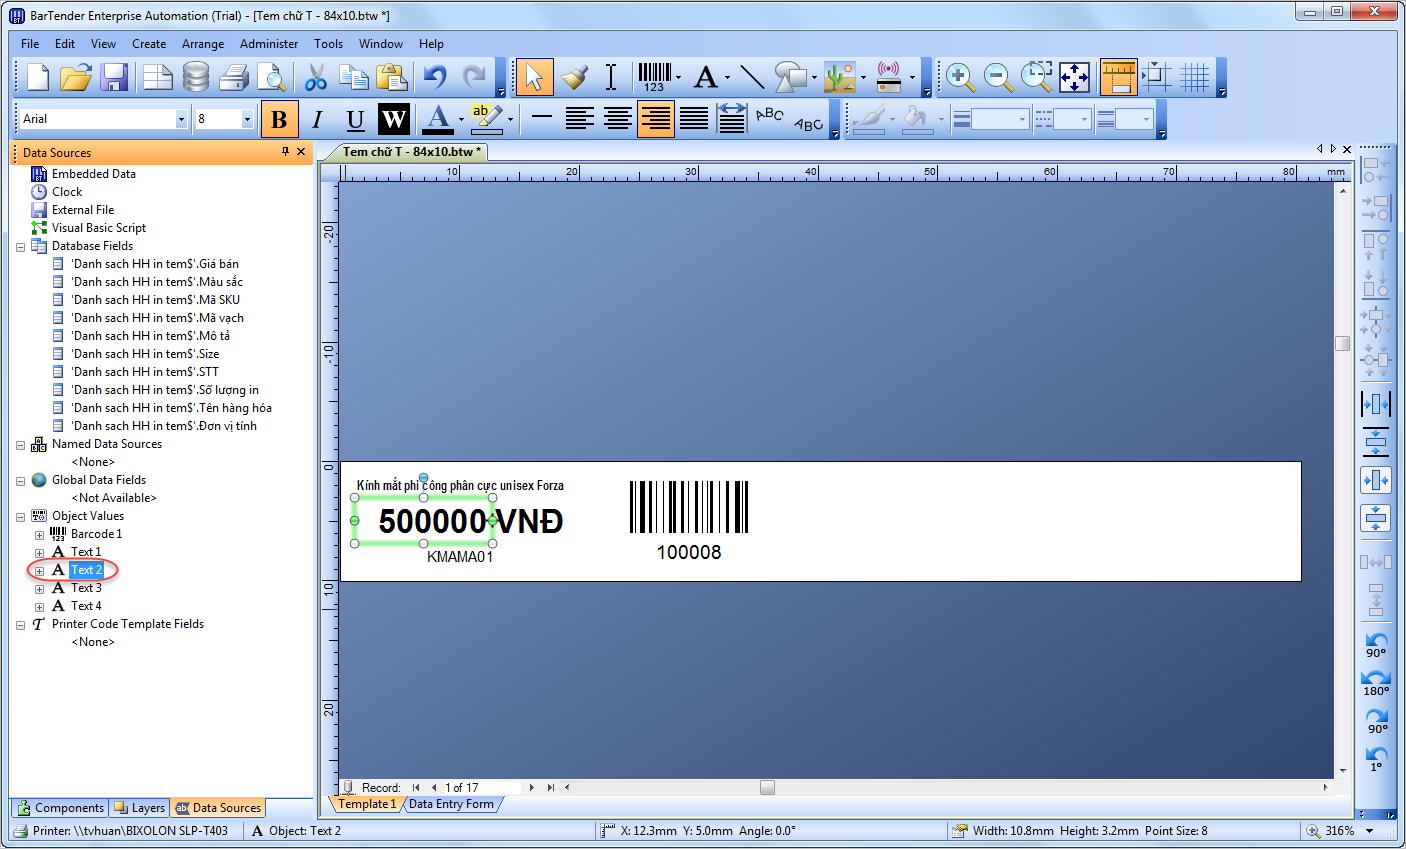
- Click Data Type tab, select Type: number.
2.4 Print label
After synchronizing Excel file with the label, print label as below:
1. Click the icon![]() or press Ctrl + P.
or press Ctrl + P.

2. Select to print all labels for items in the list or select labels you want to print.
3. Enter quantity.

4. Click Print.
For some printers, when printing the label will be reversed. It can be reset by pressing clicking Document Properties, check rotate 180o.


