1. Purpose
The owner/manager can send message to customers in bulk to notify of new arrivals as well as promotion programs.
2. Instruction steps
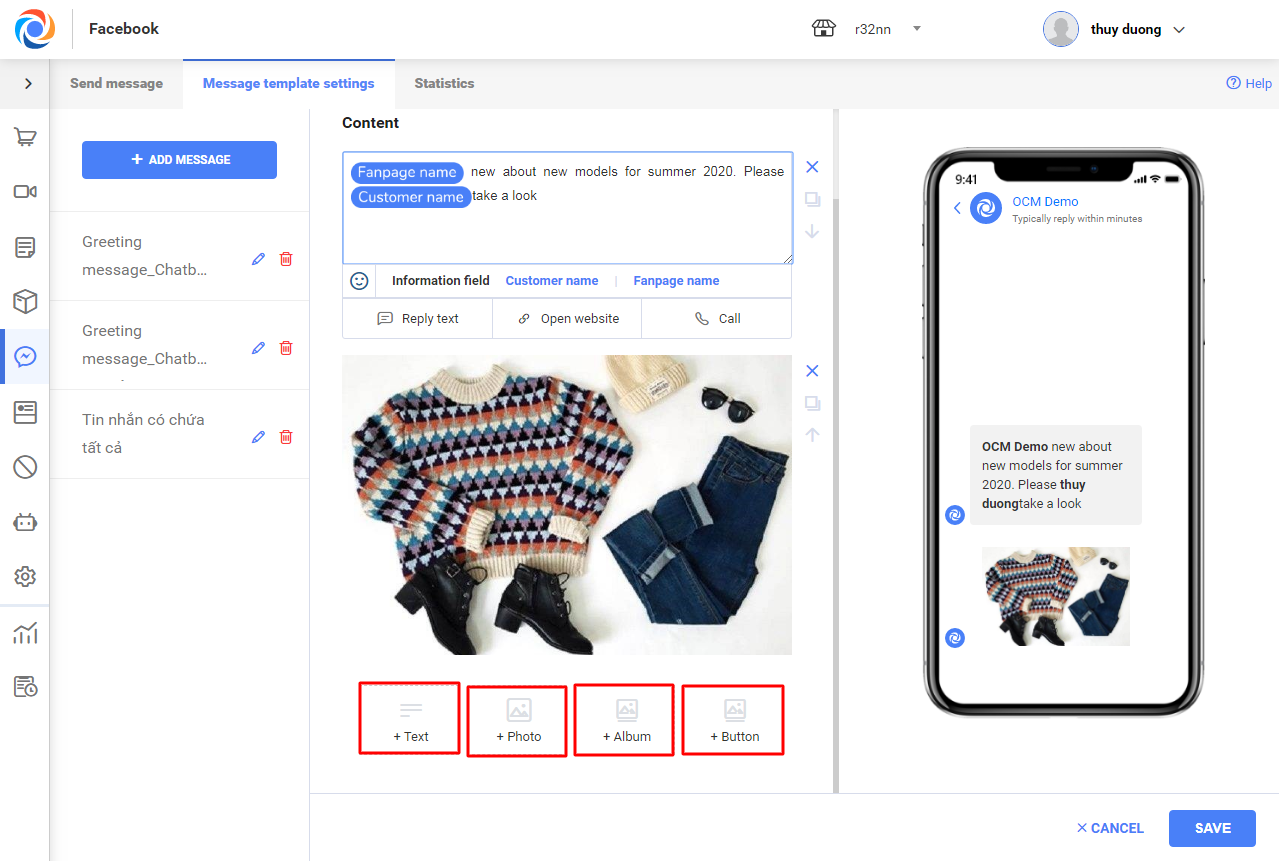
– On menu bar, select Message template settings to add new template before sending. Here enter the following information: title, photo, content, collection and buttons. Then click Save.
(Note: When you enter message content, you can use mixing fields including Customer name and Page name. These mixing fields will be replaced with the customers’ names and the fanpage where the list of customers is loaded)
– When setting new message template, you can use Text to add message content, Photo to add photo of item, Collection to add multiple photos, Selection button to set up reply script.
– When adding text, you can add Reply text, Open website, Call.
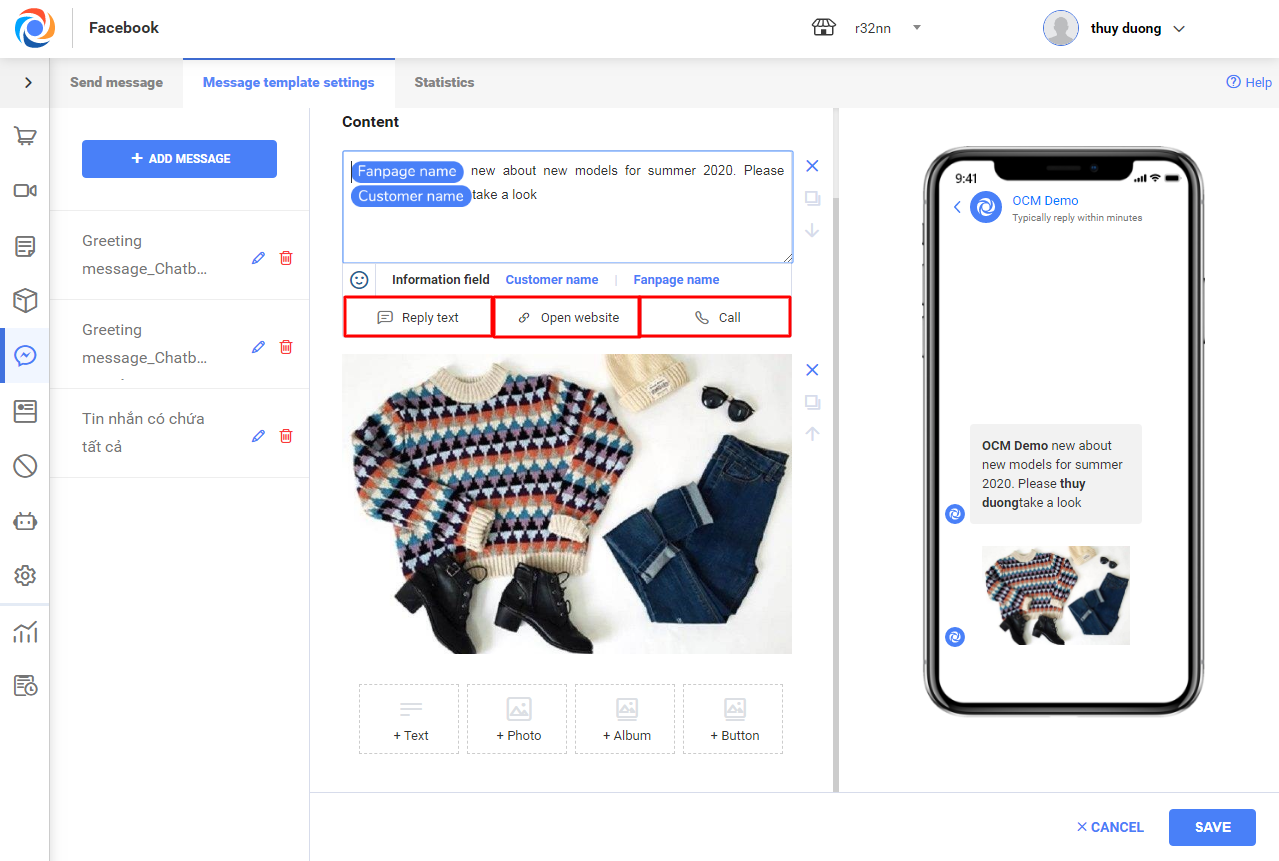
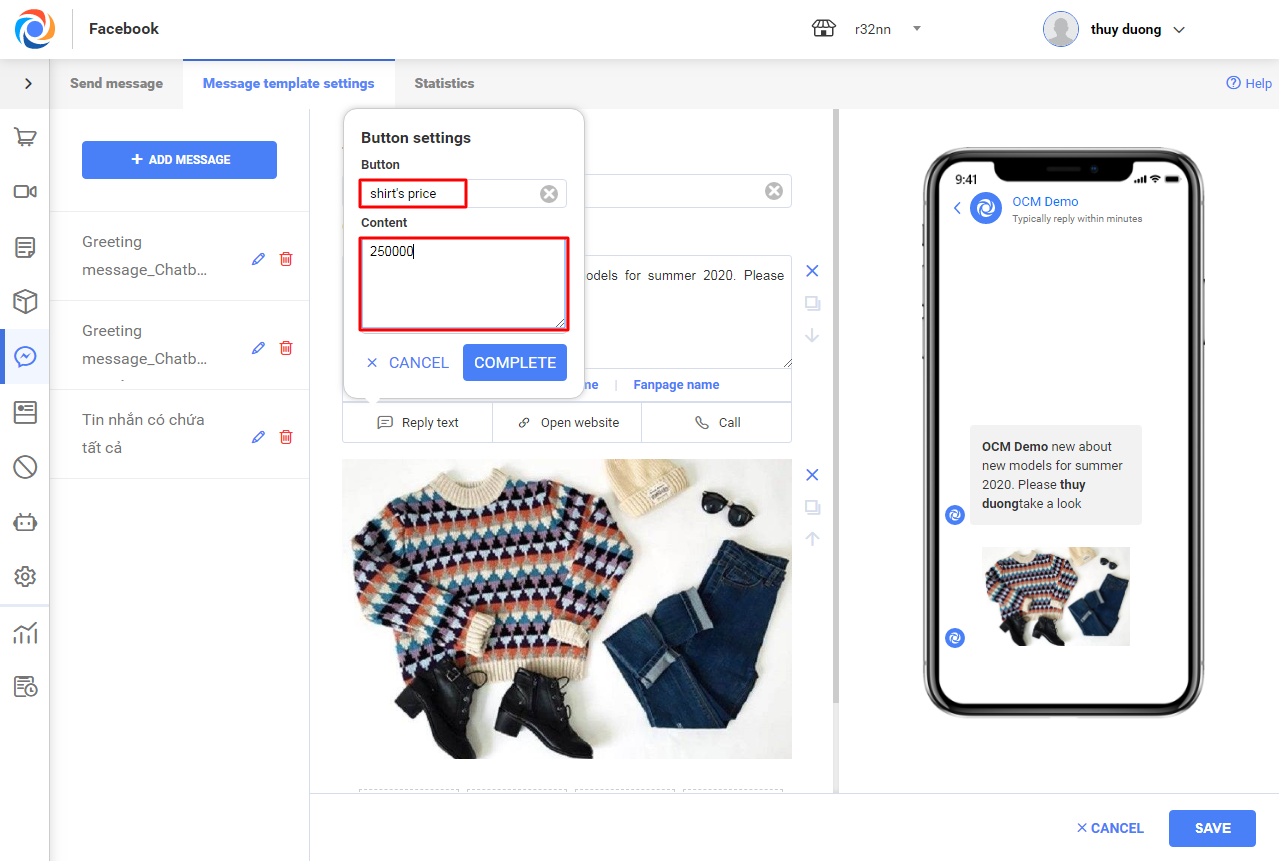
+ Add Reply text: Select Button settings and enter Button name and Contenet. When the shop sends message to customer and the customer clicks on the button, the message content will show up.
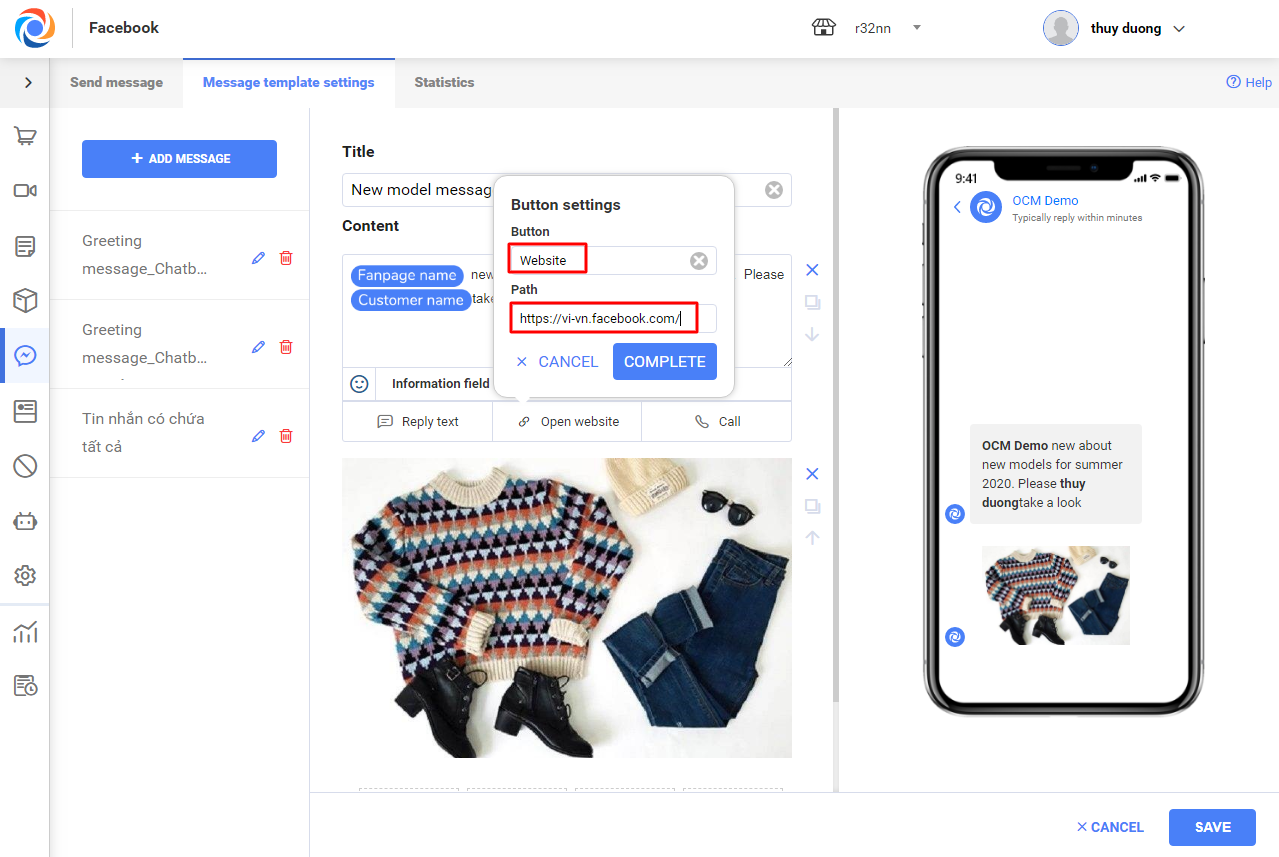
+ Add Open website: click Button settings and enter Button name and Link. When the shop sends message to customer and the customer clicks on the button, it will navigate to the website.
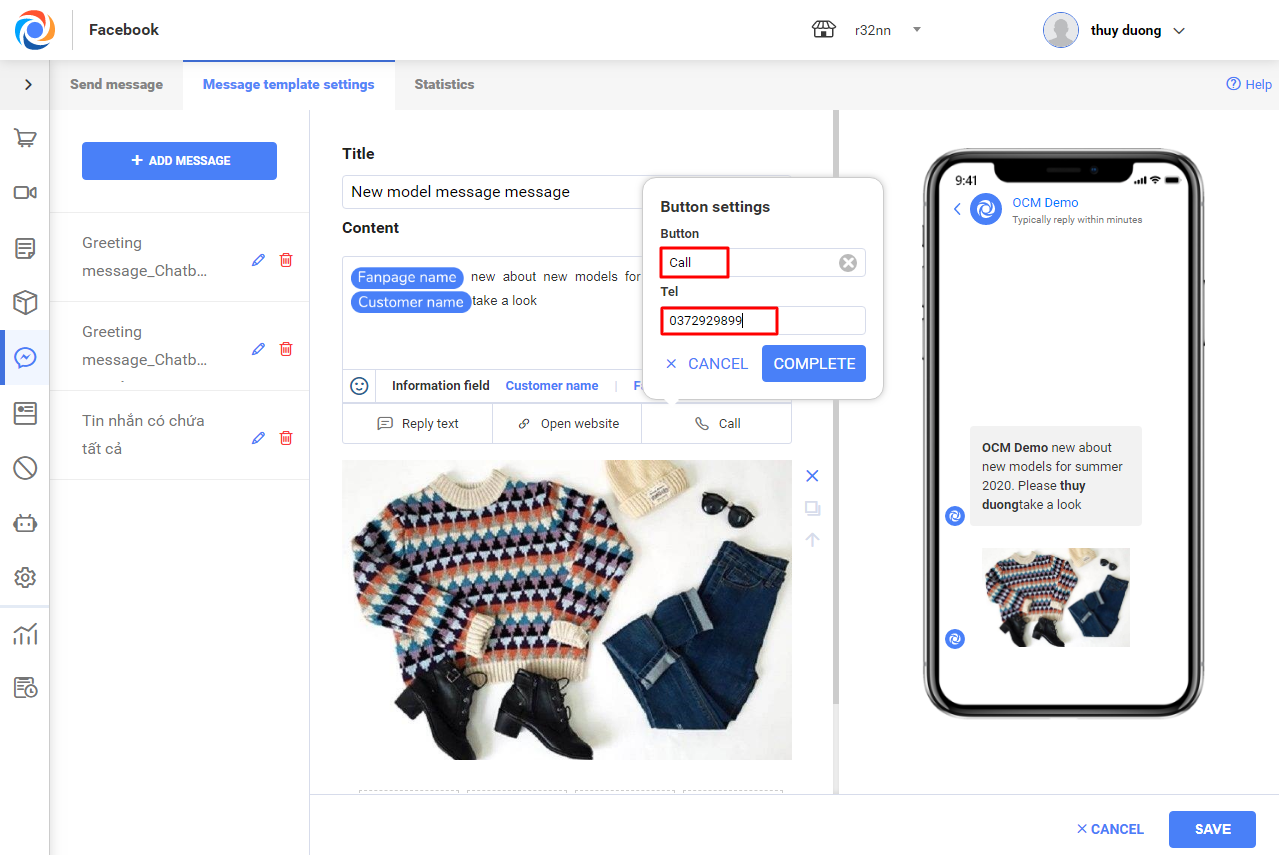
+ Add Call: Select Button settings and enter Button name and Phone number. When the shop sends message to customer and the customer clicks on the button, the customer can call the shop.
– When adding many photos and Text buttons, use up and down button to move the location of photo and Text or click X to delete, click  to copy, click Change photo on the photo to select the other photo.

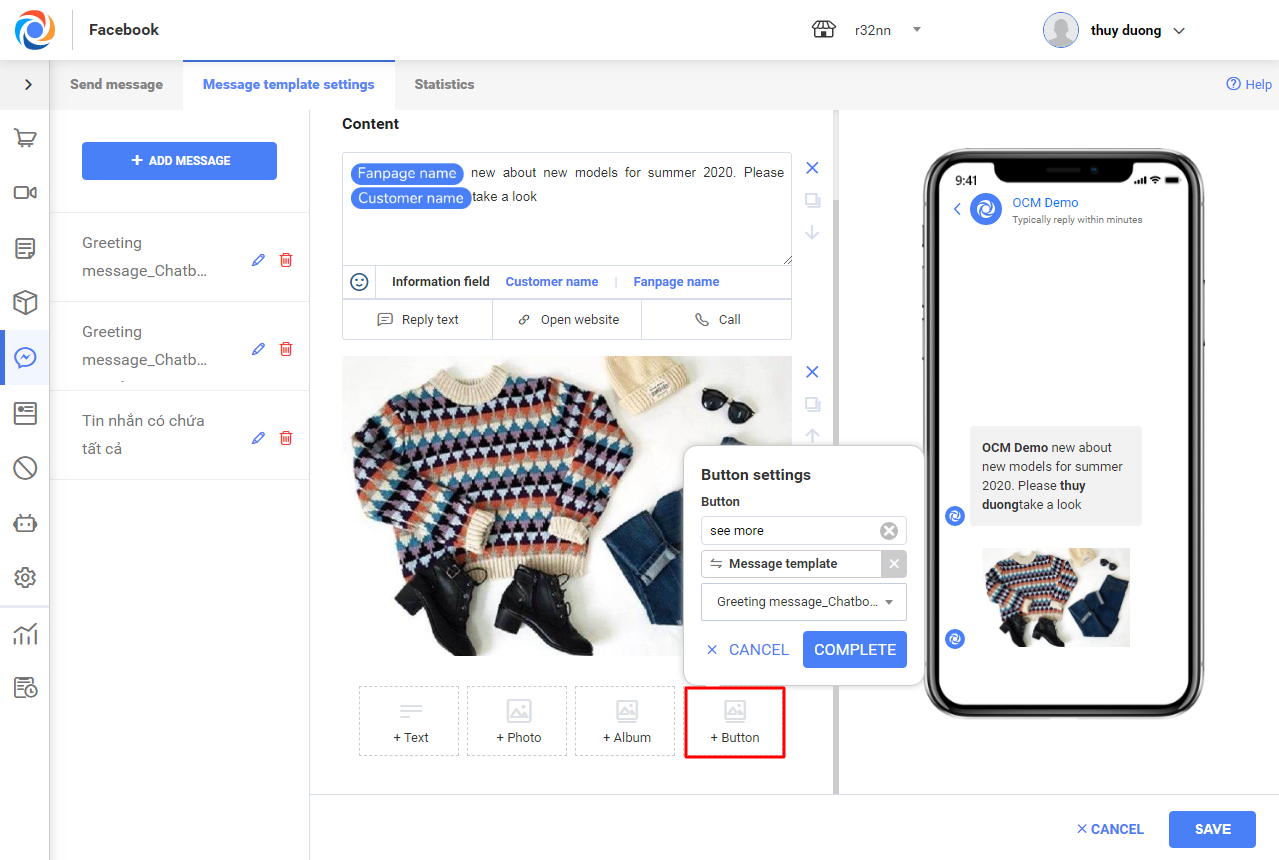
– Add Button to set up reply script with new text or preset template.
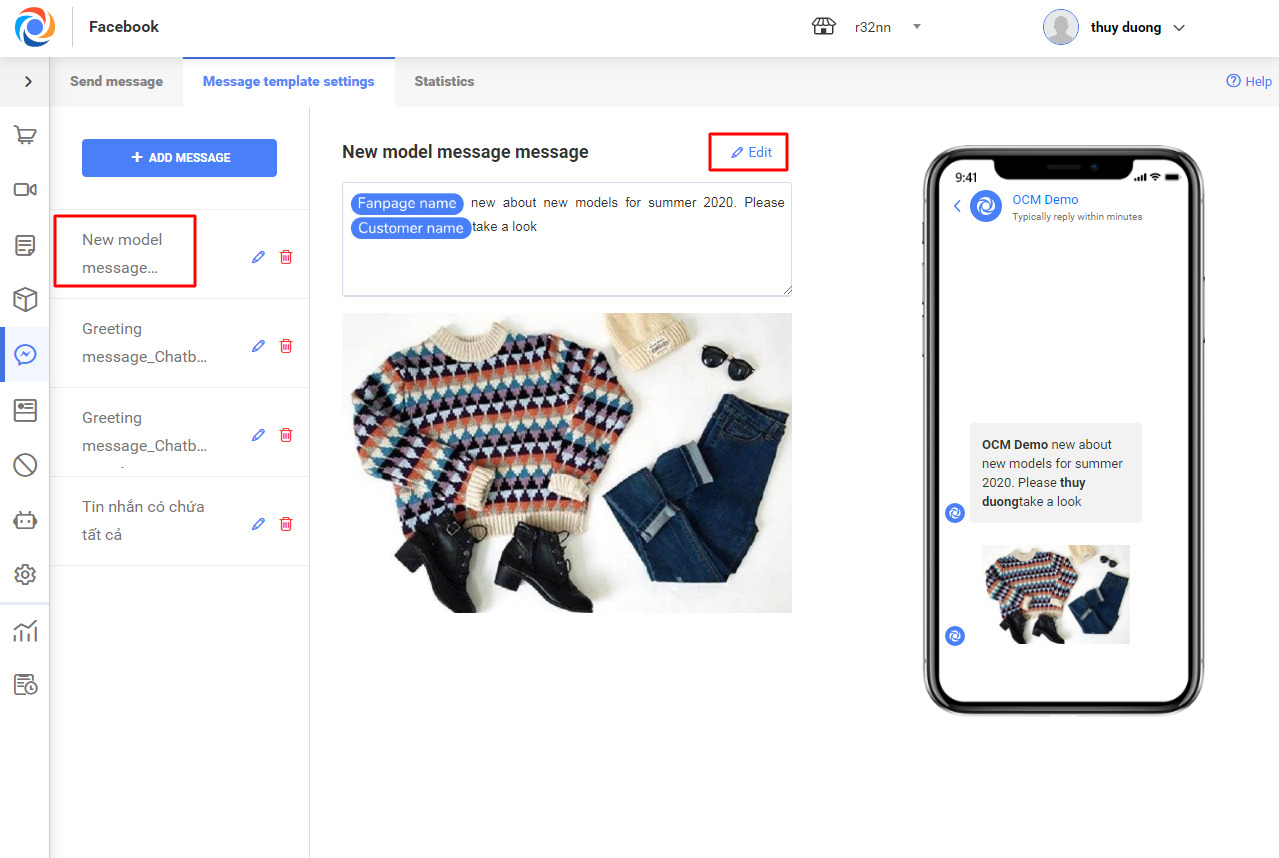
– On Saved messages screen, select message title to check out message details. Click Edit or Delete to edit or delete the message.
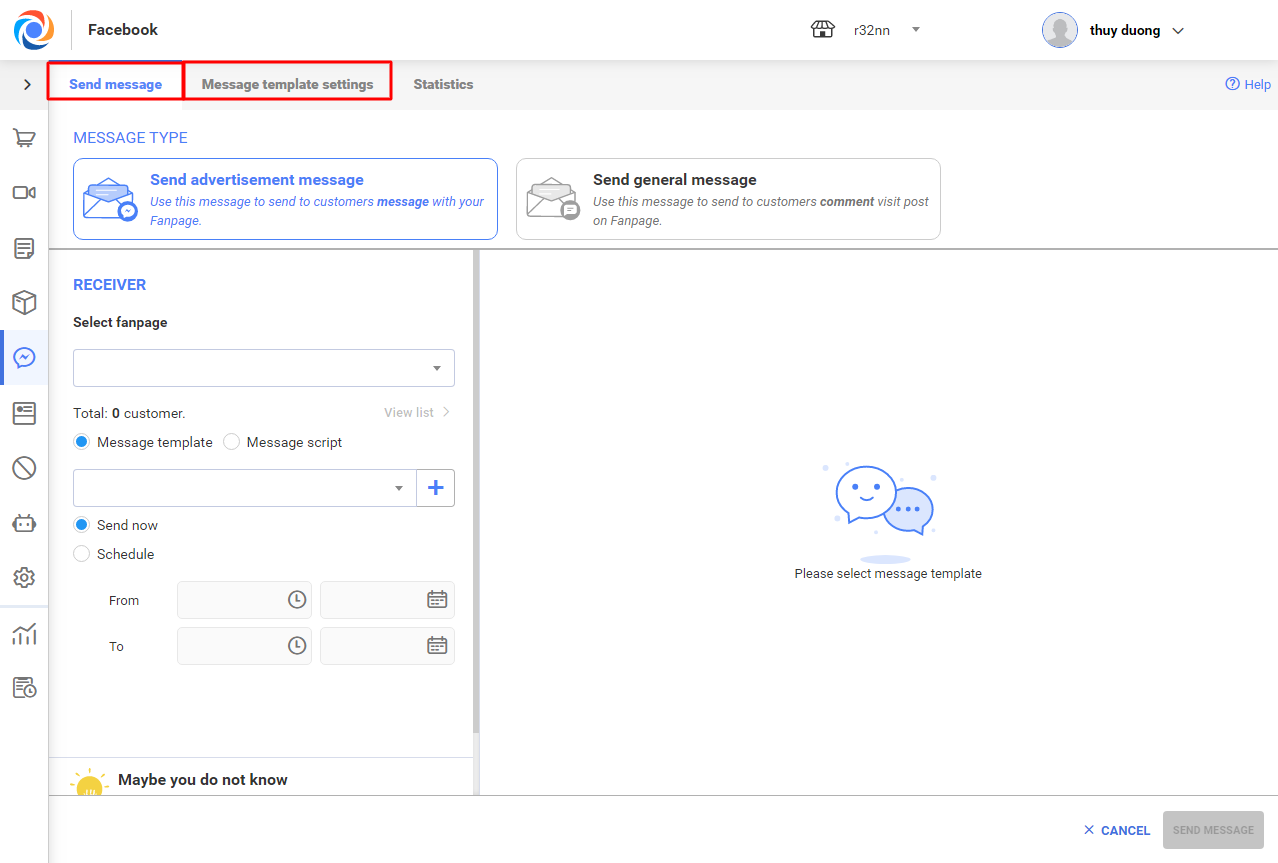
2.2 Send message
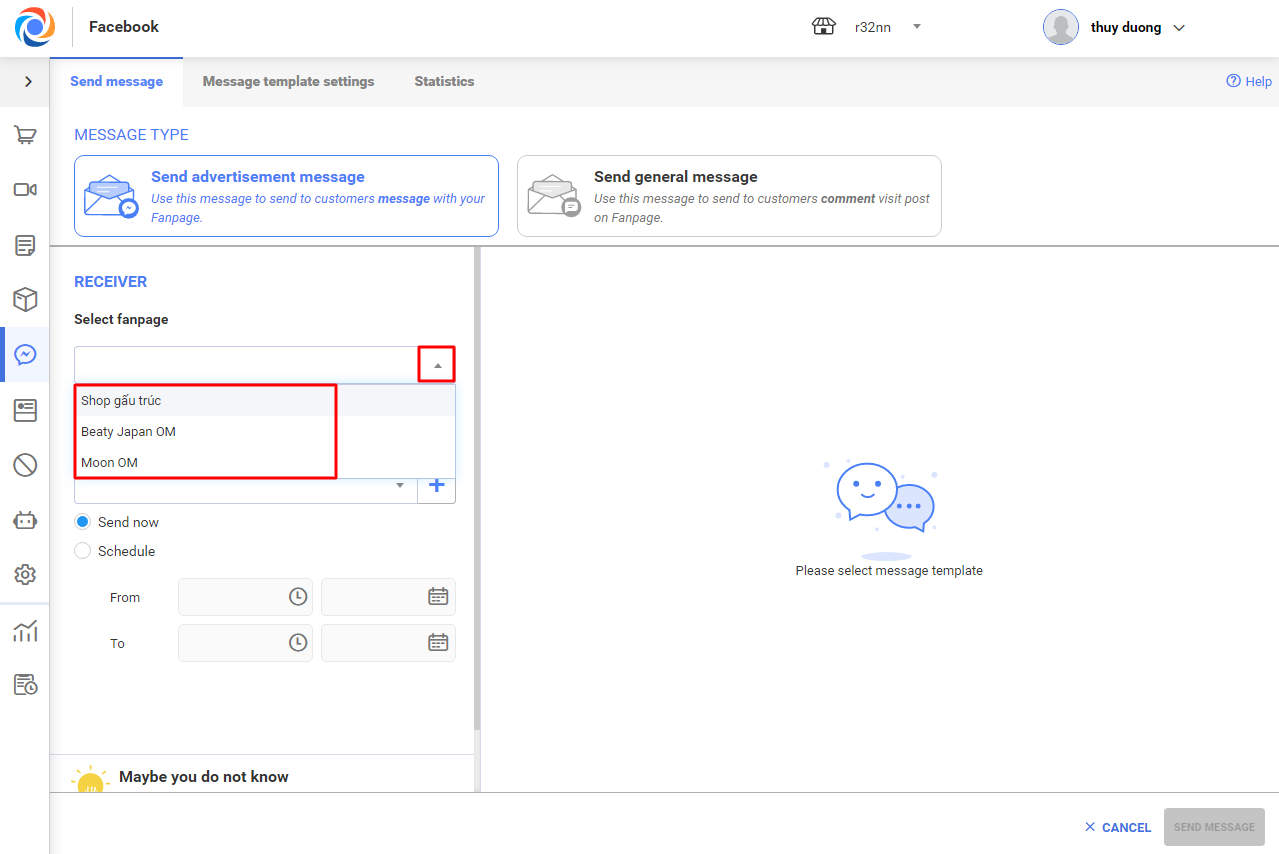
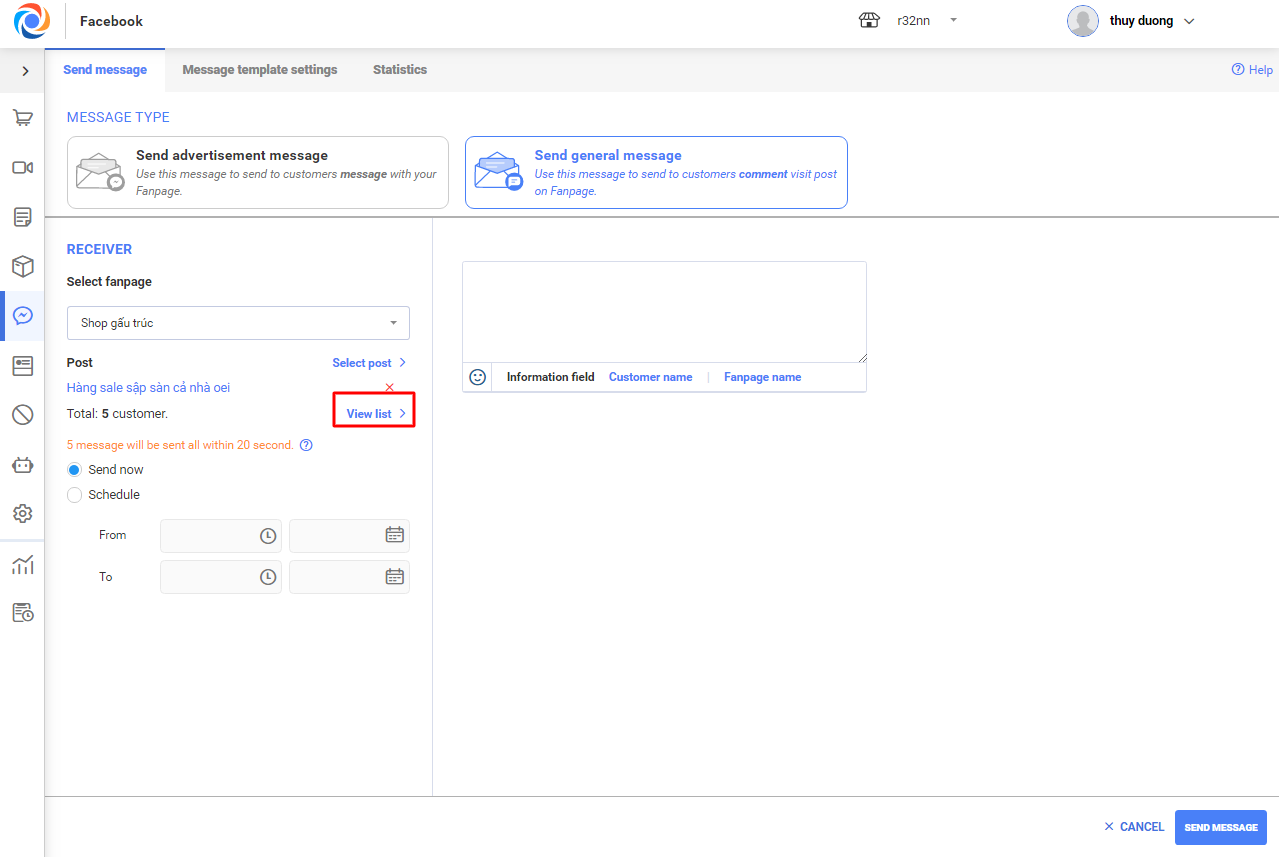
2.2.1 Send ads message (Send messages to customers who chatted with fanpage)
– Select fanpage to send message
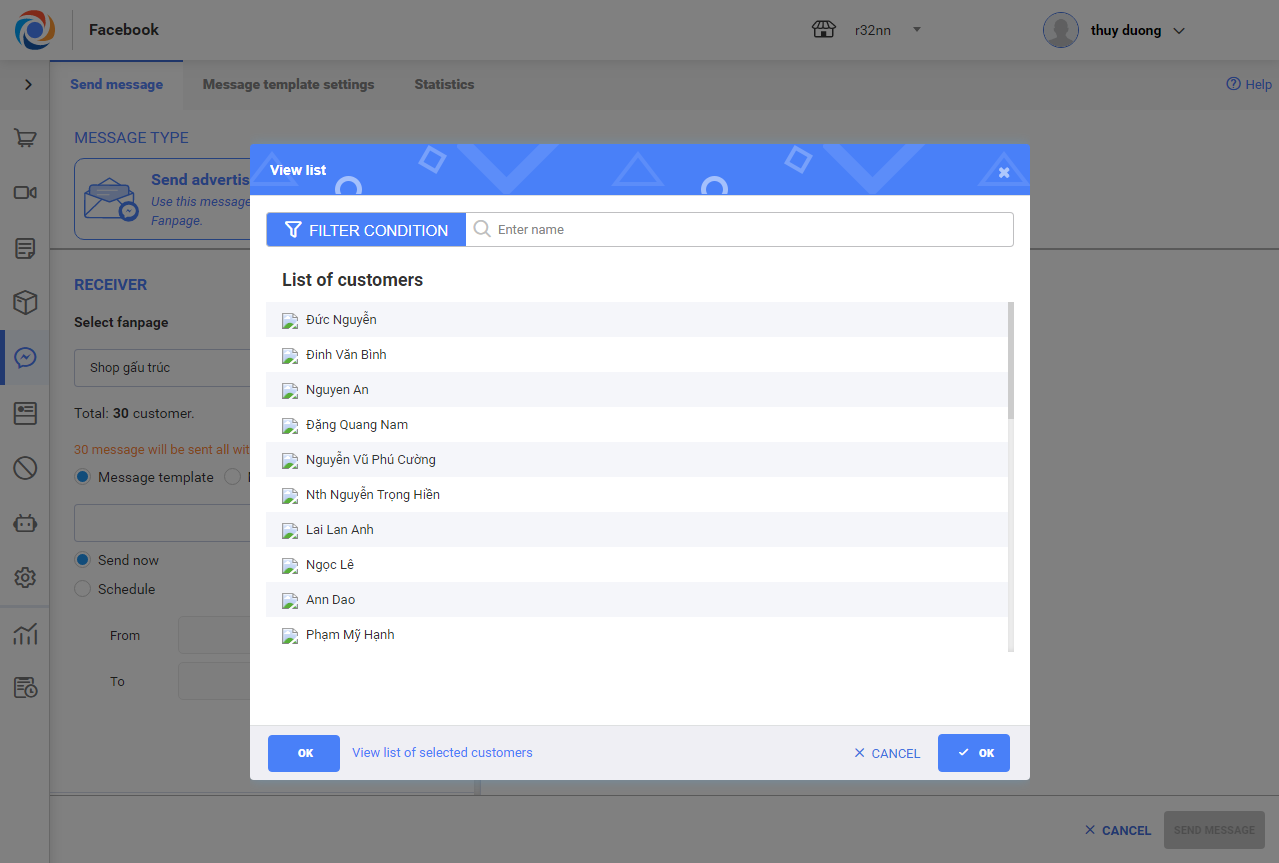
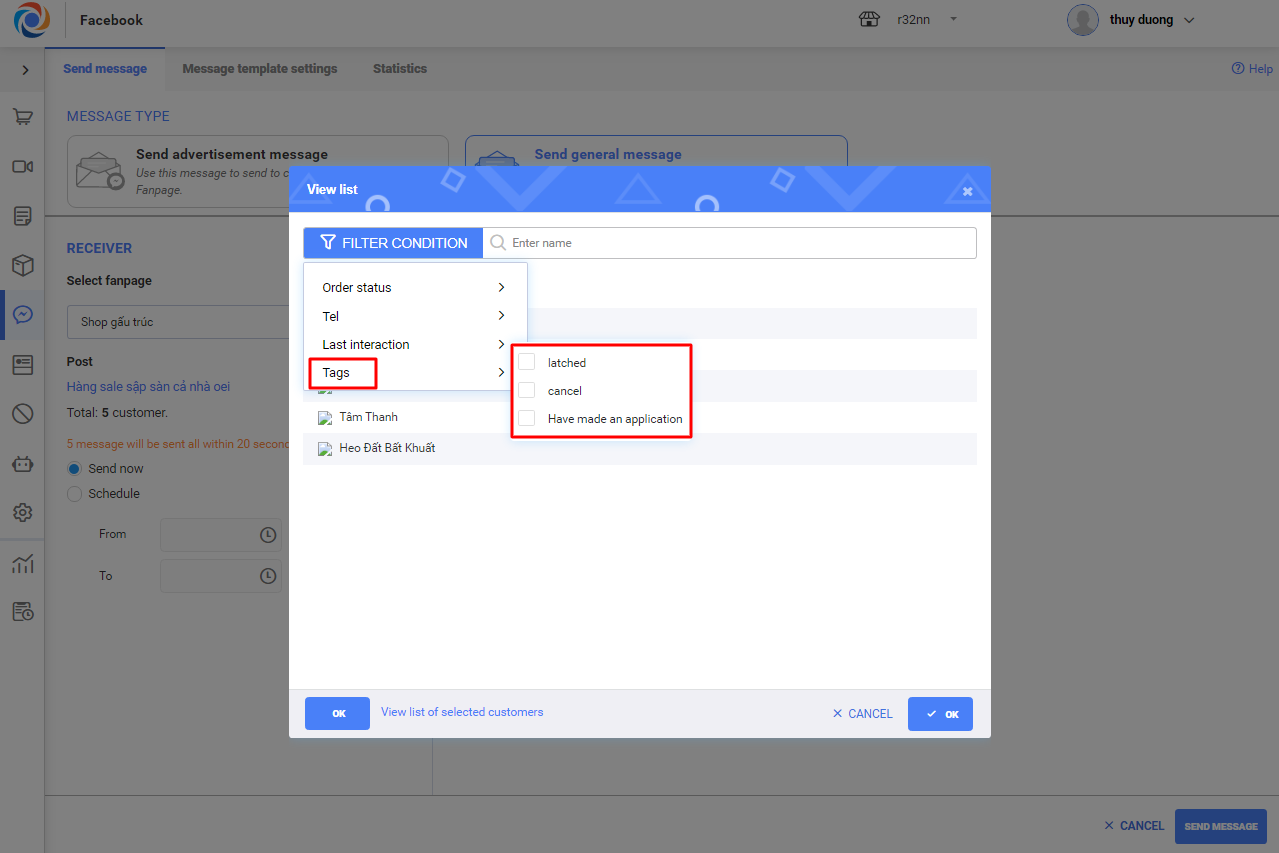
– Click on View list to check out list of customers having chatted with fanpage.
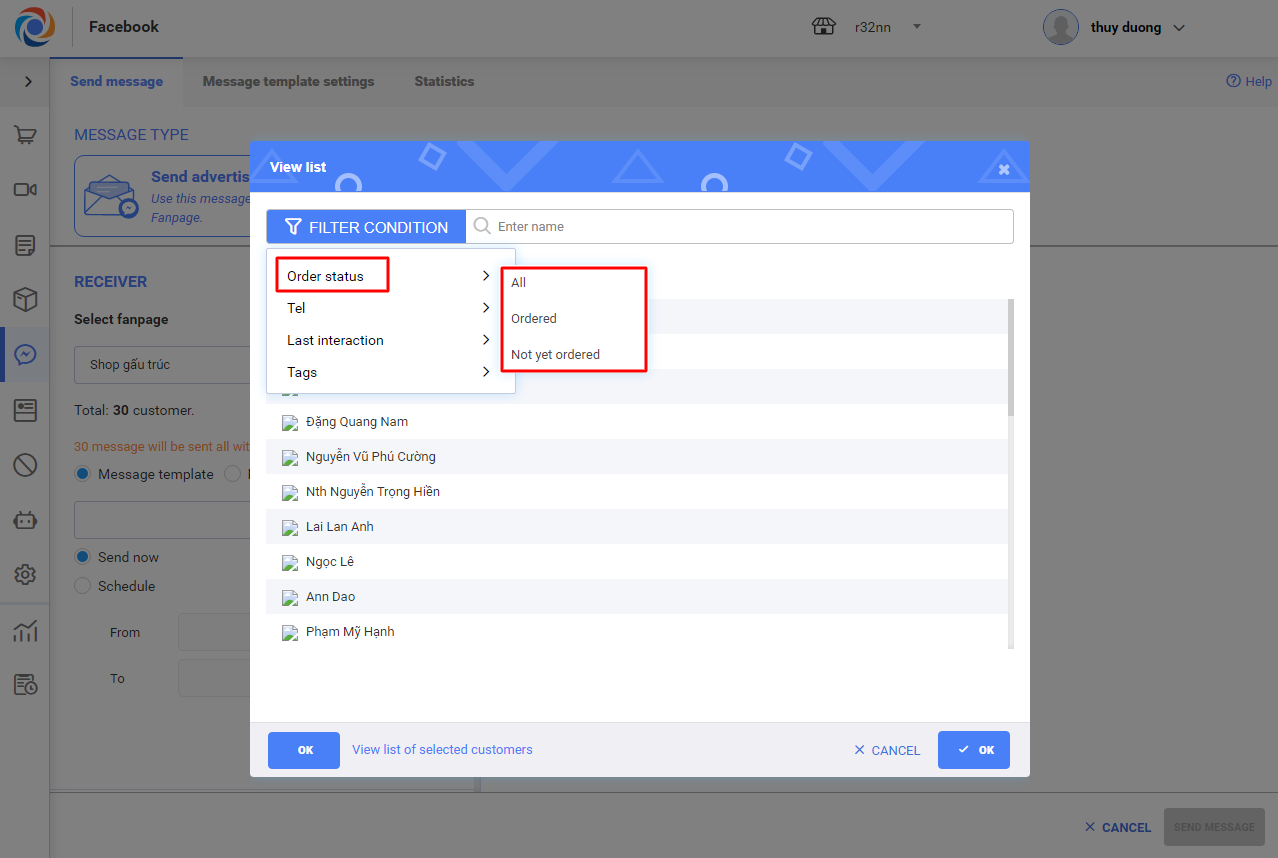
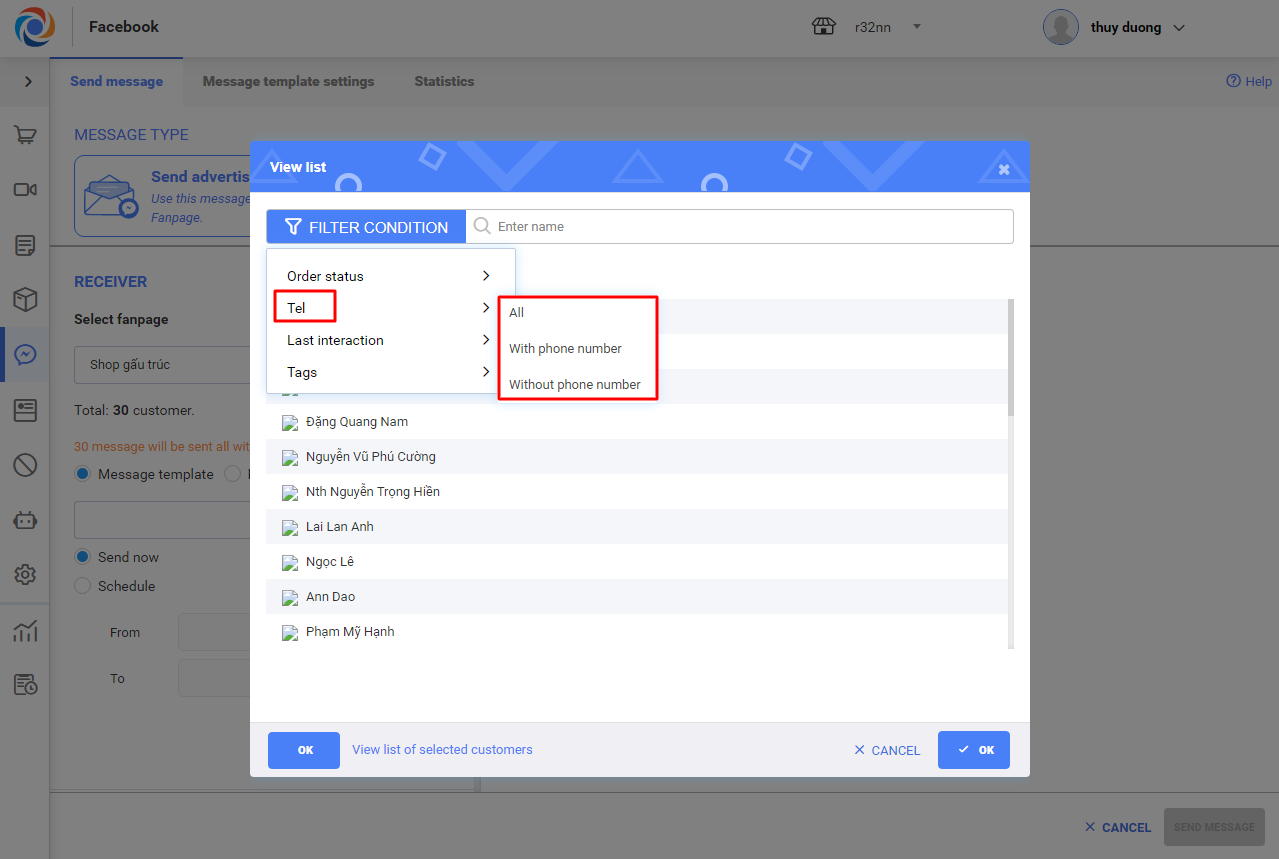
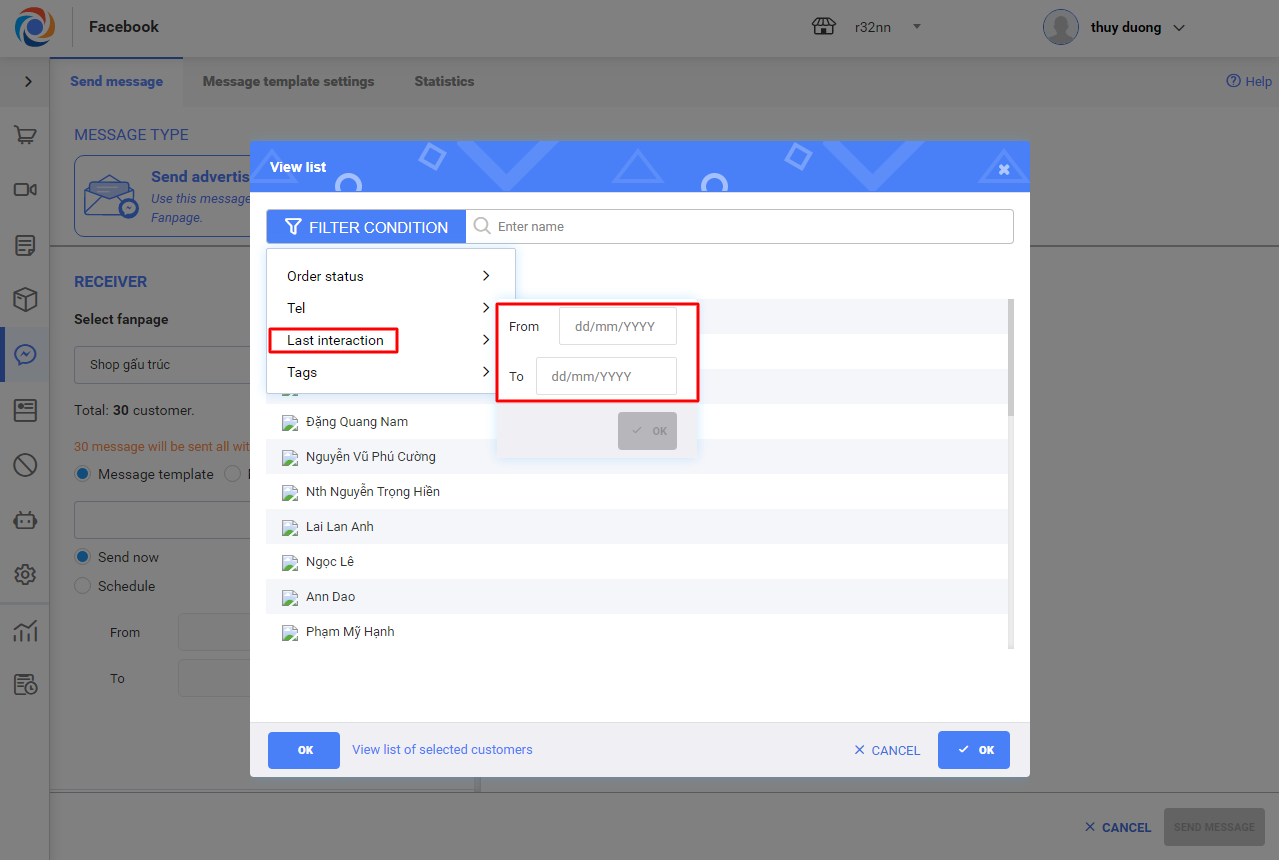
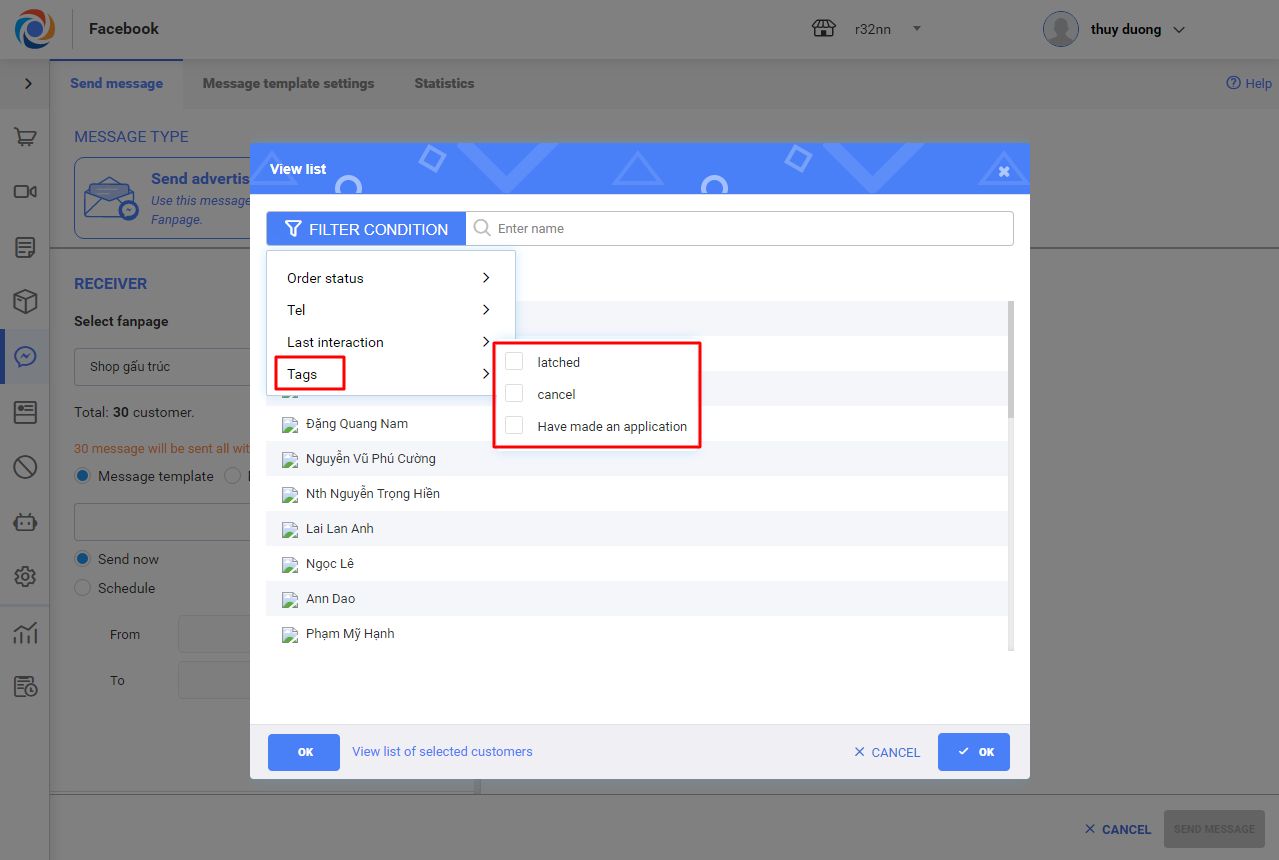
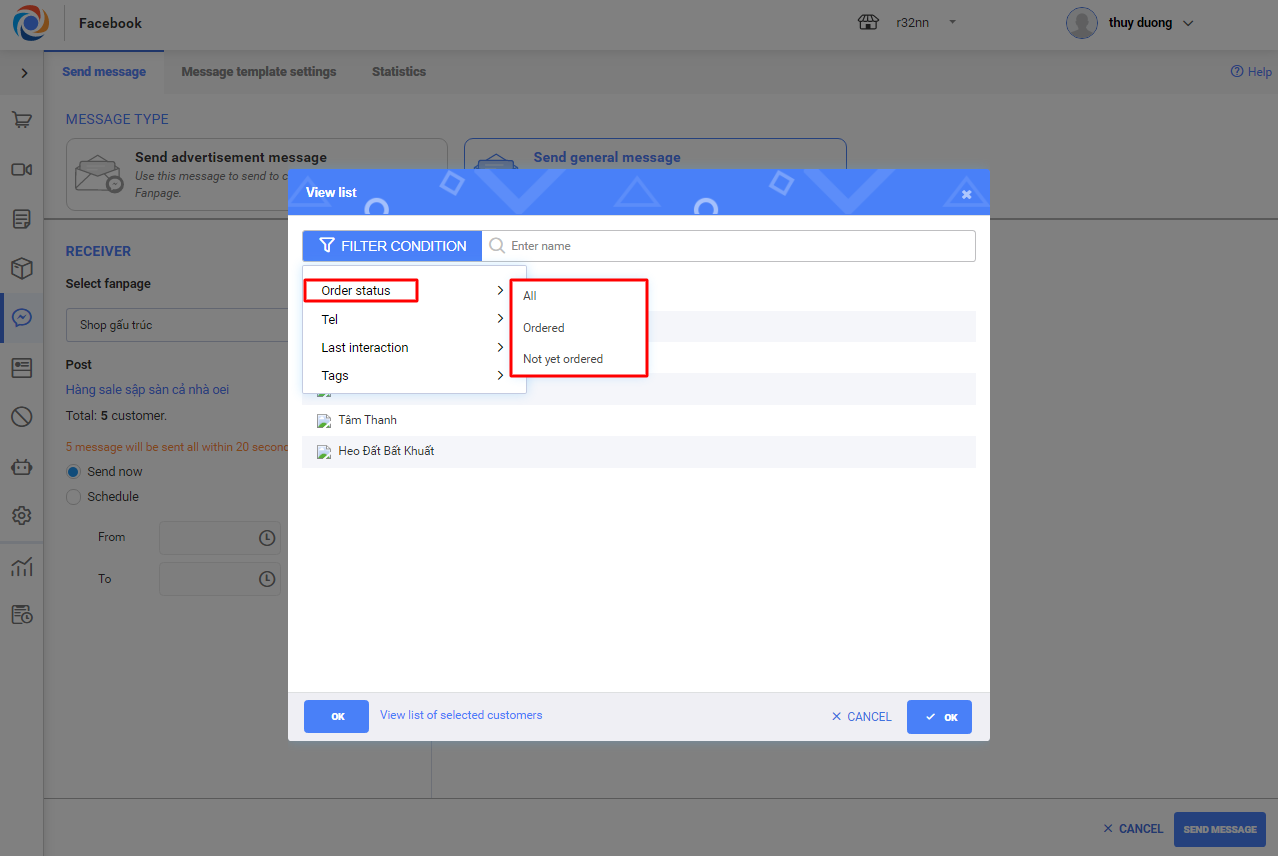
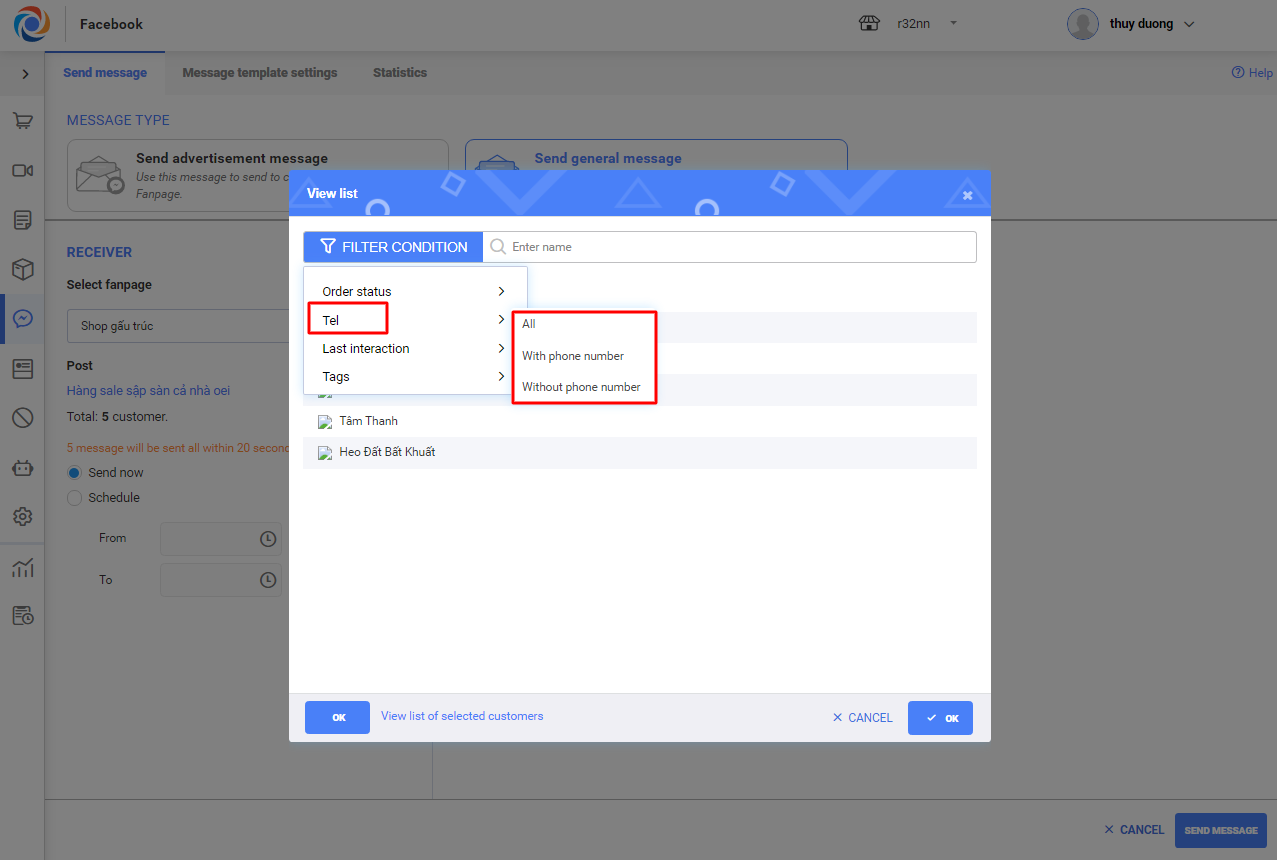
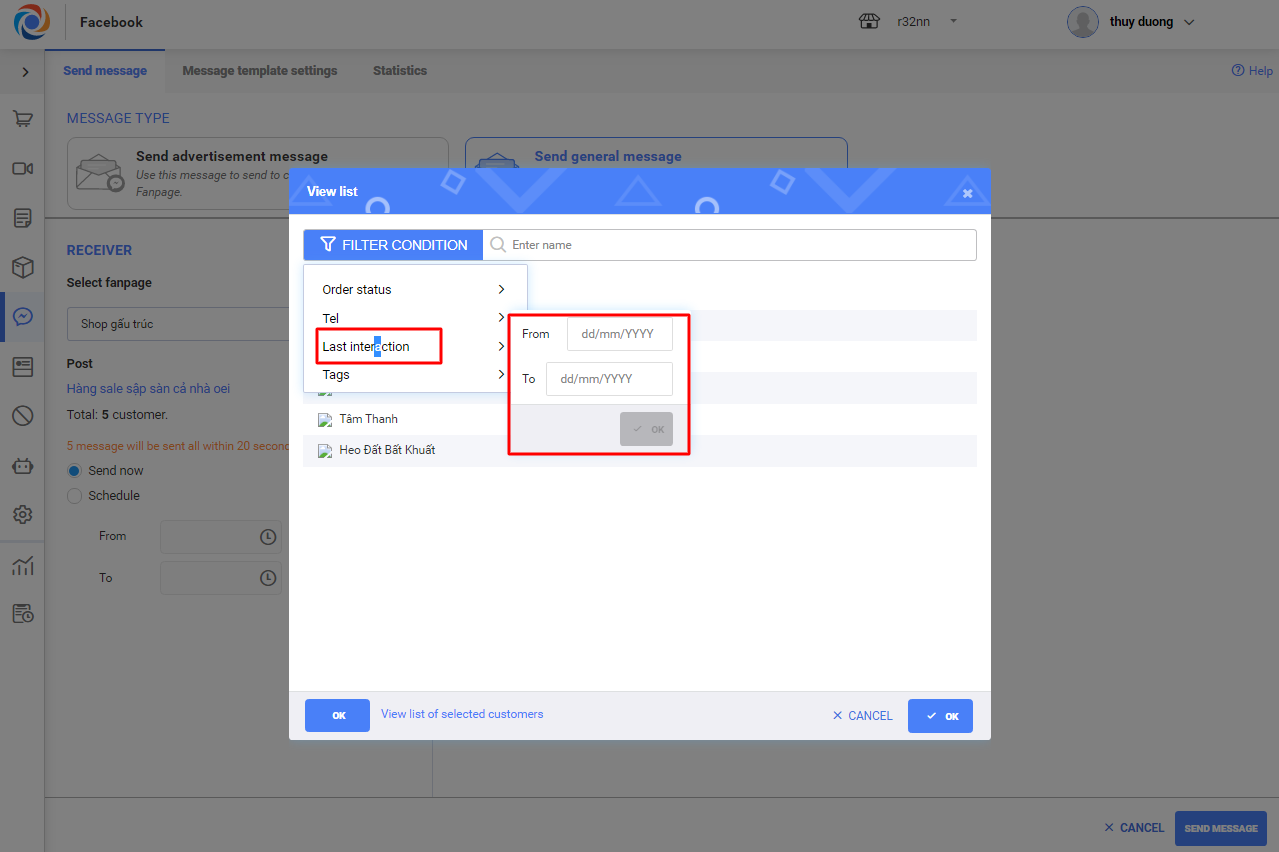
– Here you can filter customers by Order status, Phone number, Interaction time, Tags
+ Filter by Order status: Ordered means the customer has placed order, Not yet ordered means the customer has never placed any order yet.
+ Filter by phone number: With phone number means the customer chatted with fanpage and left their phone number; Without phone number means there’s no phone number in the conversation.
+ Filter by Interaction time: including customers who chatted with fanpage or the fanpage replied during the selected time.
+ Filter by Tags: including customers who are assigned selected tags
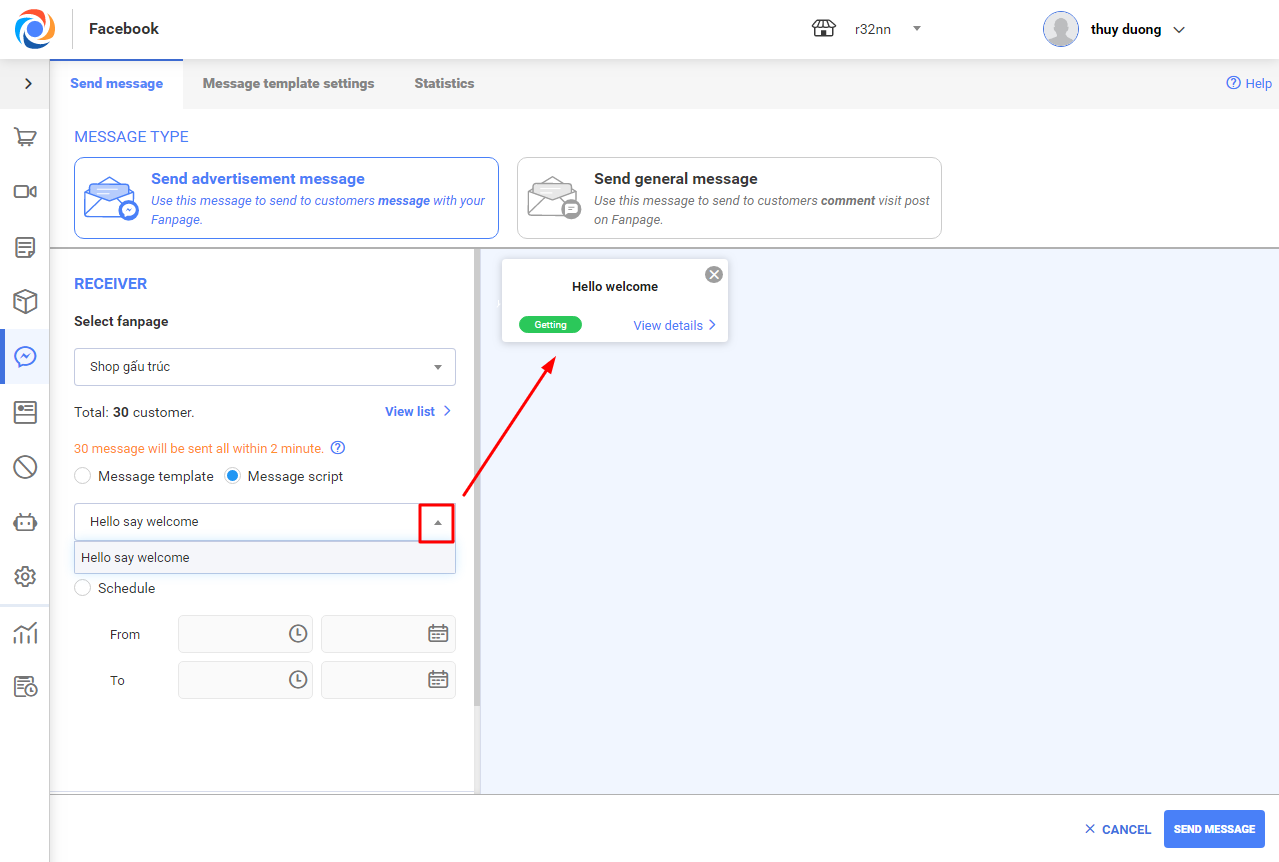
– There are 2 options to send message to customer: Send message template or Send message script (which includes scripts to reply in chatbot. View instruction here)
Case 1: Select message script
Case 2: Select message template
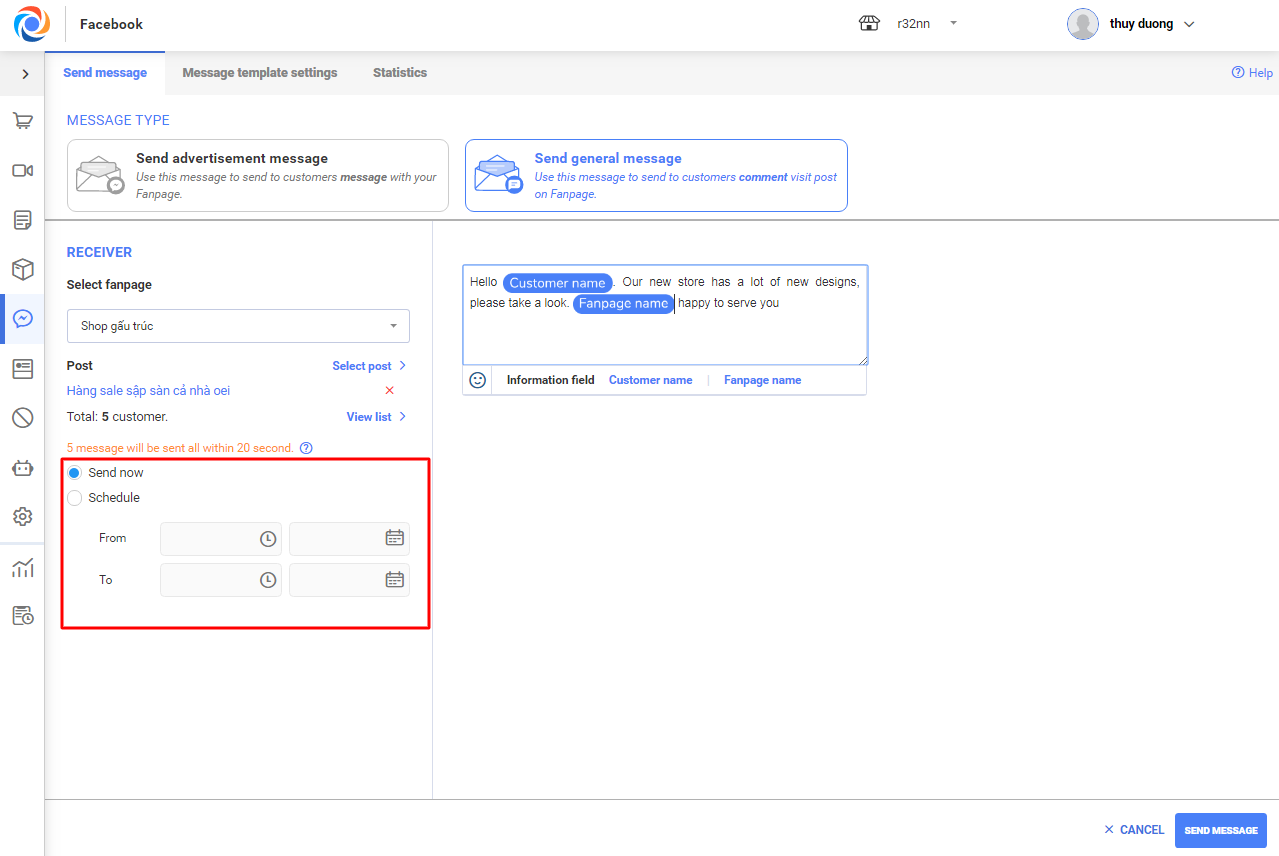
+ Select available template or add new
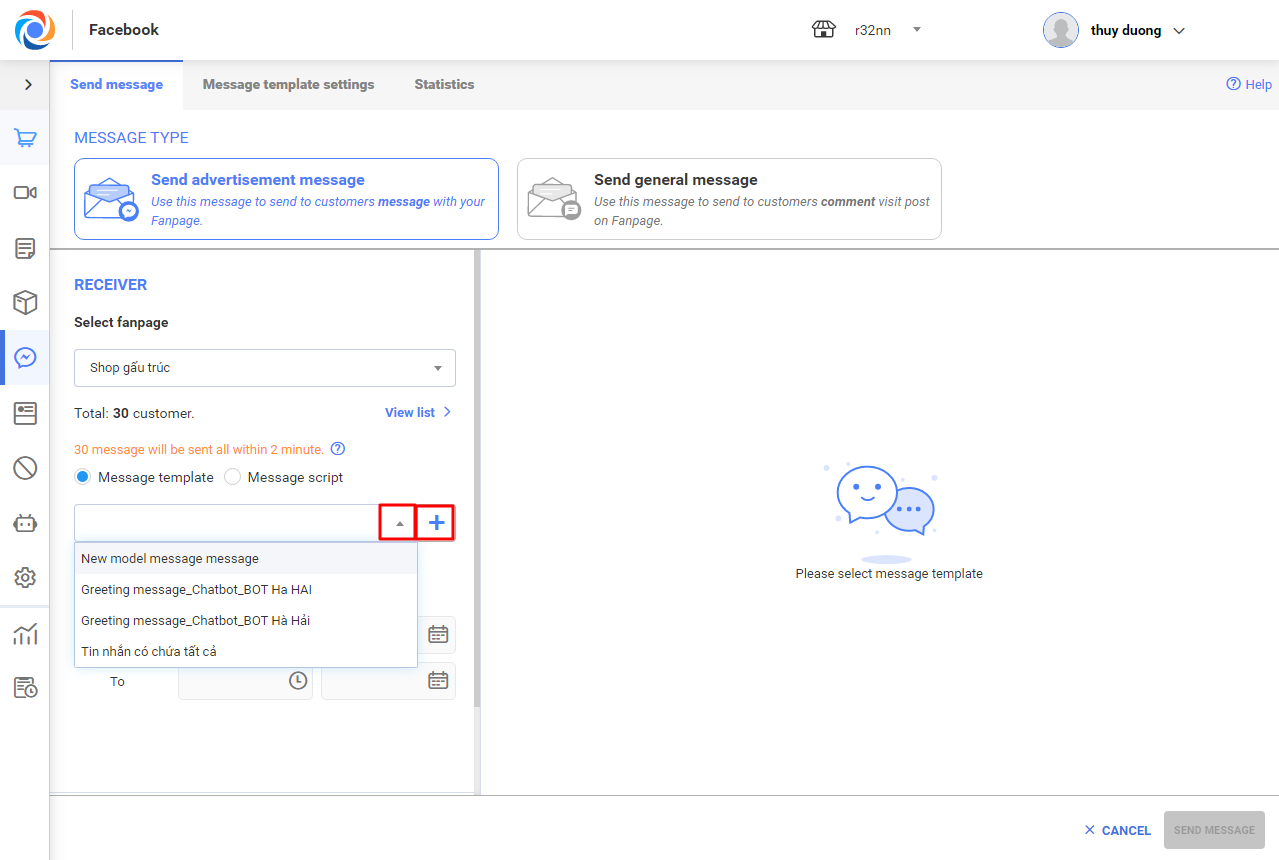
+ Select time to send message: Click Send now or Schedule time to send

+ After setting up full information, start sending message to customer.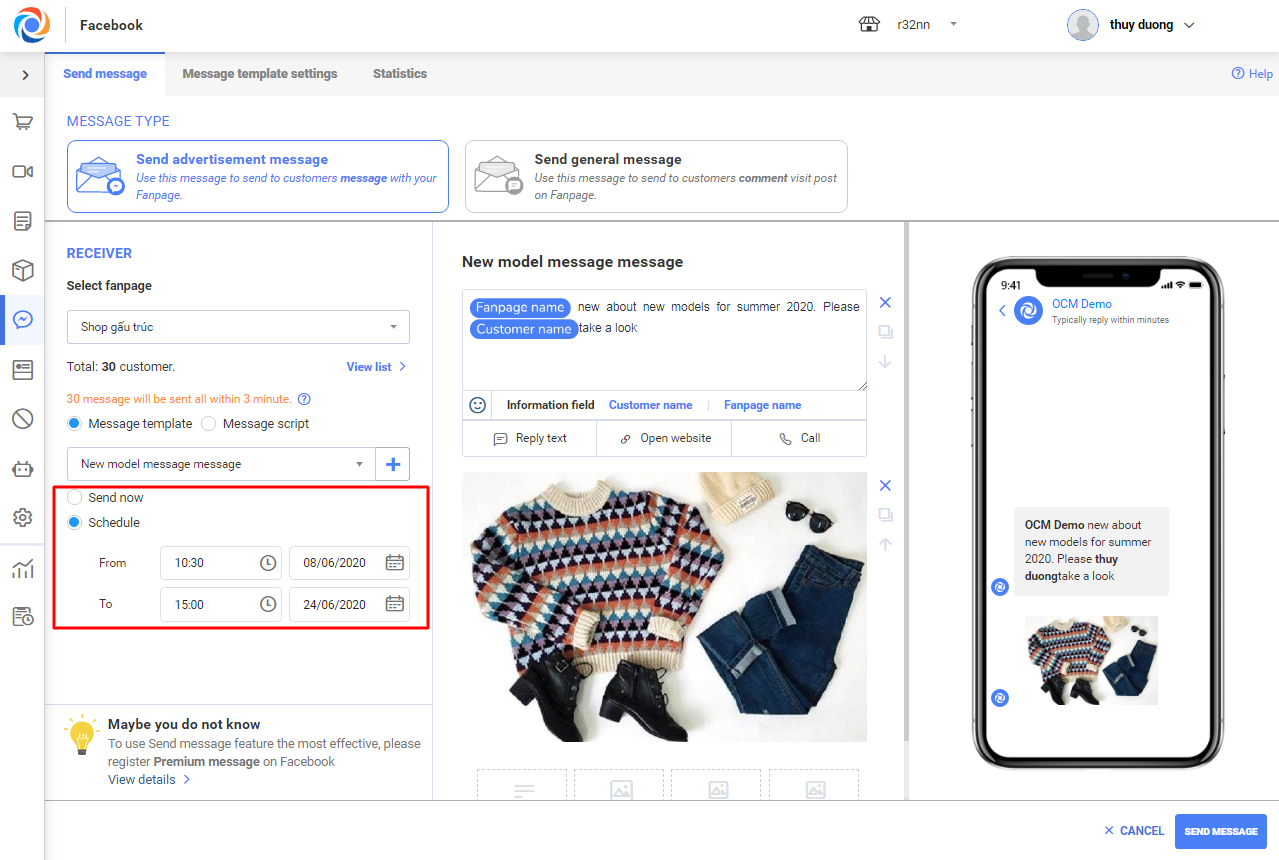
2.2.2 Send common messages (Send messages to customers who commented on fanpage)
– Select fanpage to load posts and select post to load list of customers having commented
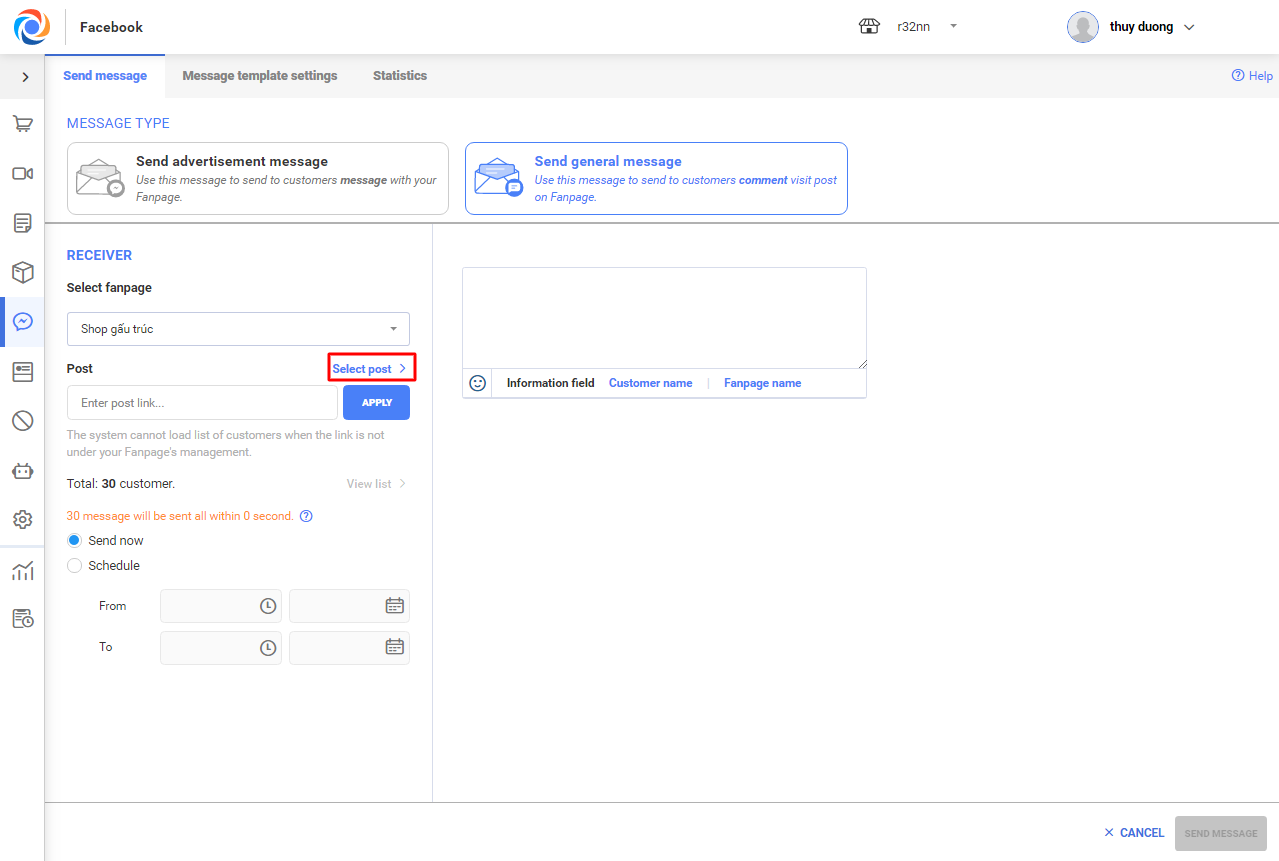
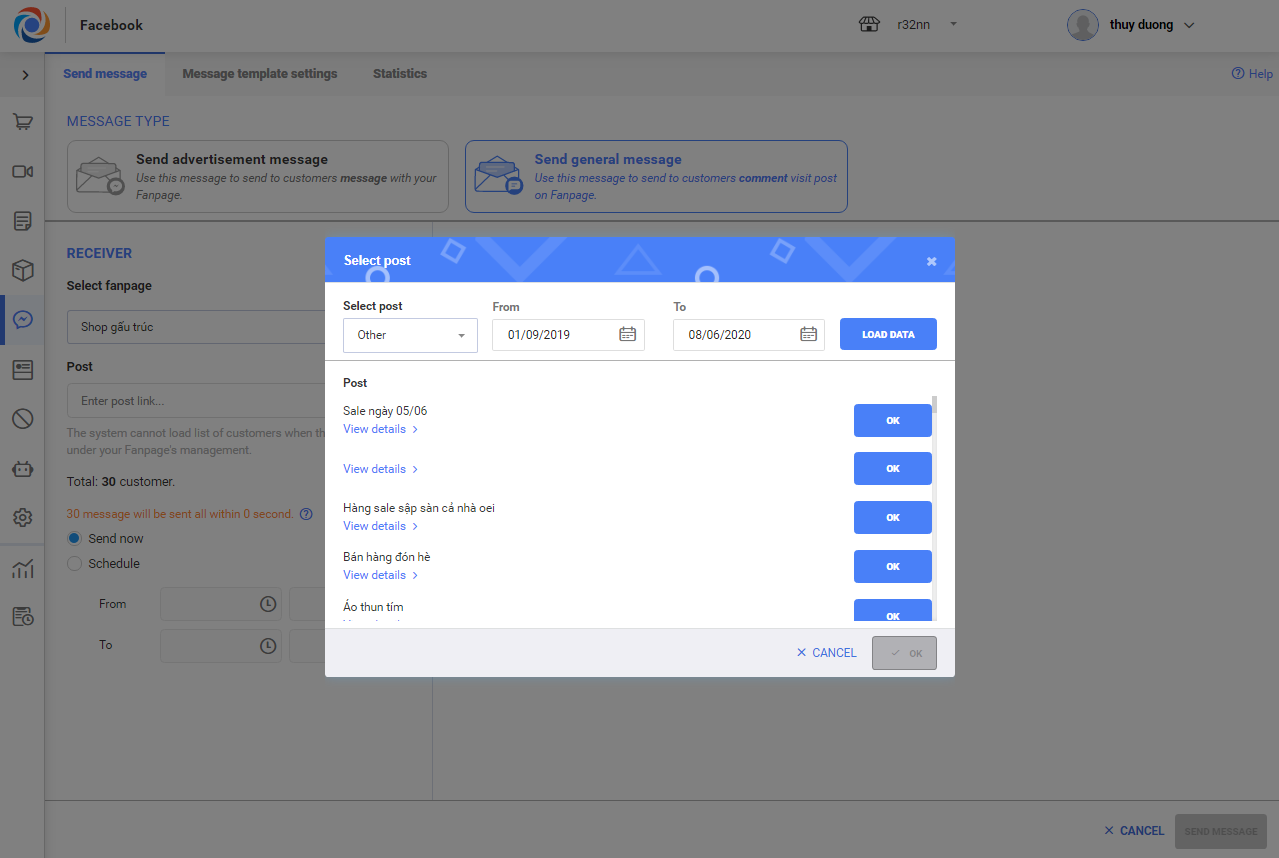
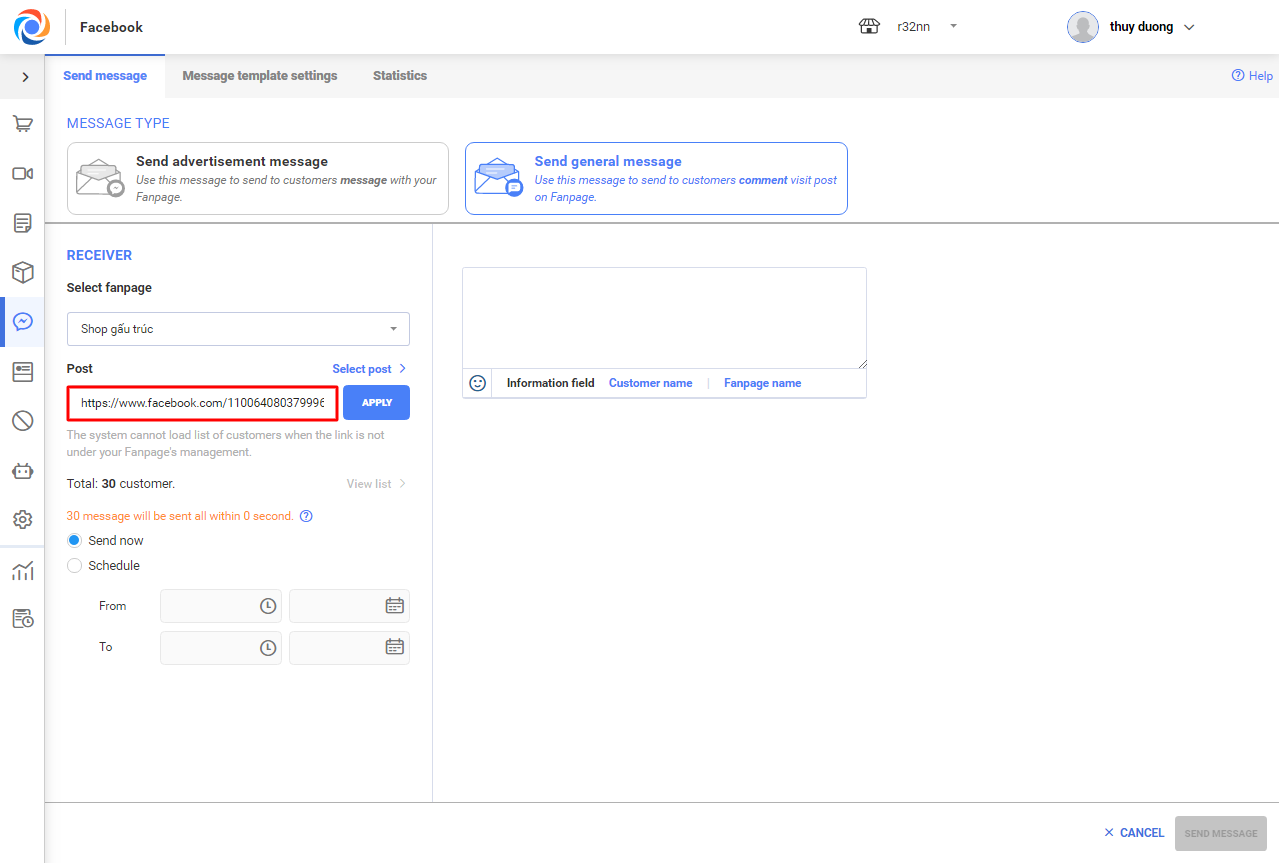
– You can select list of customers sending messages by clicking on the link of the selected post
– Click on View list to check out list of customers having commented on fanpage
– Here you can filter customers by Order status, Phone number, Interaction time, Tags
+ Filter by Order status: Ordered means the customer has placed order, Not yet ordered means the customer has never placed any order yet.
+ Filter by phone number: With phone number means the customer chatted with fanpage and left their phone number; Without phone number means there’s no phone number in the conversation.
+ Filter by Interaction time: including customers who chatted with fanpage or the fanpage replied during the selected time.

+ Filter by Tags: including customers who are assigned selected tags.
– Enter message content, schedule it and click Send message.
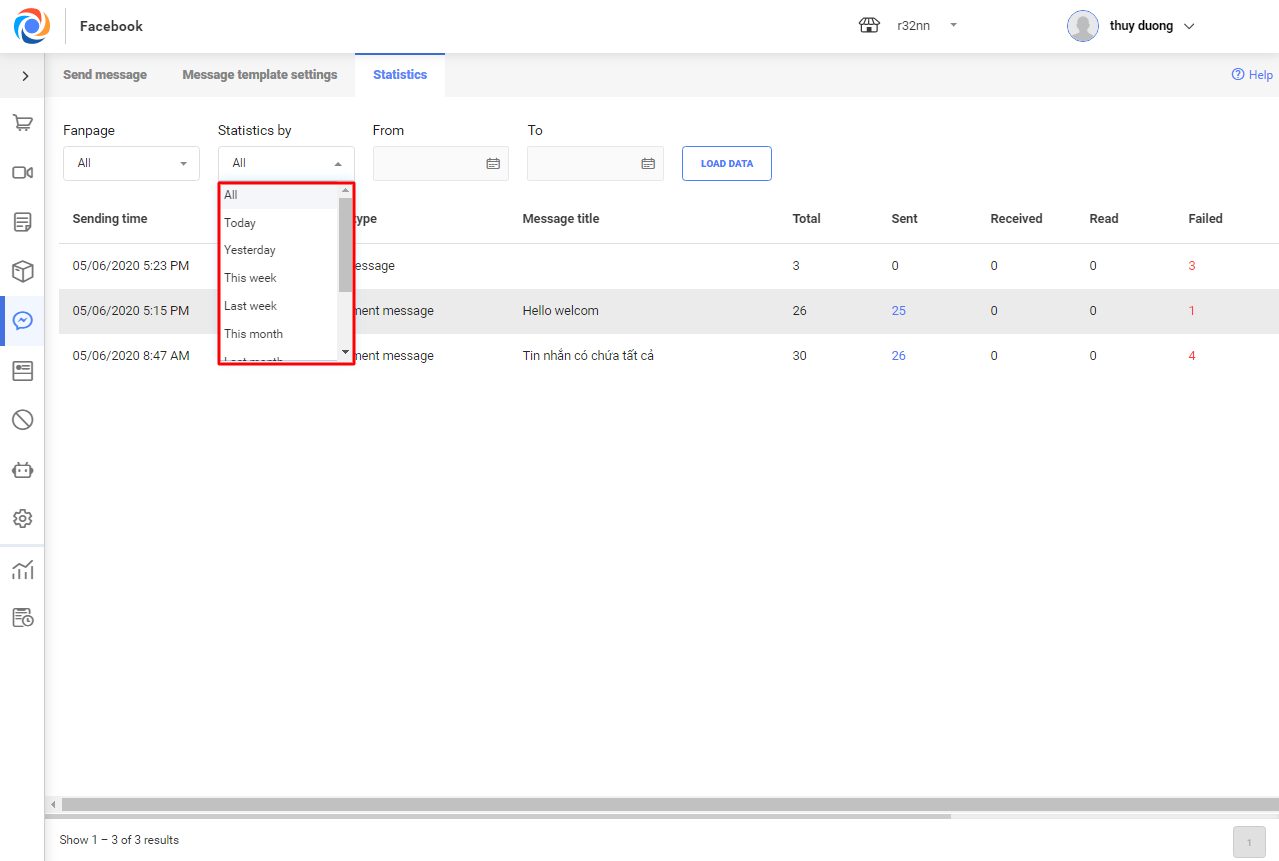
2.3 Statistics
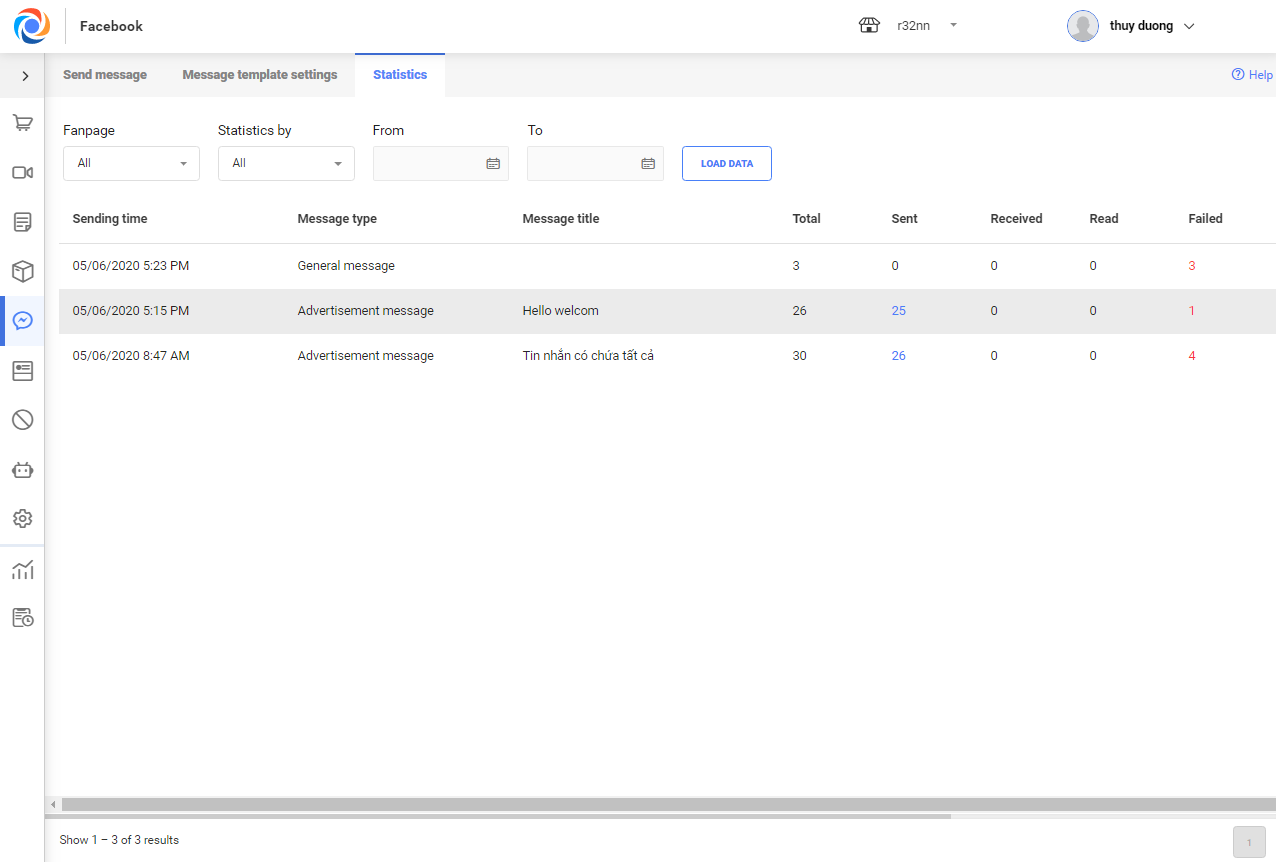
– After sending message successfully, all messages will be shown in Statistics tab
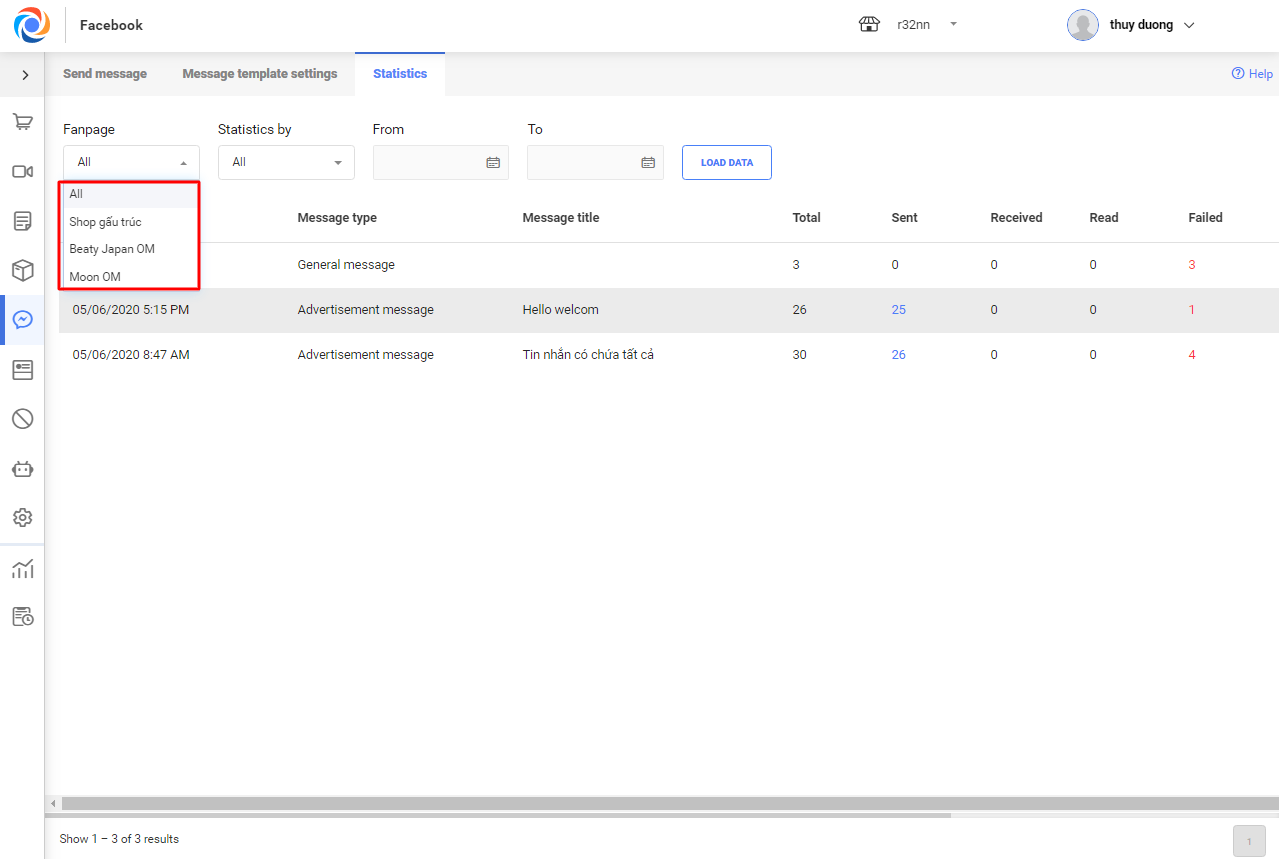
– You can view by fanpage
– Or by time
– Click the icon  to view sent promotion details.
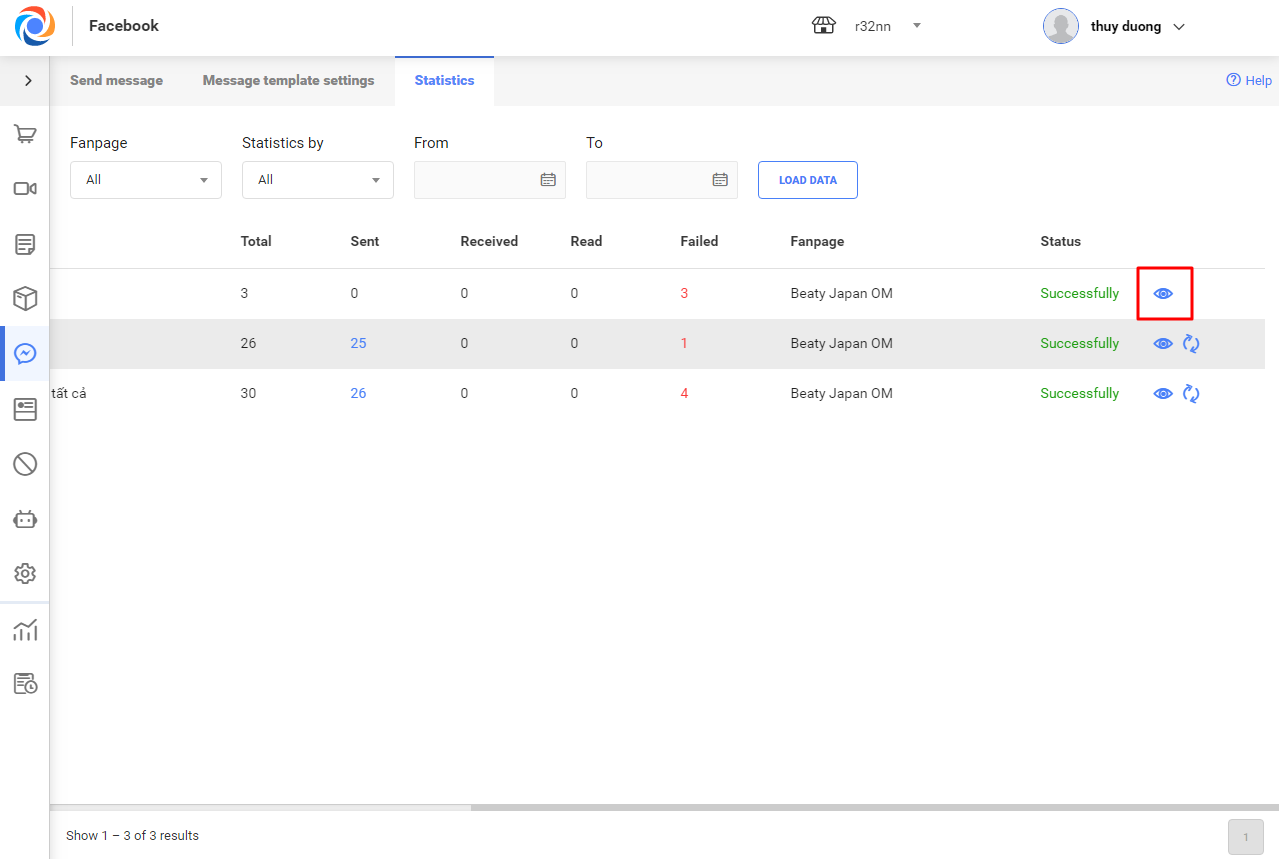
– For scheduled but not yet sent messages, click the icon  to edit and click
  to delete.
4. Warnings of blocking your fanpage due to violating Facebook Policy
– Currently, Facebook has some policies to control fanpage activities. Here are details:
- Policy on Block rate
- 24h policy
- API calls limit policy
OCM’s Solutions to protect fanpage from being blocked
– To avoid being blocked, the program will show warning or block sending message in these cases:
-
Within 24h (from the time the customer replies), you can send as many messages as possible. However, after 24h, when you have sent 5 messages but the customer does not reply, you cannot send the 6th message and the program will show warning.

-
When the block rate of your fanpage is >= 7%, the program will show warning.
-
After your fanpage sends message to 5000 customers and the block rate is >= 7%, the program will stop sending message and show warning. The blocked message will be shown in Cancelled status in Statistics tab.
-
Automatically calculate APIs. If they exceed the limit, the program will automatically stop sending message to avoid being blocked.


