1. Purpose
Detailed instruction on how to add items in two ways: Import from Excel file and Enter manually.
2. Instruction steps
2.1. Import from Excel file (Applicable when the shop manages items in an Excel file)
To import items, please follow 2 steps:
Step 1: Prepare an Excel list of items
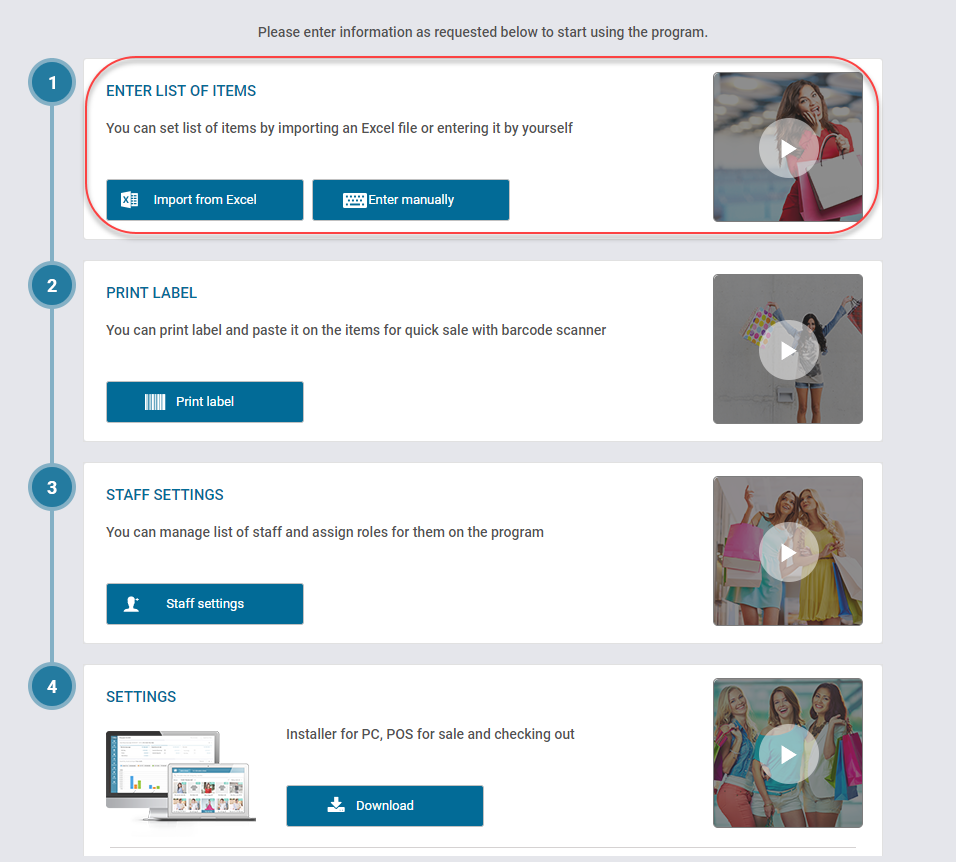
1. At Getting started screen, click Import from Excel file.
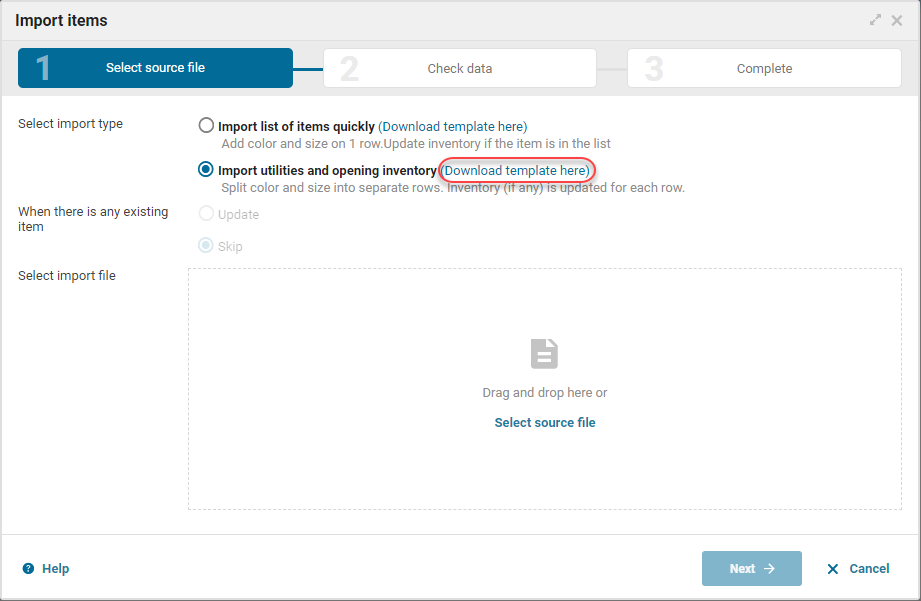
2. Click download template here in Import utilities and opening inventory to download Excel template file.
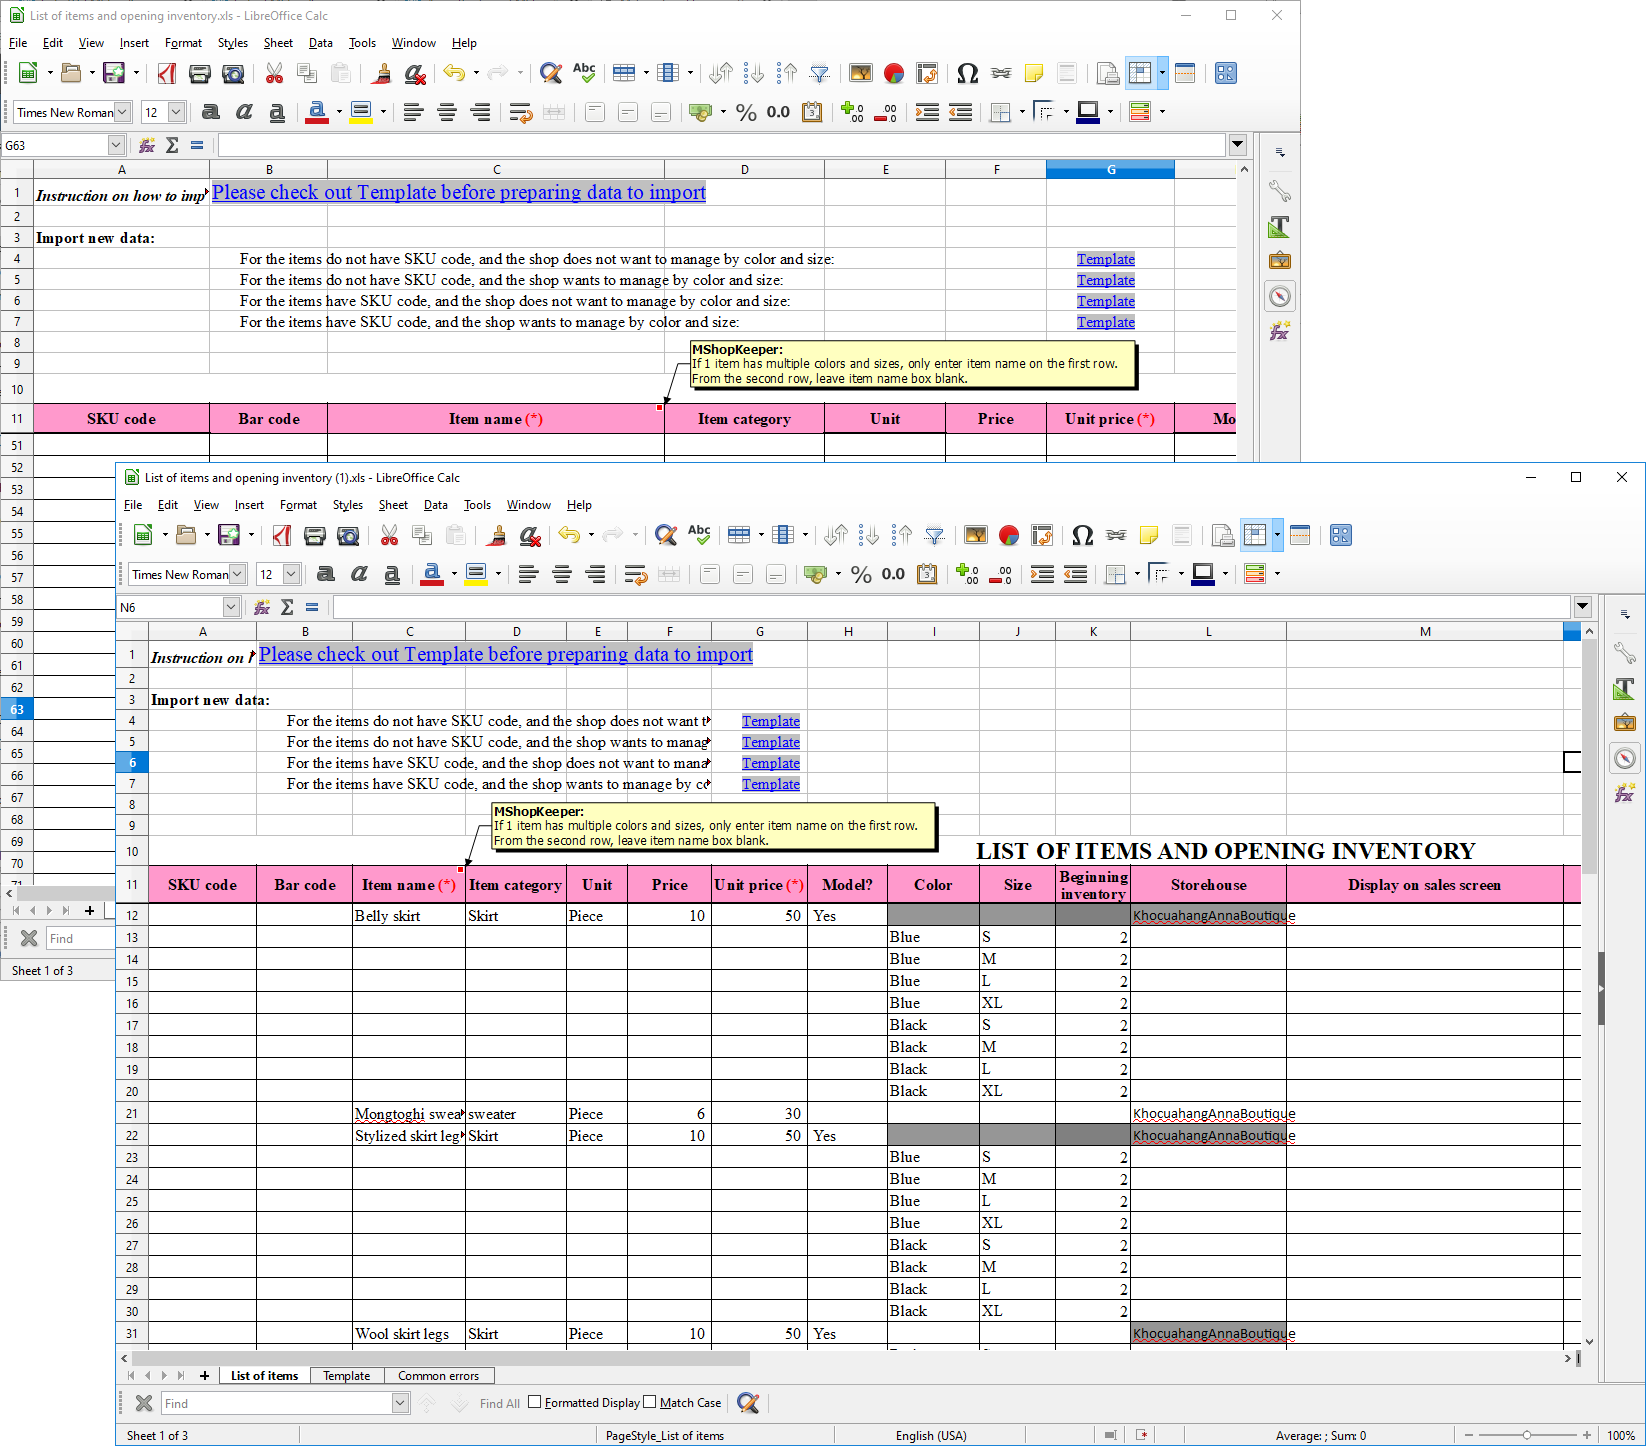
3. Copy data to this Excel file. Then save and close the file.
Check out how to import items with Excel template file here.
Note:
- If SKU code and bar code columns are left blank, the program will automatically generate these codes. (SKU Code is the item ID and used to distinguish items instead of item name. It is used for internalmanagement like inventory management and report.)
Step 2: Import list of items from an Excel file to the program
1. On Enter list of items in Getting started screen, select Import from Excel file.
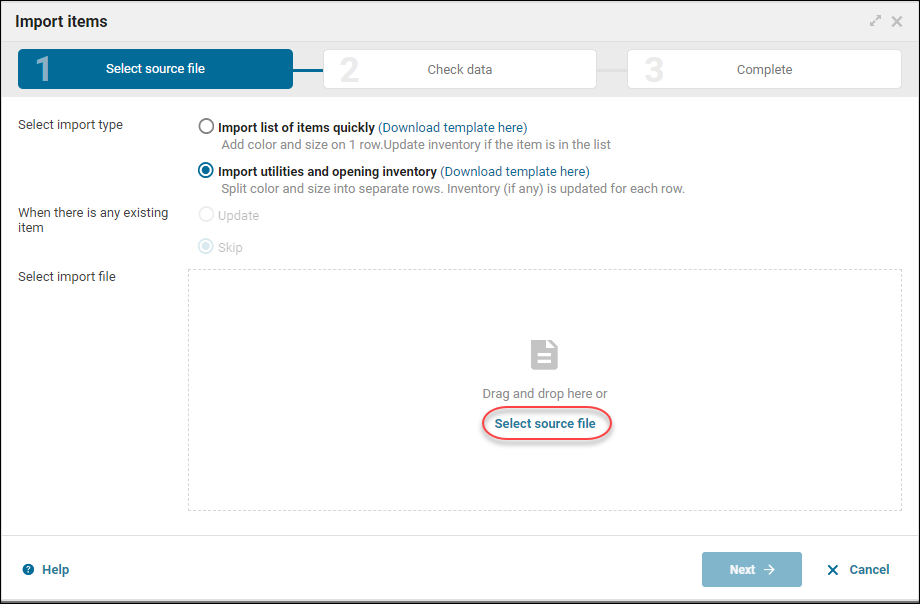
2. Click Select source file to upload the Excel file.
3. At Check data step: The program shows valid and invalid items.

4. You can download the file including invalid items and edit it.
5. Click Continue.
6. At Import result: The program will import valid items and inventory quantity and notify of import result.
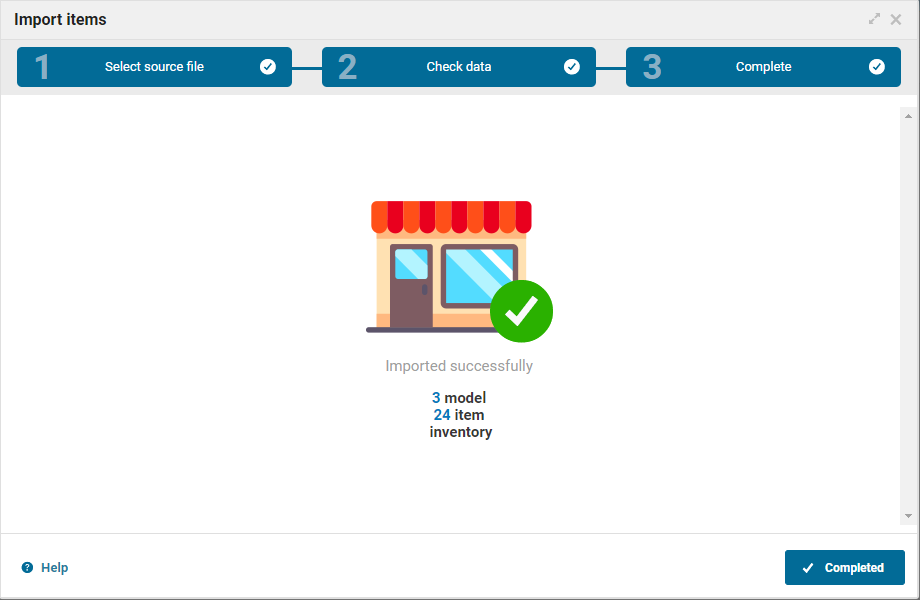
7. Click Complete.
2.2. Enter manually (Applicable when the manager wants to add each item)
To add each item, follow these steps:
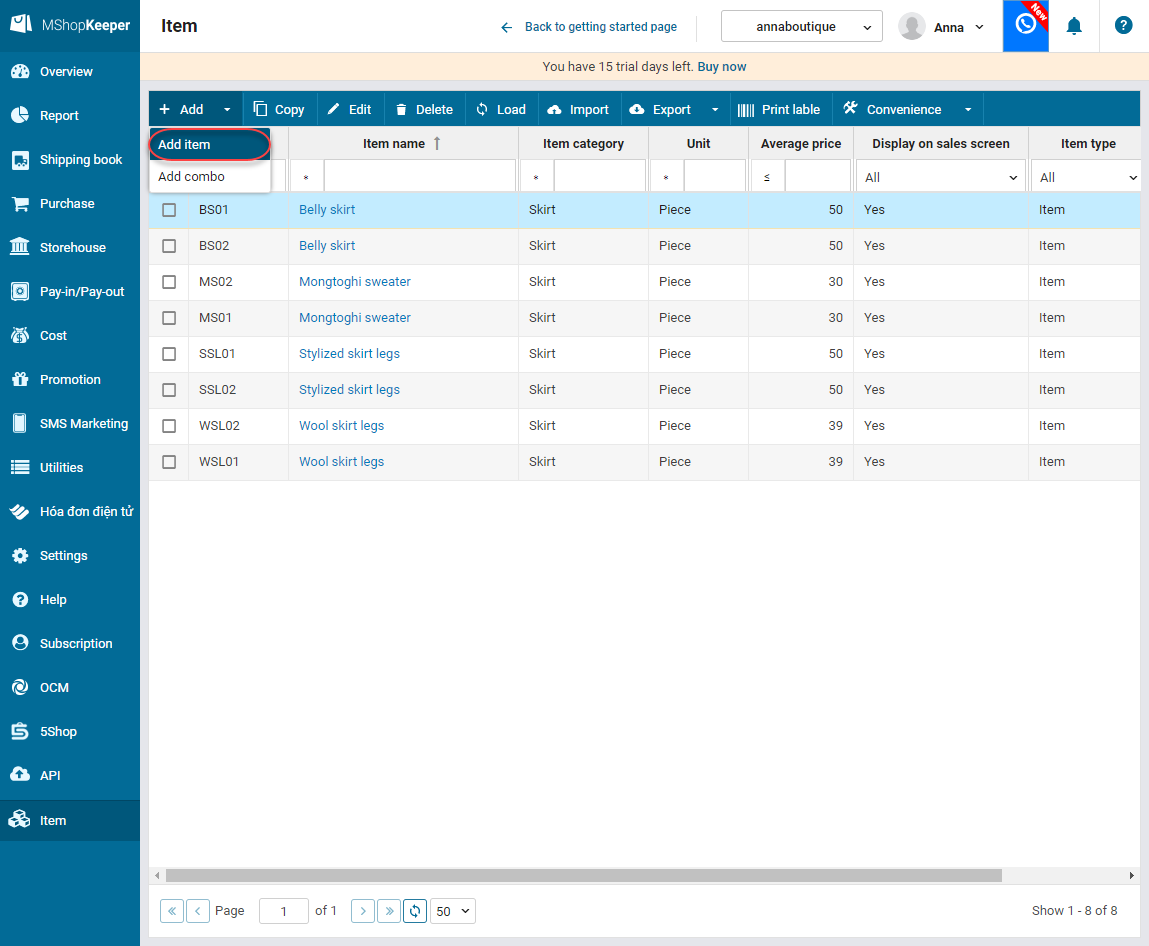
1. On Enter list of items in Getting started screen, Enter manually.
2. Click Add.
3. Enter information on the item.
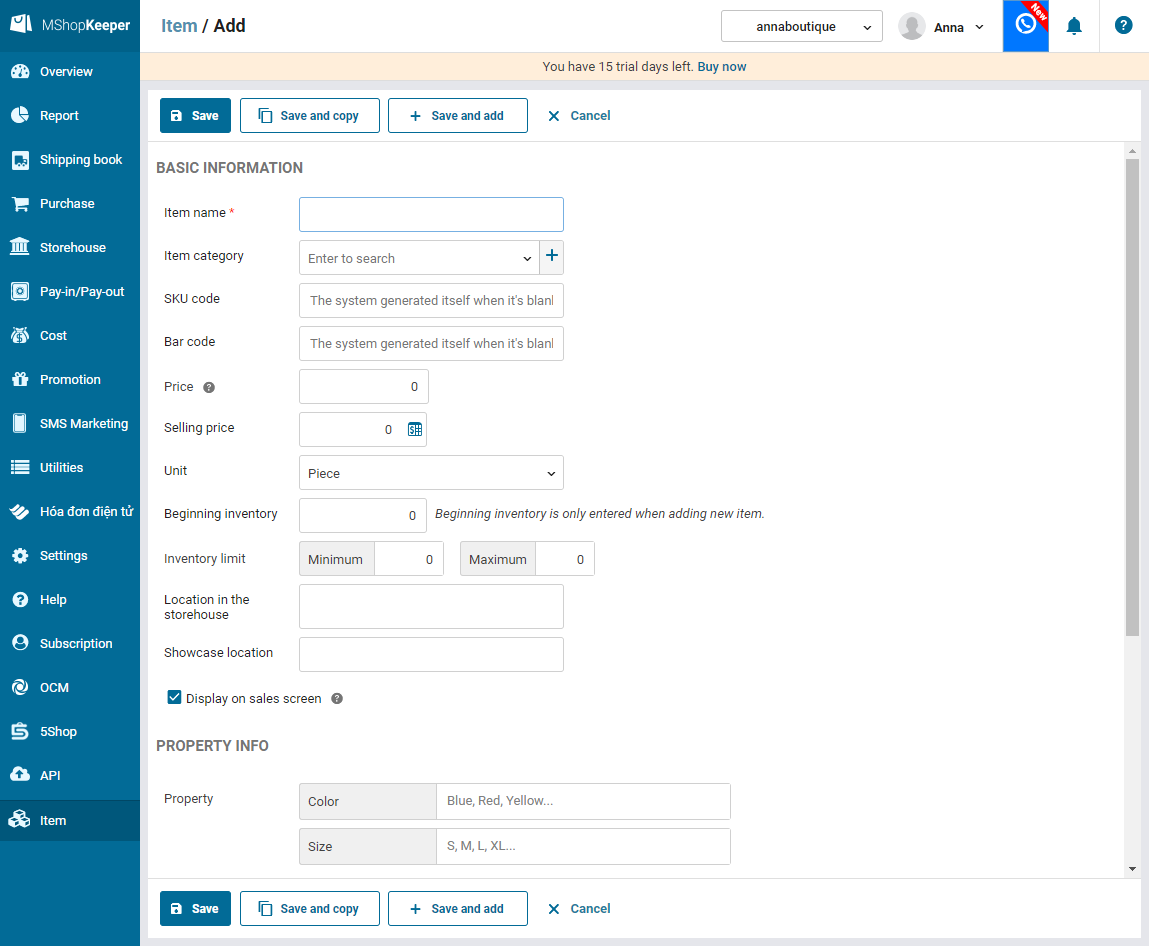
Note:
- Check Display on sales screen if the item is not sold directly but only in a combo or promotion.
- If the shop uses the bar code and label right on the product to manage like glasses, jewelry, watch, etc. the shop can add this information in Bar code.
- Cost price of the item will be updated by the latest price.
- If the shop offers wholesale, on Selling price click the icon
 to set selling price on the other pricelists.
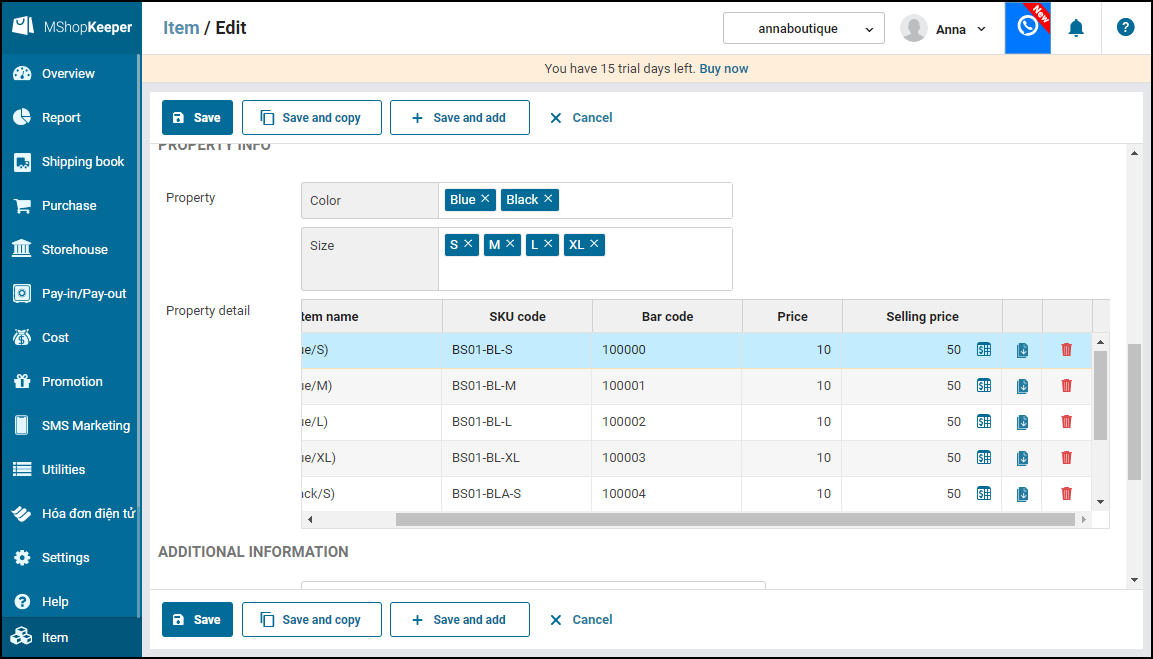
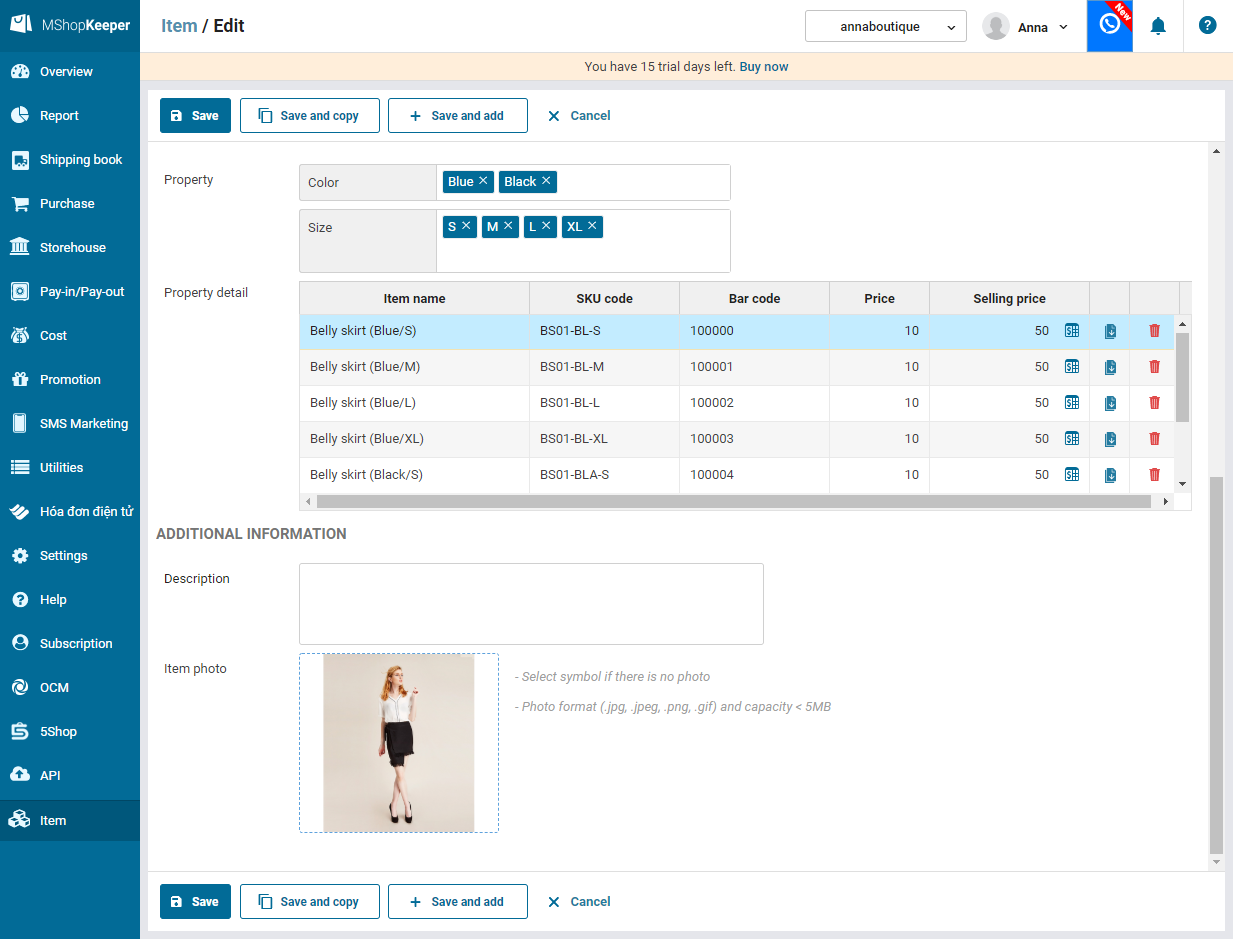
4. Enter property of the item: Color and Size. Note: separate properties with “,”.
5. On Property details:
- Enter opening inventory by each item.
- Enter selling price if the items have different prices for different sizes/colors.
- If the shop offers wholesale, click the icon to set up selling price in different pricelists.
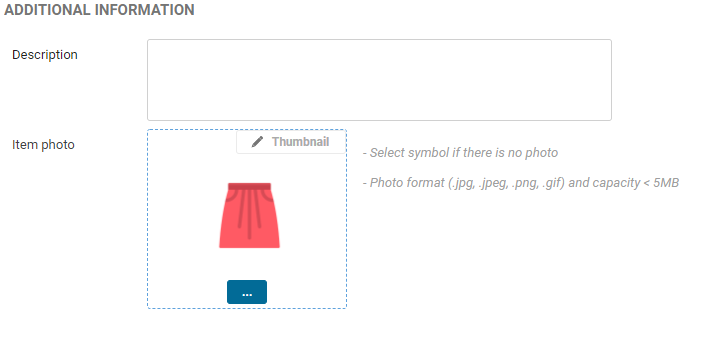
6. Enter product description. You can update photo for the product.
If the item does not have photo, the program will automatically recognize item type and select icon accordingly.
E.g.: You enter Dress, the programm will automatically select icon dress. If it is pants, the program will automatically select pants icon.
7. Click Save to add product.


